Jacob Knaack
February 11, 2019
Documentation?... Documentation. Let’s say for a second that you want to create a way to easily publish and read docs, err… documentation. By the end of this read you will be able to do just that, all with the power of Gatsby (a static site generator) and Cosmic (an easy to setup and use Content Management System). Grab some coffee, find a comfy chair and let’s build something cool.
TL:DR
Gatsby Documentation App Demo
Check out the codebase
1.0 - Introduction
What is Gatsby?
Gatsby is an easy to use framework for generating static web site files. It comes bundled with all sorts of hotness, like React JS for building web components, and GraphQL for handling our component state without the need to configure something Redux to handle external data.
What about Cosmic?
Cosmic will handle our publishing and data storage. It’s easy to set up and easy to implement for apps like this, yet scalable enough to handle more complex projects across larger teams. We will use this to create and store our documentation content. This will us allowing us to focus on how our users interact with our app, and let Cosmic do all the heavy lifting.
Is that all?
Well no… we are going to convert our docs from markdown to html, since that’s what web Browsers like. To do this we are going to use a package called Showdown, that can handle parsing and converting markdown to and from HTML.
Any Requirements?
Oh yeah, you will need to have access to a terminal, a Cosmic account with abucket and a documentation object, and a recent(ish) version of Node JS installed on your machine in order to install the necessary software to make this app work. I’m going to be using yarn to run my build scripts but you can npm if you like. Just remember to choose one(npm or yarn) and stick with it as things can get little hairy when it’s time to deploy.
Let’s Build!!
1.1 - Setting up our Development Environment
To get started we will want to install Gatsby and install our dependencies. Easy peasy. Gatsby uses a handy command line interface (CLI) to build our initial project files. First we will want to install the CLI by installing it globally with npm:
$ npm install -g gatsby-cli
This gives us access to the `gatsby` command and allows us to initialize our project. Run the following script to create a new directory filled with a project template:
$ gatsby new gatsby-docs
Wait a second to allow the script to complete and you will notice a new directory created called `gatsby-docs`. Let’s see what’s inside by changing directories:
$ cd gatsby-docs
you should see a directory structure similar to this:
.
├── node_modules
├── src
├── .gitignore
├── gatsby-browser.js
├── gatsby-config.js
├── gatsby-node.js
├── gatsby-ssr.js
├── LICENSE
├── package-lock.json
├── package.json
└── README.md
Much of this will look familiar if are used to creating Node applications but some of this will be a little new. You should be able to get a development server up and running by executing the start script:
$ yarn start
After a second you should see a success prompt letting you know that everything has compiled properly and your app is live.
Now you can open up your browser pointing to `localhost:8000` and see the compiled output. It should look something very similar to this:
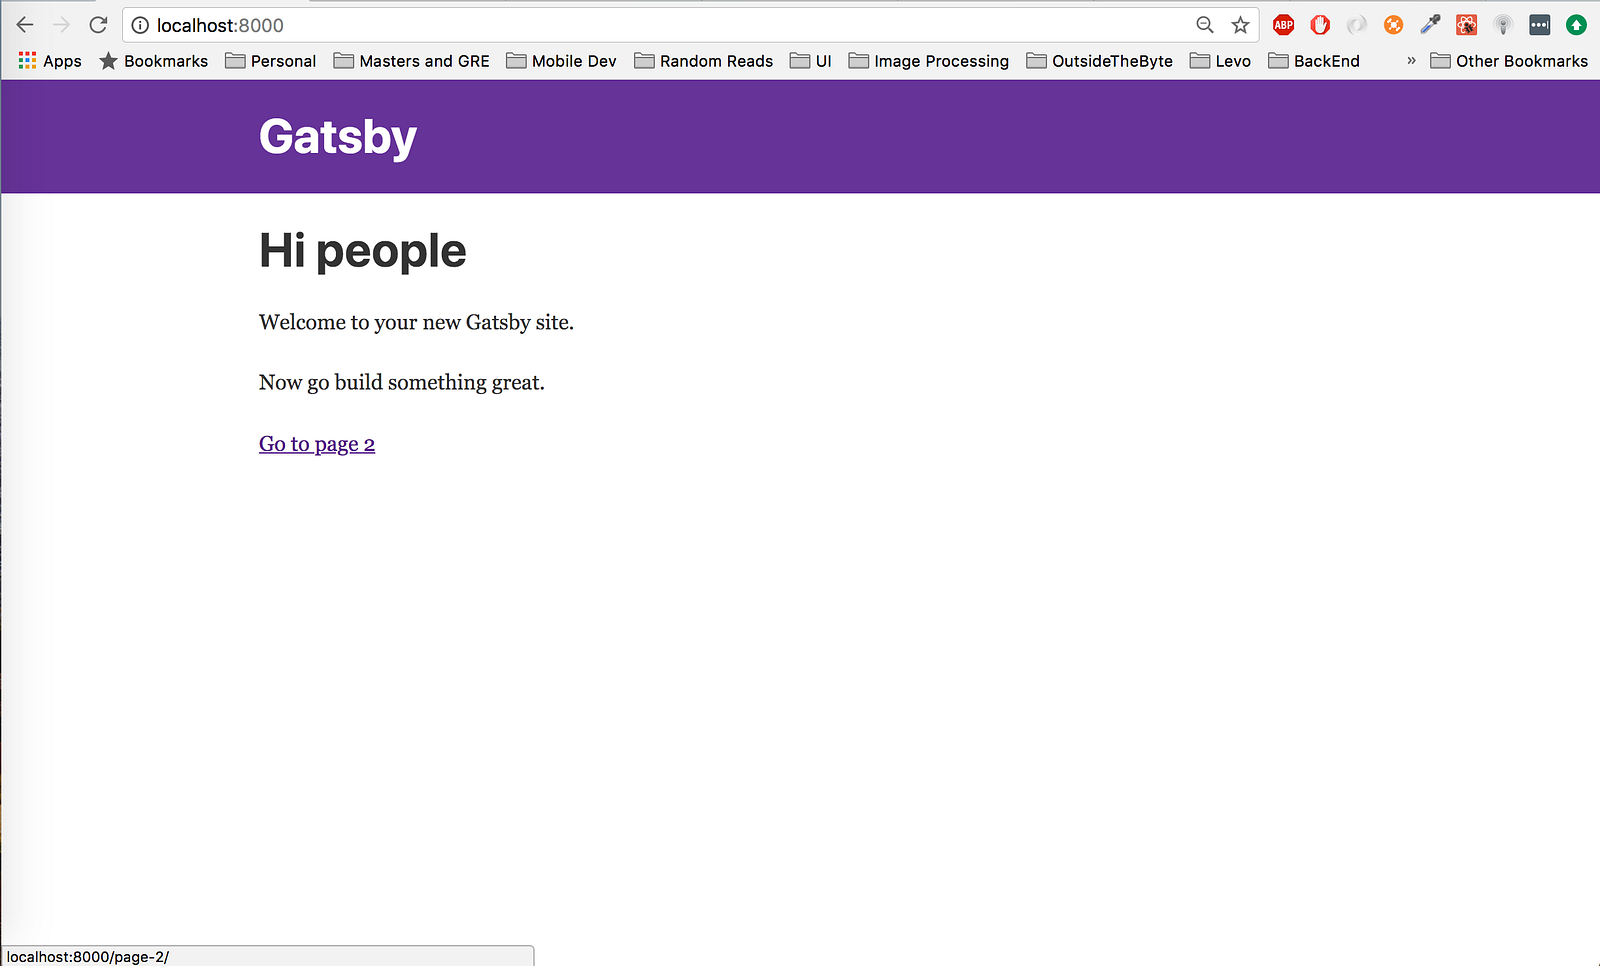
Congrats! You have set up a working Gatsby site. But before we dig into what is going on under the covers let’s install the rest of our dependencies that will power our app:
$ yarn add cosmicjs showdown highlight.js dotenv node-sass gatsby-plugin-sass gatsby-source-graphql
Whoa... That’s a lot of newly installed packages, but each of these are super useful I swear.
cosmicjswill be used to add new content to our app.showdownis the text parser I mentioned that will handle markdown and html conversion.highlight.jsis going to handle our syntax highlighting inside of our converted markdown text.dotenvis an environment variable package that will make sure our sensitive tokens and/or runtime environment is configured from a `.env` filenode-sassand thegatsby-plugin-sasspackages will allow to use.scssfiles to style our components.gatsby-source-graphqlwill allow us to leverage GraphQL queries on external data (ie - use the Cosmic GraphQL api)
With all of that business out of the way we can look at our directory and configure our Gatsby source code to run properly.
2.0 - Configuring Gatsby
Now we can dig into our directory and make sure Gatsby is configured properly for using the technologies that will scalably and sensibly power our app.
The first file we will want to look into is gatsby-config.js. This file is used to configure high level plugins that allow any source code we write to be bundled properly when our static files are built. It also contains a little
bit of metadata that describes our site site to users and can be queried in our React Components.
Here we will add our newly installed plugins to the default configuration you see before you. First we just need to add gatsby-plugin-sass to the plugins list, allowing us to import sass files and leverage sass to write sensible styling specs for each component.
Next up we will add an object to end of our plugins list for gatsby-source-graphql that will configure our external GraphQL API endpoint to allow us to fetch data from Cosmic. Here’s how things should look:
Now we are set to make GraphQL queries to the Cosmic GraphQL API! Next, Let’s talk for a second about Gatsby and how things are going to break down.
2.1 Building our app with Gatsby
I’ve mentioned that Gatsby is a static site generator, but what does that mean? Gatsby takes all the fancy code we create and produces static files that are pre-configured using the config files we specify. By doing so we get increased performance for sites that may have lots of images, data to be fetched, and other assets that can slow down web applications.
Let’s now get some source code created. Our site is going to use just two ‘Pages’, one that will serve a home page to list the documentation we've created, and one for viewing a piece of documentation. But to fetch the content that we are going to display, we are going to use GraphQL, which we have recently configured. We will need to add some variables to our gatsby-node.js file in order to allow our static files to have the necessary parameters to make API calls.
Create a .env file and add your Cosmic environment variables
In your Cosmic Bucket > Basic Settings menu you will see fields for a bucket-slug and read and write keys down at the bottom. Copy all three of these things and add them to a .env file.
At your project root, type into your terminal:
$ touch .env
Now Create three lines:
We will use these with our dotenv package to allow our src files to access these variables when necessary.
Open up gatsby-node.js and add config variables to pages
We are now going to use Gatsby’s built in node API to give each page in our site access to the environment variable we just created. First we will import the variables from our .env file using dotenv, then we will explicitly set each variable in our page’s context. Your file should look like this:
Creating our first page
Now we are going to create our first page that will grab all of the documentation objects and display them at the root of our site, on index.js. First let’s create our list by creating a folder in the components directory titled docs - /src/components/docs/ and in that folder we will create a file titled index.js.
This will be our module that is first displayed when we render our page after fetching our docs. Here is the source code:
What's going on here:
This page basically runs a big loop over our docs and returns some fancy jsx. We map through the docs array and produce a Link from Gatsby that contains the title, a date, and some content that uses a a description for the piece of
documentation that was published.
Feel free to add any .scss files to this directory as well to get a styling that works for you for the given class names.
Update the 'home' page with our new components
Now we can open up our home page file at /pages/index.js and import the components we just created and add them to our returned jsx.
Now any docs created on Cosmic, will appear here on the home page!
Notice the exported query at the bottom of the file. It contains two string type variable that will be present because we set the context object in our gatsby-node configuration.
With our newly created home page working, let’s create our doc view that will display content from the documentation that we post.
Creating our doc display page
Instead of adding a new file to the pages directory in Gatsby, we are going to create a `templates` directory and make a template page that we can configure on build, so that each time a doc is created, a new page can be created when we fetch our Docs from Cosmic.
Start by creating a `templates` directory at your project root, and then creating a docPage.js file within.
.
├── _templates
|   ├── docPage.js
Now add the page template complete with exported query that will fetch a singular doc from Cosmic.
Nothing will happen with this template until we tell Gatsby that it needs to create a page using this template. We do this so that Gatsby has a chance to fetch our Documentation from Cosmic before it builds the page using the necessary parameters for each GraphQL query at the bottom of docPage.js. We are using static site files after all.
Update Gatsby Node to build template pages
Let’s go ahead and add an export function to gatsby-node.js so that we are building docPage template from our GraphQL data:
Now when Gatsby creates its pages, ie - the index page will fetch our docs and create a page for each doc that is retrieved and attach all the necessary params to the page Content of each page. This way our template component is rendered and our GraphQL query should succeed!
3.0 Deployment
Lastly we can talk about deployment and about how static sites work. Deploying this bad boy can be a little tricky since this site uses a static build that won’t have the necessary pages of newly created docs until the deployment service has a chance to rebuild.
My recommendation is to use netlify and link your source from GitHub or wherever you store your code. From there you can trigger buildhooks in order to rebuild your site whenever certain events happen. Cosmic will allow a post request to be fired off at an endpoint when objects are created, deleted, edited, etc. So you can easily link the two together to make some magic happen. You can also modify the addDoc method on the createDoc component class to make a POST request to the buildhook whenever you successfully add a doc.
Anyway, that’s all for me folks! Happy hacking.