
Tony Spiro
May 02, 2024

In this article, I'm going to show you how to build and deploy an ecommerce website in 5 steps. By leveraging the Cosmic React component library Blocks, we can build a high performance ecommerce website ready to accept product purchases in a matter of minutes. Let's go.
1. Install the Cosmic ecommerce Block
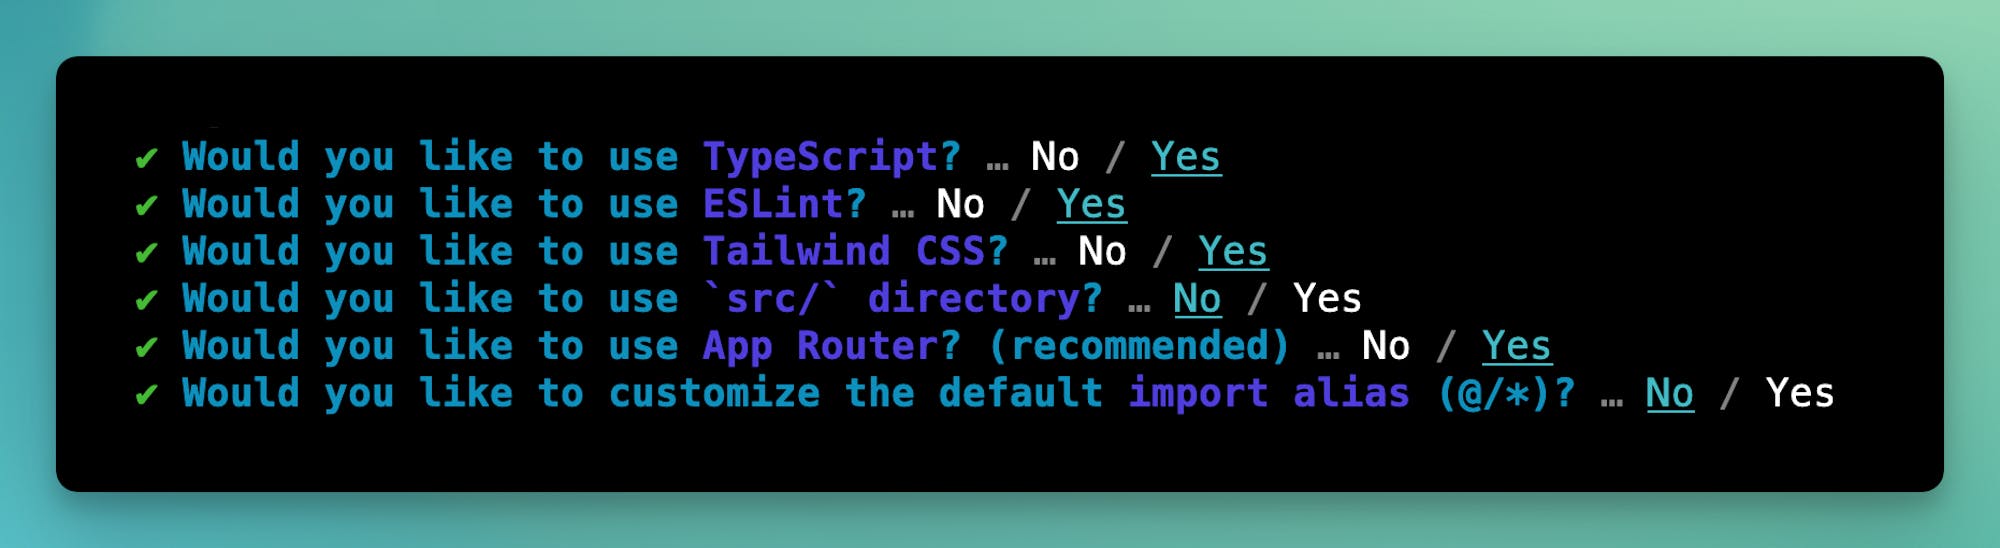
Start by installing a new Next.js app. Run the following command in your terminal application.
Make sure to set the options to the following:
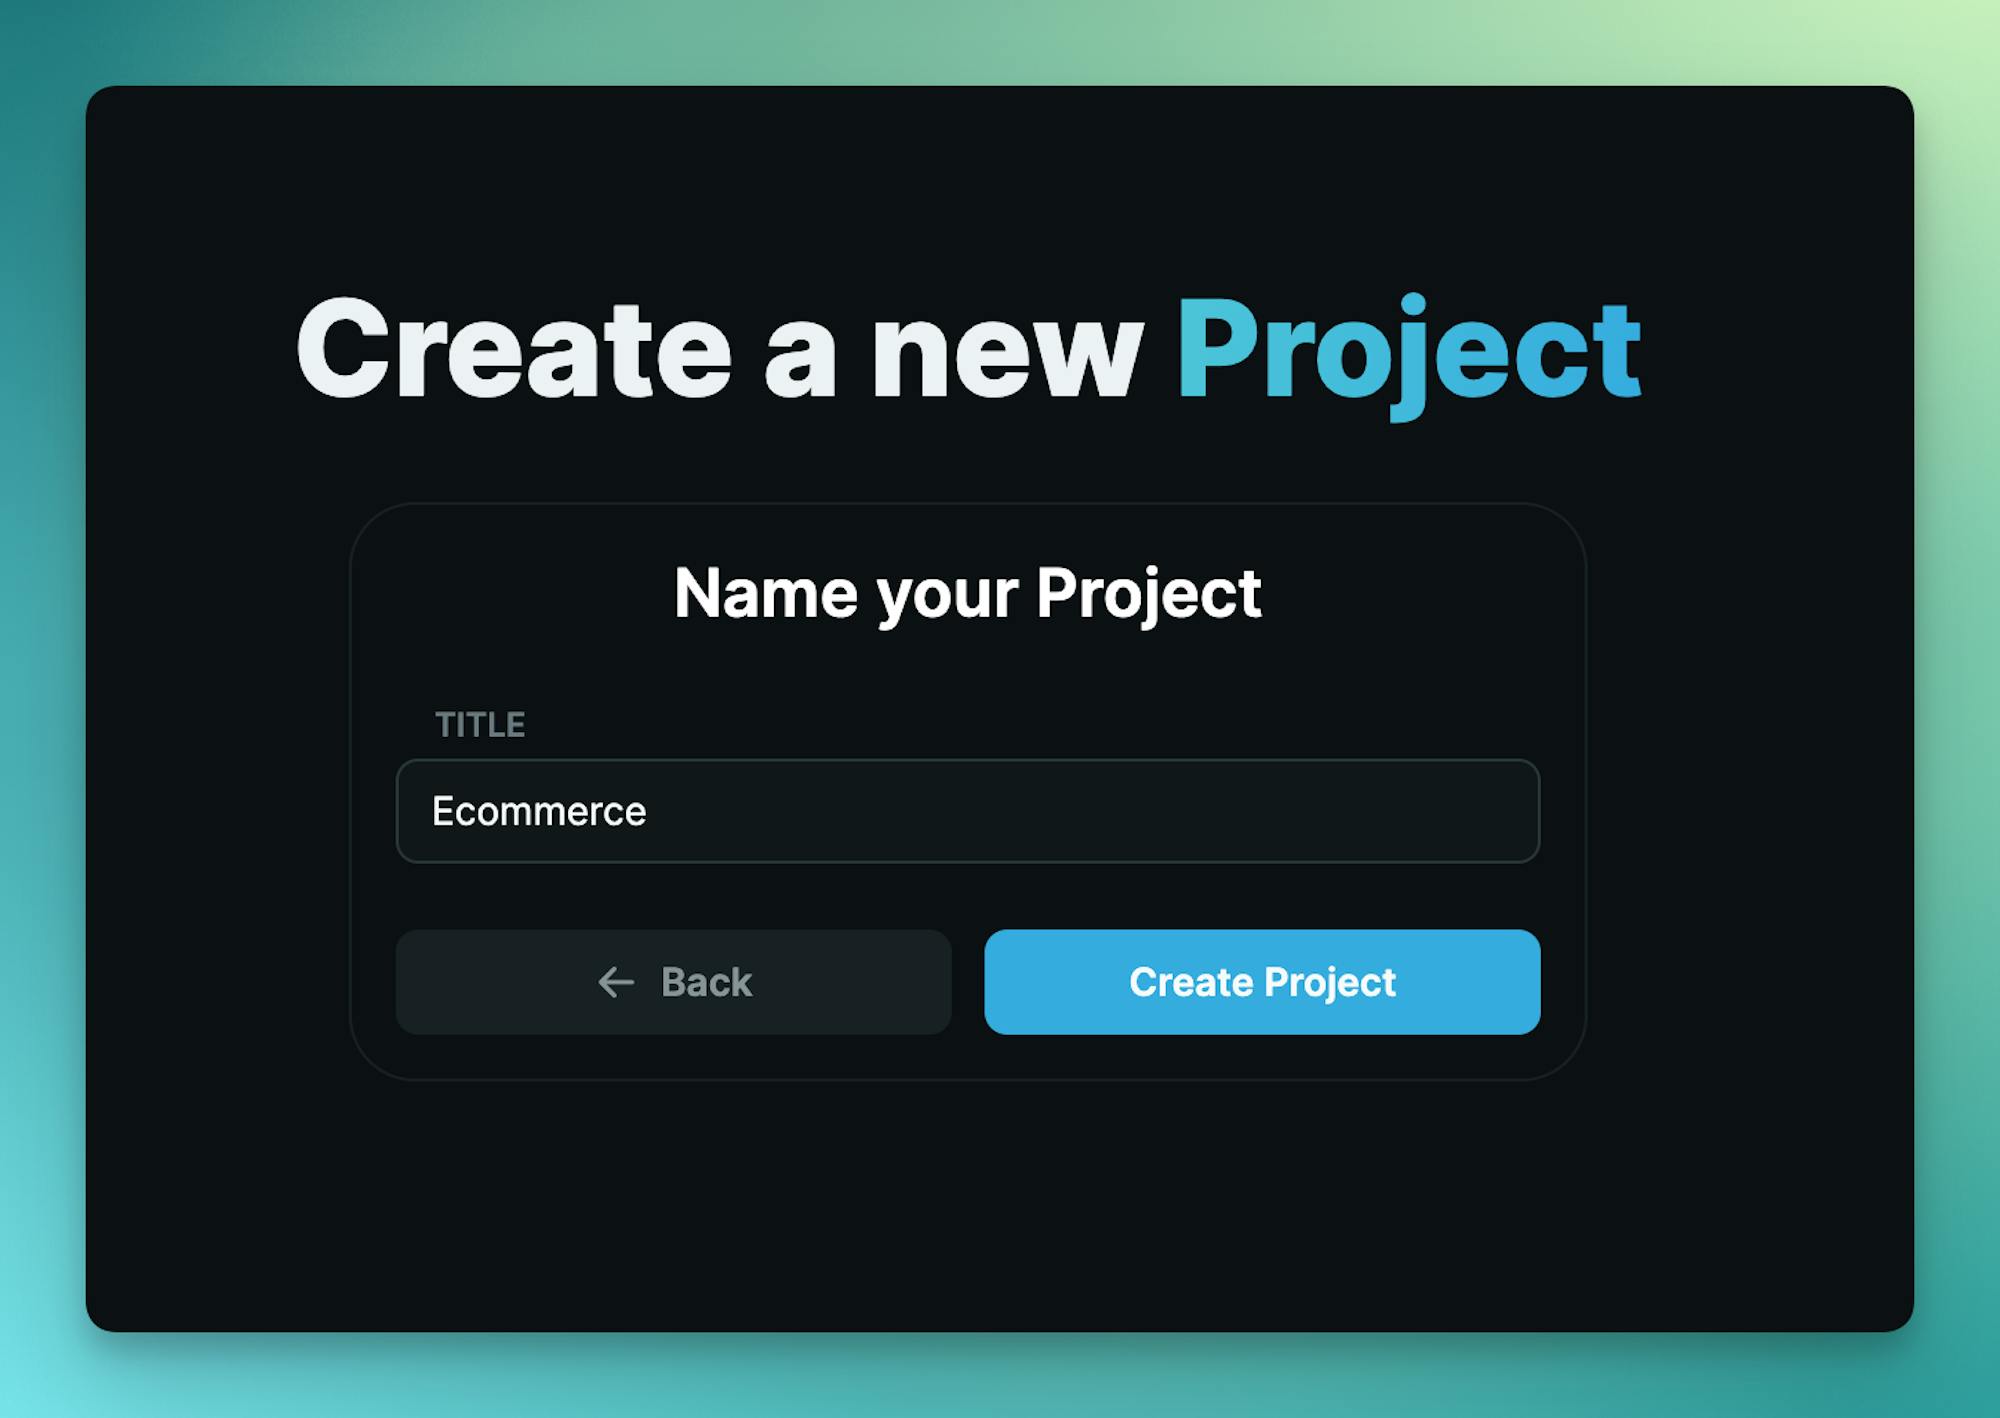
Next, log in to Cosmic and create a new empty Project.
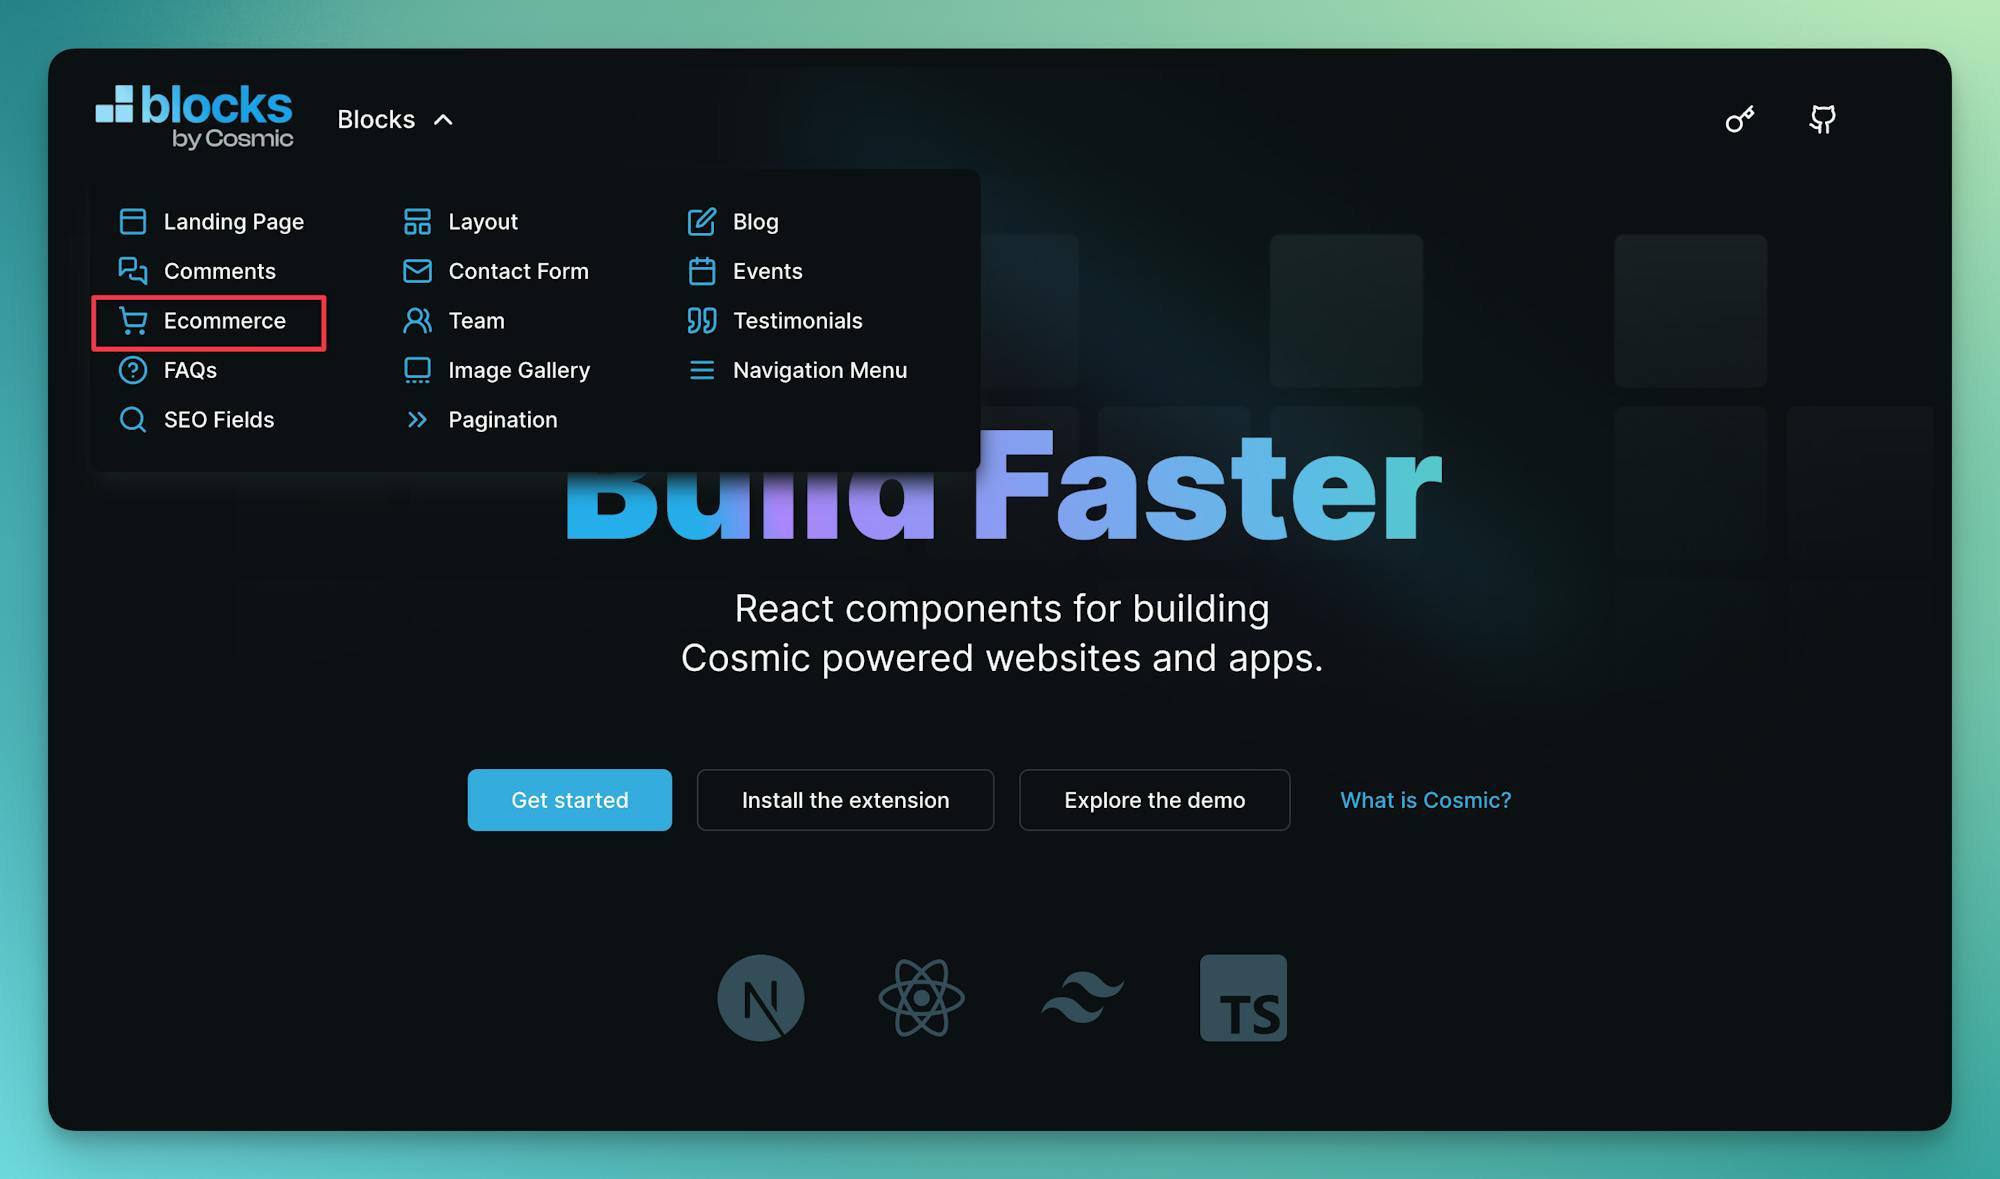
Go to Project > Extensions and install the Cosmic Blocks extension. Find the ecommerce Block.
Follow the steps to install the Block content which includes content model and demo content.

Then run the command to install the ecommerce components in your codebase.
Create a new file and add your Cosmic API keys found in the Cosmic dashboard at Project > API keys:
To create a shop page, add a new file located at with the following:
To create single product pages, add a new file located at with the following:
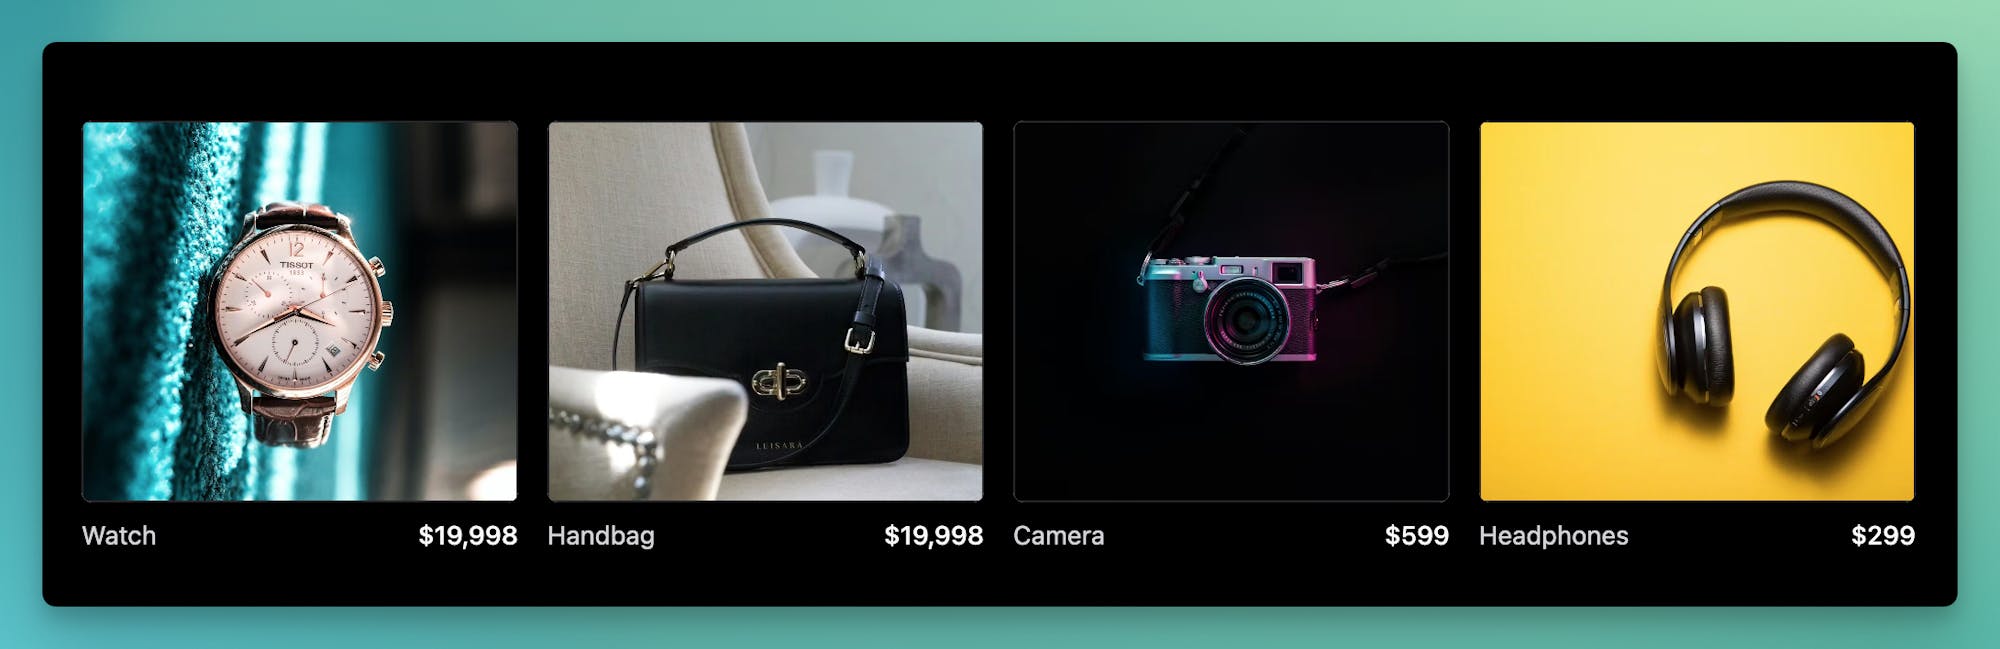
Run the app to see the progress so far:
You should see the store available at (but not yet able to checkout with Stripe).
2. Configure Stripe
Next, we will enable checkout and payment processing through Stripe. First, install the Stripe clients with the following command:
Add your Stripe API keys to the file. Find your Stripe API keys in the Stripe dashboard.
Next, update your file to include the CartProvider to the layout. (Note: this assumes you've already added the Layout Block).
Next, let's add the checkout component to .
Next, let's add the checkout API route to our Next.js app located at with the following:
3. Install Stripe extension
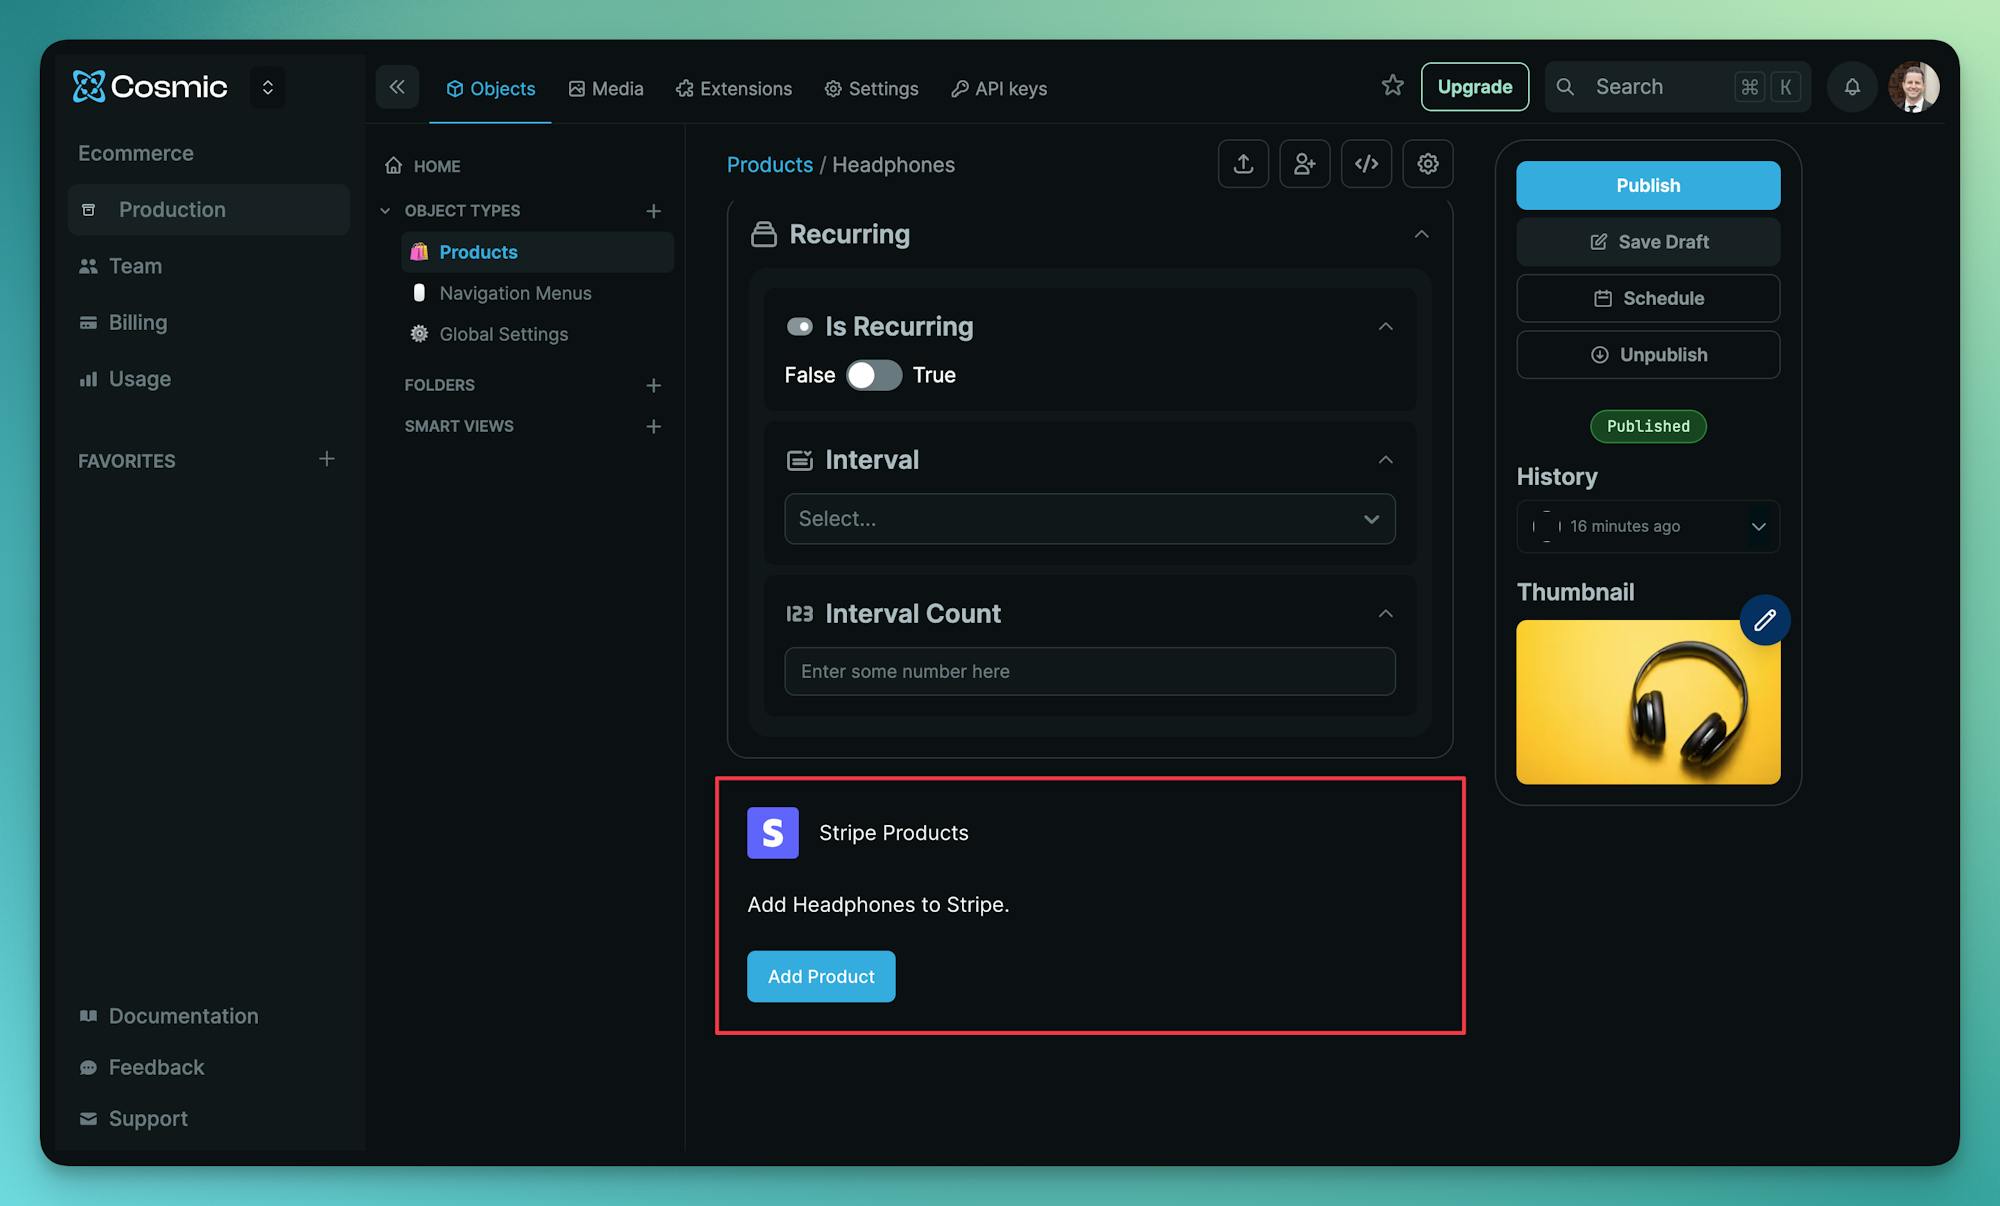
Next, go to Project > Extensions in the Cosmic dashboard and install the Stripe Products Extension. This will enable the connection between the products in Cosmic and Stripe. After installing the extension to your Project, follow the steps to add your Stripe secret key to the extension configuration.

4. Add products to Stripe
After installing the Stripe Products Extension, you should now see a button on the Product page to add the product to Stripe.
Next, go back to your app running locally and see that the checkout is now working on any product that has been connected with Stripe (you may need to refresh the page).
5. Deploy to your website hosting provider
Next, we'll deploy our ecommerce website to Vercel (which is a great choice to host your Next.js website). Other hosting options include Netlify and Render.
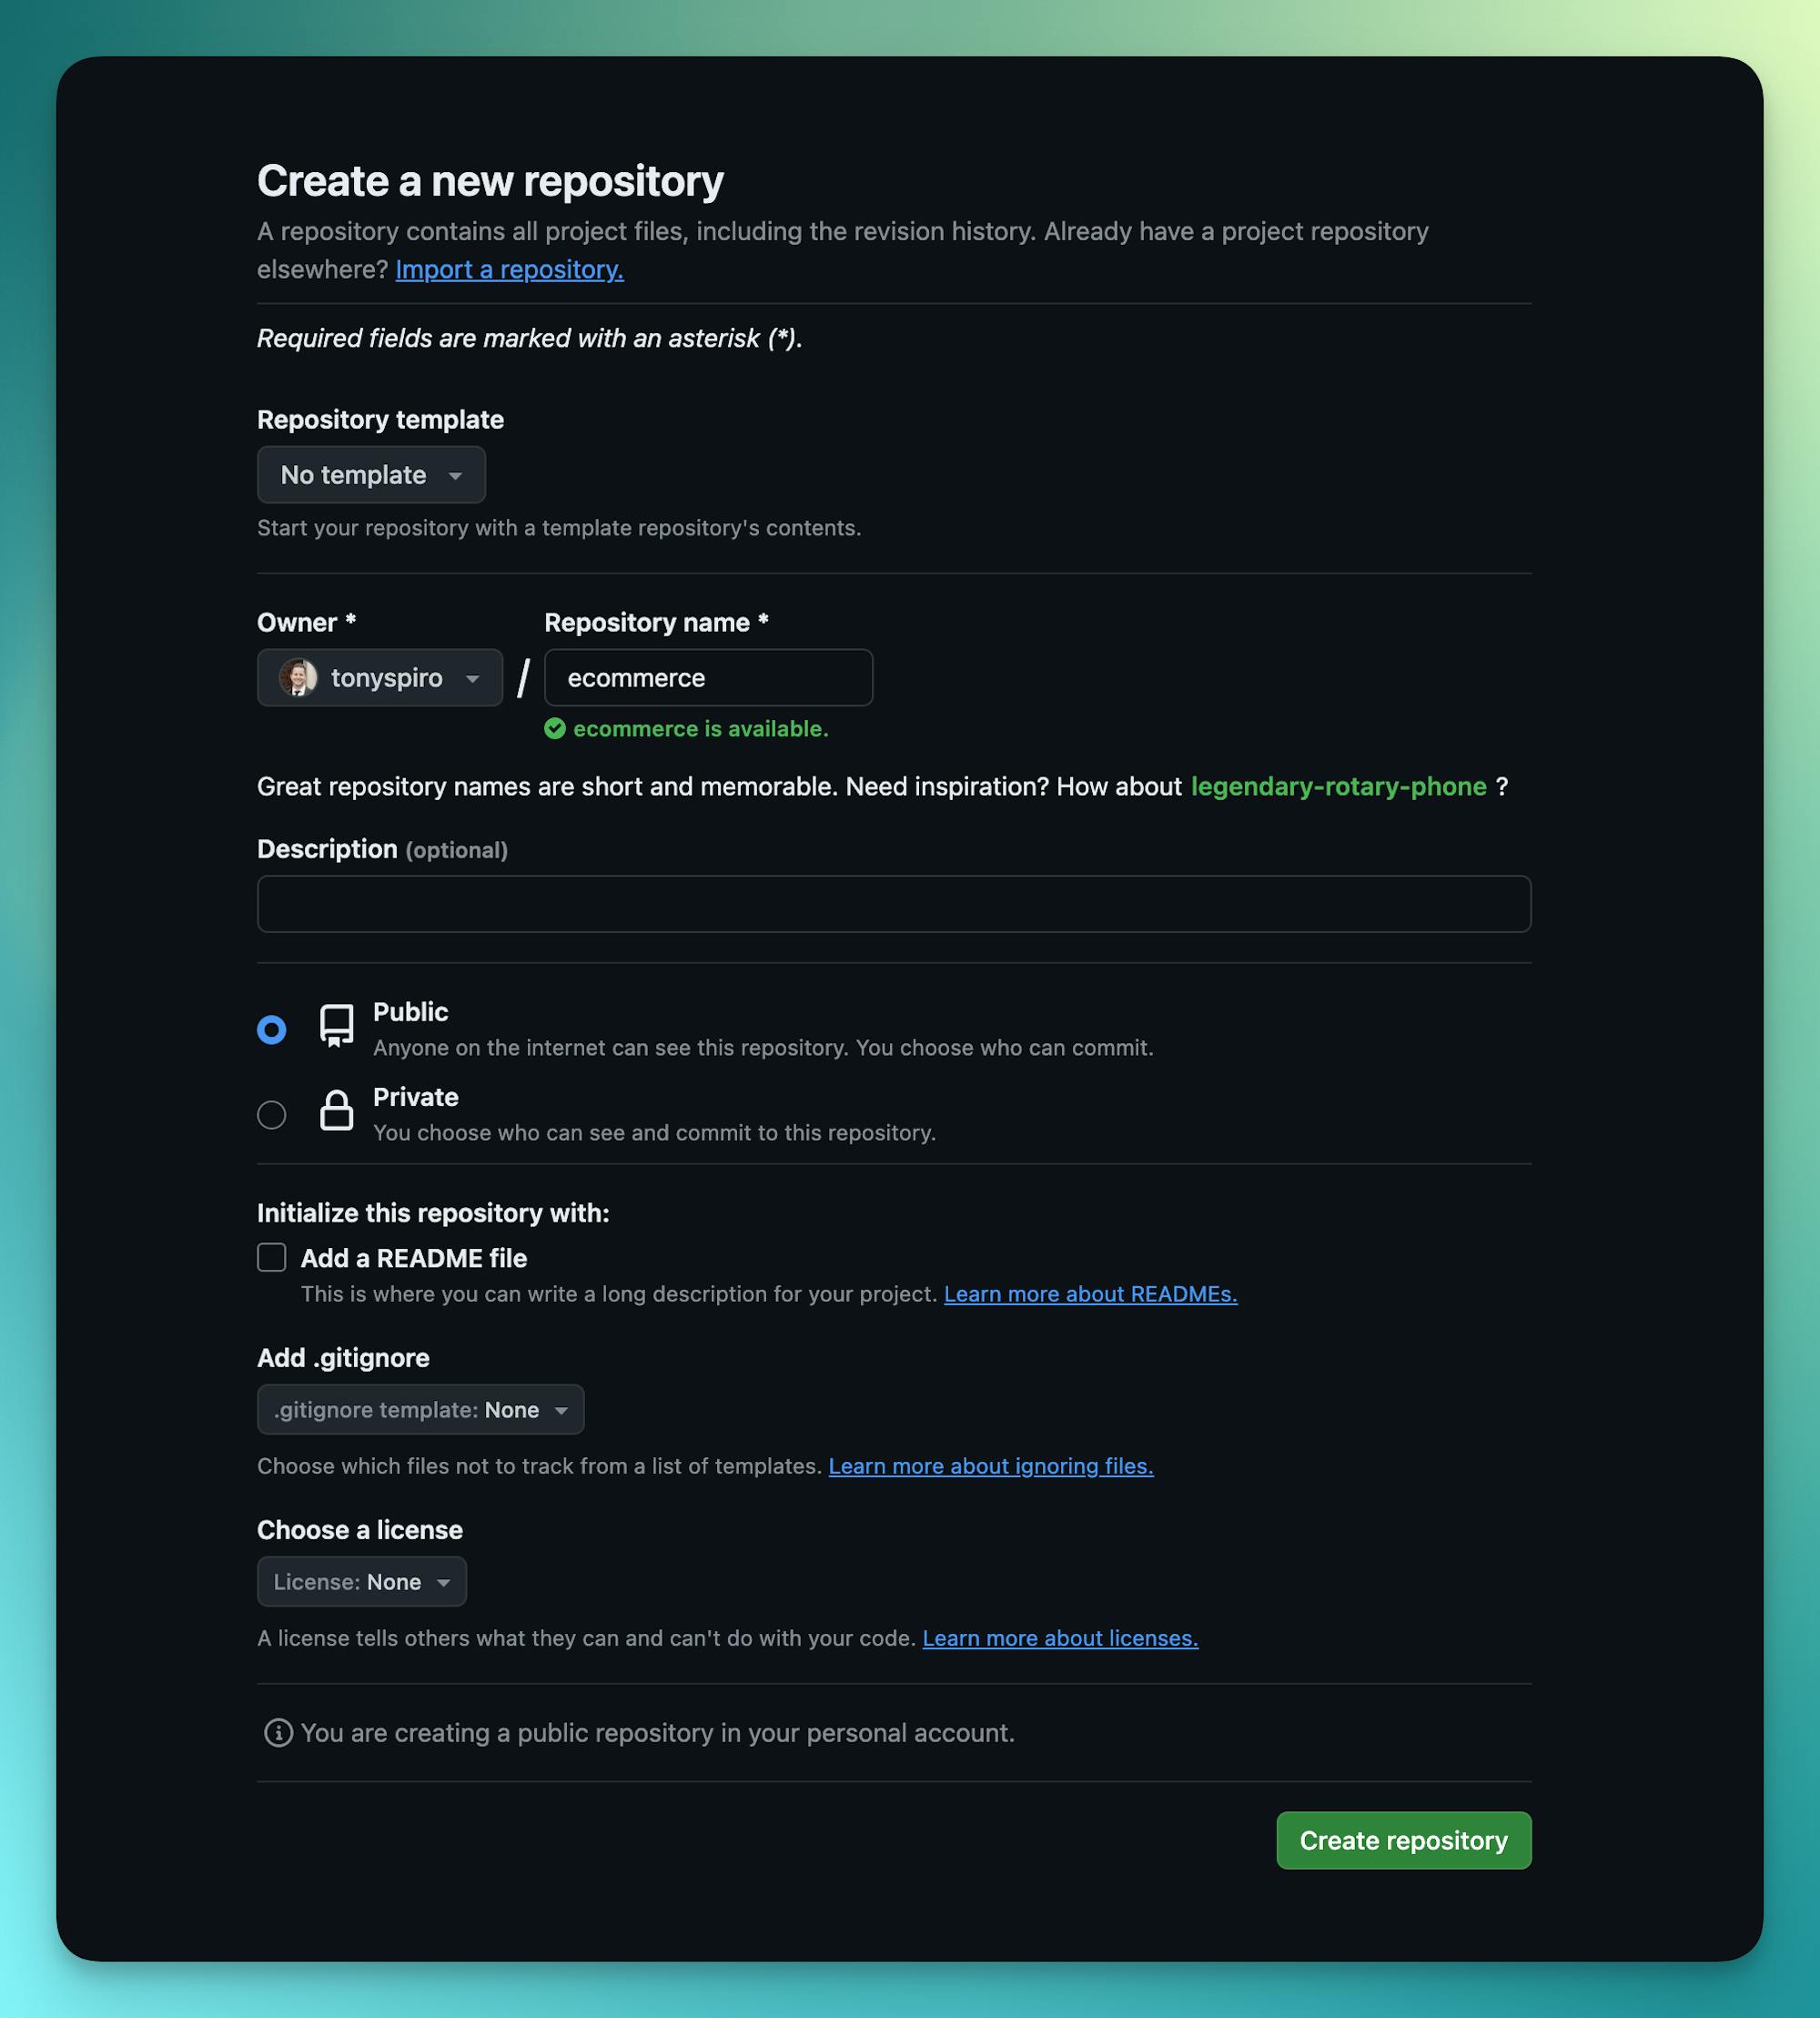
First, create a new git repository in GitHub and follow the steps to push your Next.js ecommerce website code.
After you have pushed your code to the repository, go to the Vercel dashboard and add a new project connected to the code repository you just created in GitHub. (Note: This requires you to enable Vercel to access your GitHub repository.)
Then add your environment variables located in your file. Tip: You can add the full contents of the file by copy / pasting it into the first field in the Vercel form.
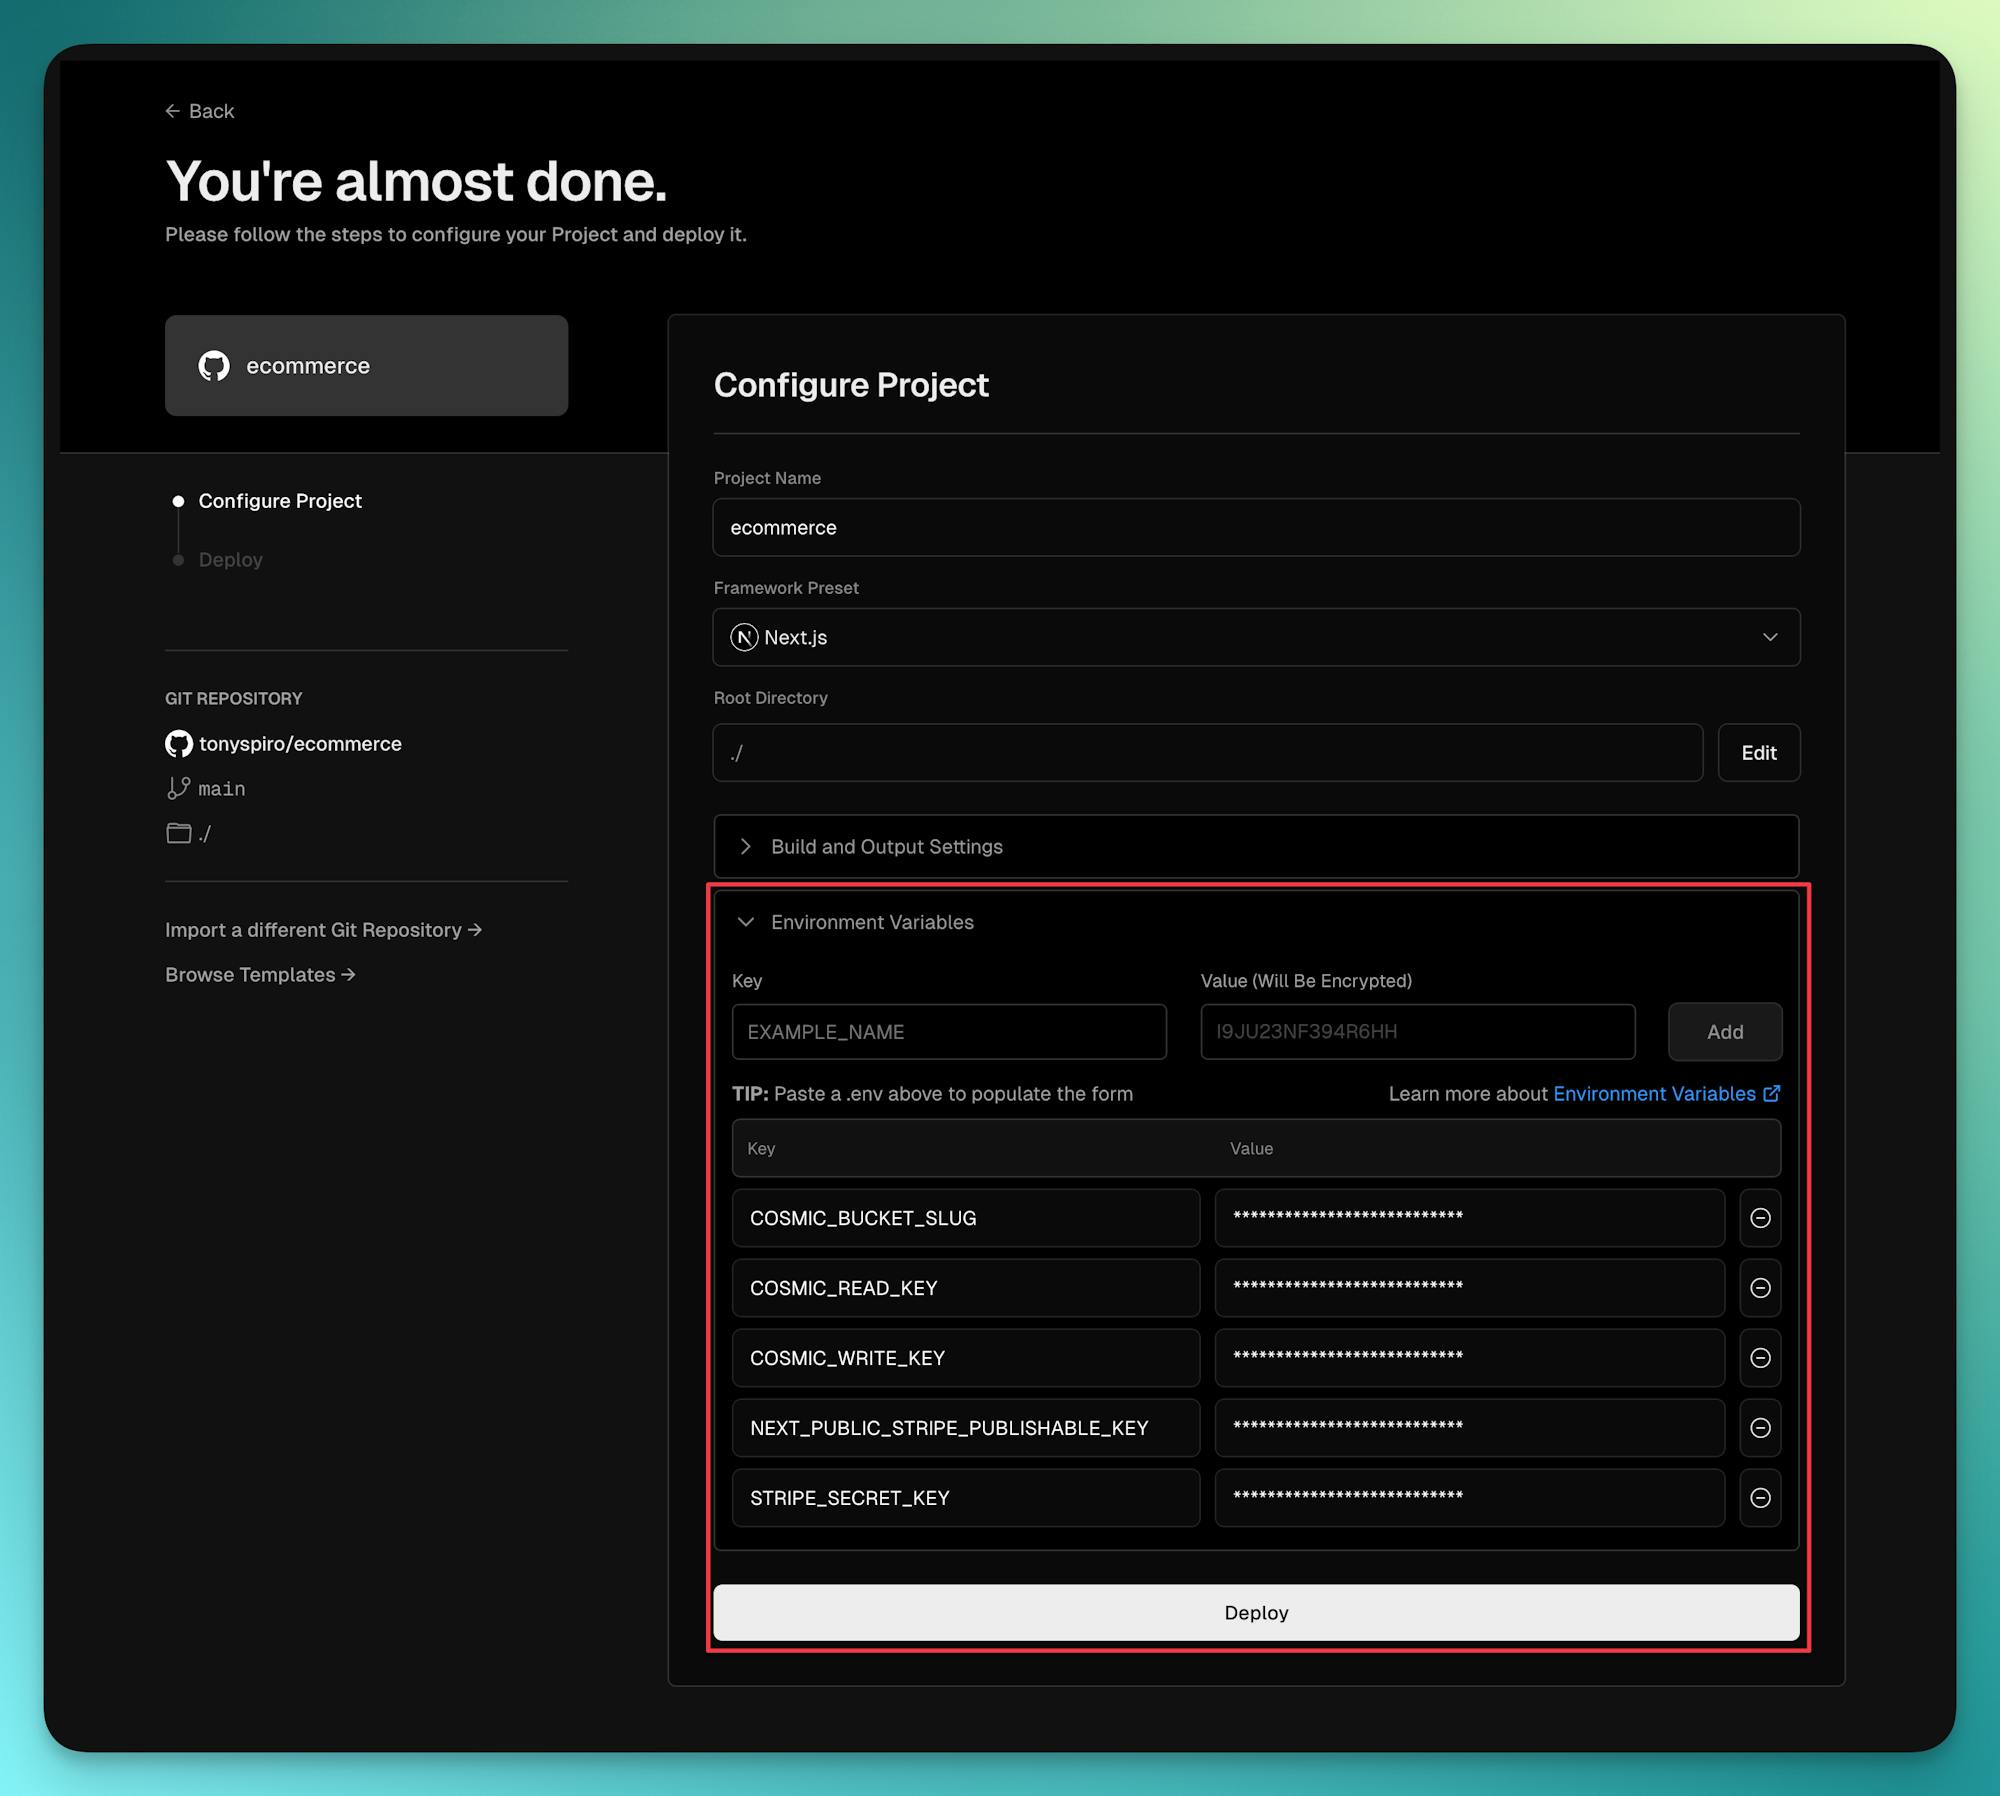
Now deploy your code. 🚀
You should now see a production build of your ecommerce website ready to take payments for your products and services. 💰
Next steps
I hope you enjoyed this quick tutorial on building an ecommerce website with Cosmic Blocks, Stripe, and Vercel. Check out more Blocks to explore to help you build optimized web experiences faster.
If you have any questions, reach out to me on X (fka Twitter) or on the Cosmic Discord server.