Karl Koch
July 05, 2023
Raycast and Cosmic
Prerequisites: Raycast Extensions only work on macOS, so if you’re on another device then sadly this tutorial isn’t worth your time.
The Cosmic Bookmarks Extension can be found and downloaded from the Raycast Store.
What is a Raycast extension?
Raycast Extensions allow you to complete tasks, create lists, browse media and improve your workflow. You can manage all of your Extensions through a set of built-in developer tools, and publish Extensions to the Raycast Store, and share with the world. Today we’ll get you on the path to doing just that (although you won’t be able to publish this exact Extension as it already exists on the store!).
Raycast Extensions use React but compile to native macOS code under the hood. This means you can write them using the web framework you know already, but still get all the benefits of native code.
What is Cosmic?
Cosmic is a headless CMS that is all about accelerating the development of content-driven applications. Cosmic offers expansive tools like a JavaScript SDK, allowing developers to easily get content into their applications. You can read the Cosmic Documentation to learn how access your content and extend the dashboard functionality.
How can Raycast and Cosmic be combined to create a website bookmarking utility?
Make sure you have Raycast installed and you’ve got a Cosmic Bucket ready (you can follow along using the Raycast Bookmarks template to have all the necessary Object Types set up, alongside some sample objects).
Step 1: Set up your Raycast extension
This step involves creating a new Raycast extension and setting up the necessary files and directories.
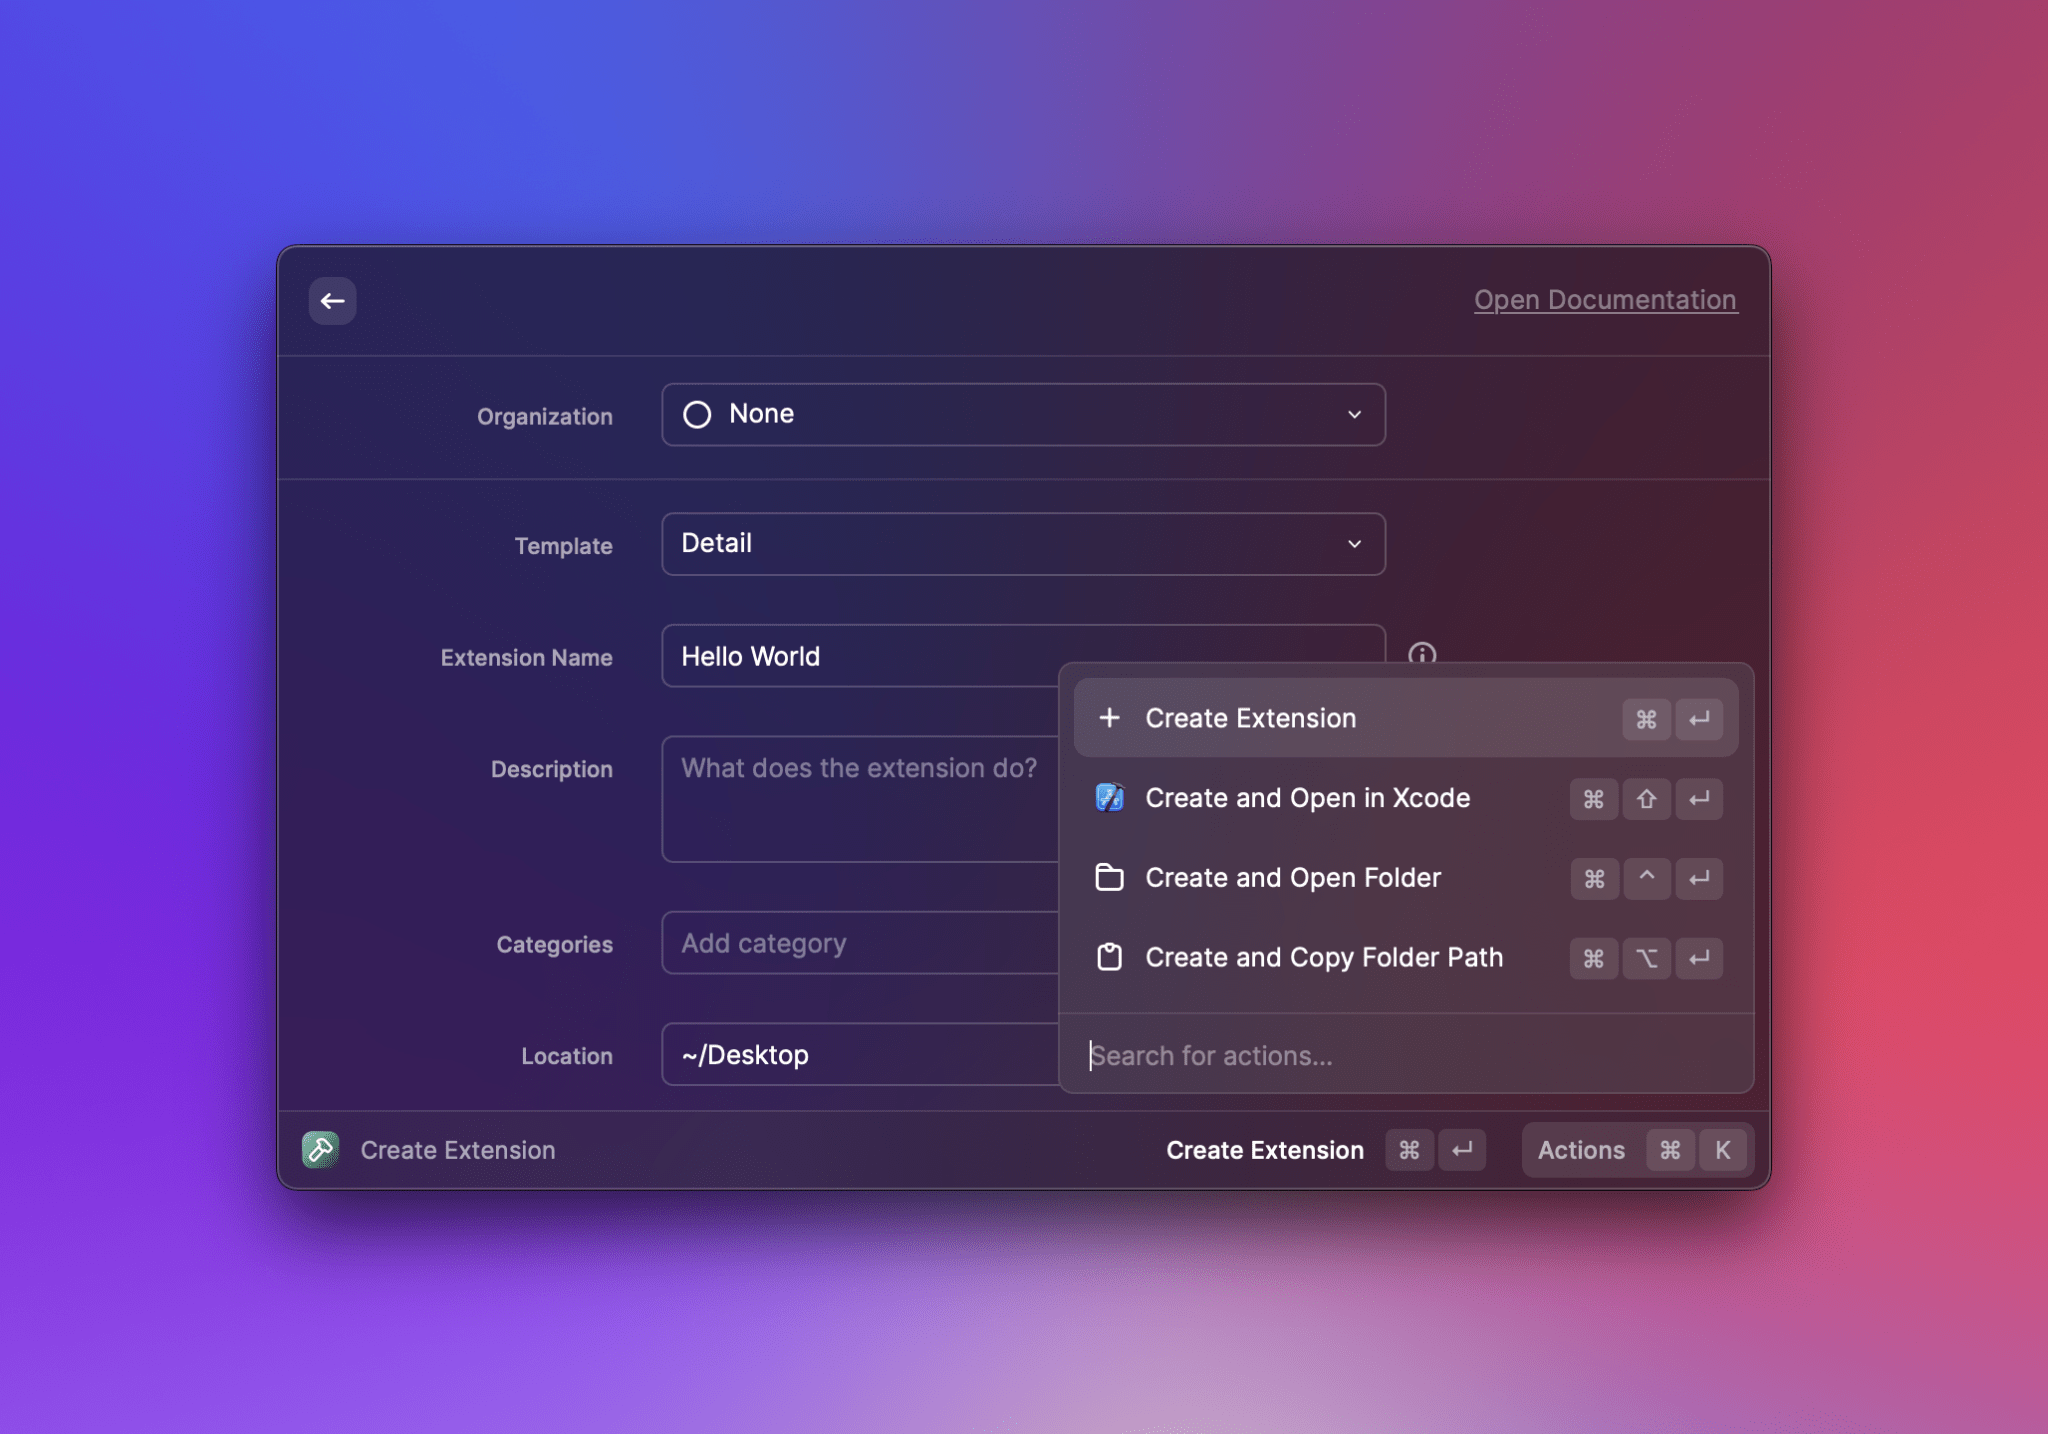
Firstly we’ll set up using the Raycast command bar flow.
- Open the Create Extension command, name your extension "Hello World" and select the "Detail" template. Pick a parent folder in the Location field and press to continue.
- Now build the extension. Open your terminal, navigate to your extension directory and run . Open Raycast, and you'll notice your extension at the top of the root search. Press to open it.

You can now remove the core code from this initial file and start with a clean slate.
Imports
We’ll need to import a few different things to get started. We’ll start with what’s required from the Raycast API. Raycast has very opinionated and strongly typed components and styles for use via their API. It’s imperative you use these as they map to native macOS code when Raycast renders them. But, for ease, you’ll be writing all of this in React.
Start by installing the additional required dependencies , this ensures that we have access to all the things we need to write good, type-safe code.
Now that we’ve got these pieces in place, we’ll need to integrate with Cosmic.
Step 2: Integrate Cosmic
In this step, you will integrate Cosmic into your Raycast extension by adding fetch requests and configuring the CMS settings.
We’re going to leverage Raycast’s built in preference storage to manage holding the Bucket slug, and read key. This means we don’t need to create our own local store and we can rely on Apple’s built in keychain encryption.
Start by declaring your Preferences interface. This ensures we get type completion and helps us catch any errors.
Next, to strengthen the type safety of our fetch requests later on, we’ll declare the interface types for our Objects List and our Singular Object. This again means that we’ll get autocompletion and catch typing errors. We can do this because we know what our model needs to look like ahead of time.
ObjectsList
This Interface is for our full list of Objects. Think of this like our Extension’s representation of the Objects Table in your dashboard. The difference here is that our List will provide preview data in the Raycast UI which comes from the SingularObject.
SingularObject
This is the equivalent of viewing the detail of a specific Object in the dashboard, only we’re rendering specific parts of the content in the frontend, much like if you were rendering it on your own website or app.
Adding your keys
Now that we’ve done this, we’ll want to actually input these values and use them in our extension. In Cosmic, go into your Dashboard and visit and get your Bucket Slug and Read Key.
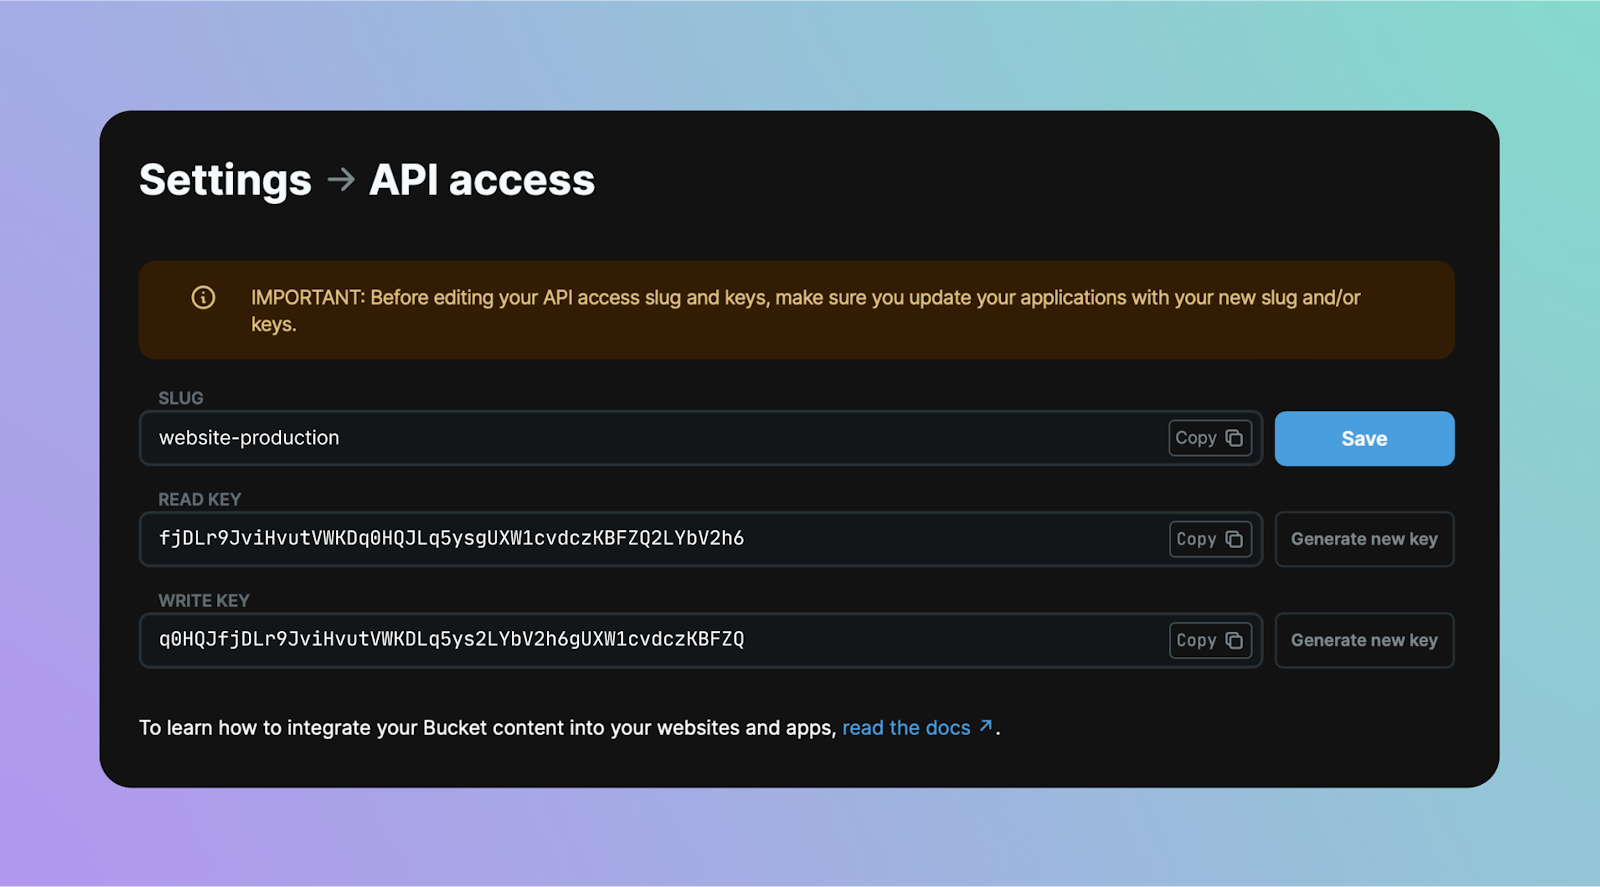
Note, the keys in this example are fake and won’t work.
Step 3: Fetch your Bookmarks
Now let’s fetch these Bookmarks into our extension and see how it’s looking.
We need to start by declaring the default function expected by Raycast extensions, this is the function. Think of this as your function that Raycast expects so it can operate.
Here we’re using the method to fetch the bucketSlug and readKey. To actually get these and ensure they’re stored safely, we need to modify the file.
In our we can include the following JSON to tell Raycast that we want to use the default view when the extension is first loaded (and provide a way to update these in Raycast’s Settings). The beauty here is that we’ve done almost zero work, but got a default interface from Raycast.
You can add this anywhere, but I’d recommend sitting it underneath .
Step 4: Create our UI
Now we’ll actually render the bookmarks we’ve fetched.
Underneath our fetch constants, we’ll add this return statement, this pulls the data from our hook and enables us to render a safe Objects List as the fetch request expects us to return an ObjectList with valid properties.
As you’ll see, the code is very neat because we get to take advantage of the provided components from Raycast. No styling required, and no heavy lifting on our part. We render a which has two properties we want to take advantage of; an prop which is just a boolean that ensures we present a loading UI in Raycast if the data is being fetched (and with a lot of bookmarks, this would be likely); and which is another boolean that presents the secondary detail view for us without having to first click on an entry.
Our and props in the are the main object id and object title that each individual Cosmic object has. You’ll rarely see the in the Cosmic interface as it’s only really exposed in the API, but know that each is unique which is handy for our .
We also have two special props, and , these two props provide a way for us to present what we want our detail view to be and what actions we want available via the shortcut.
Detail
For this, we’ll use a similar approach to our main but we’ll be rendering data on a per-Object level.
Again, we’re fetching the preferences we have stored in the main interface, this is so that we can pass them into our new hook. In this case, we’re telling Raycast that we want our fetch to match the interface we defined for for strong type safety and autocomplete (thanks Typescript!).
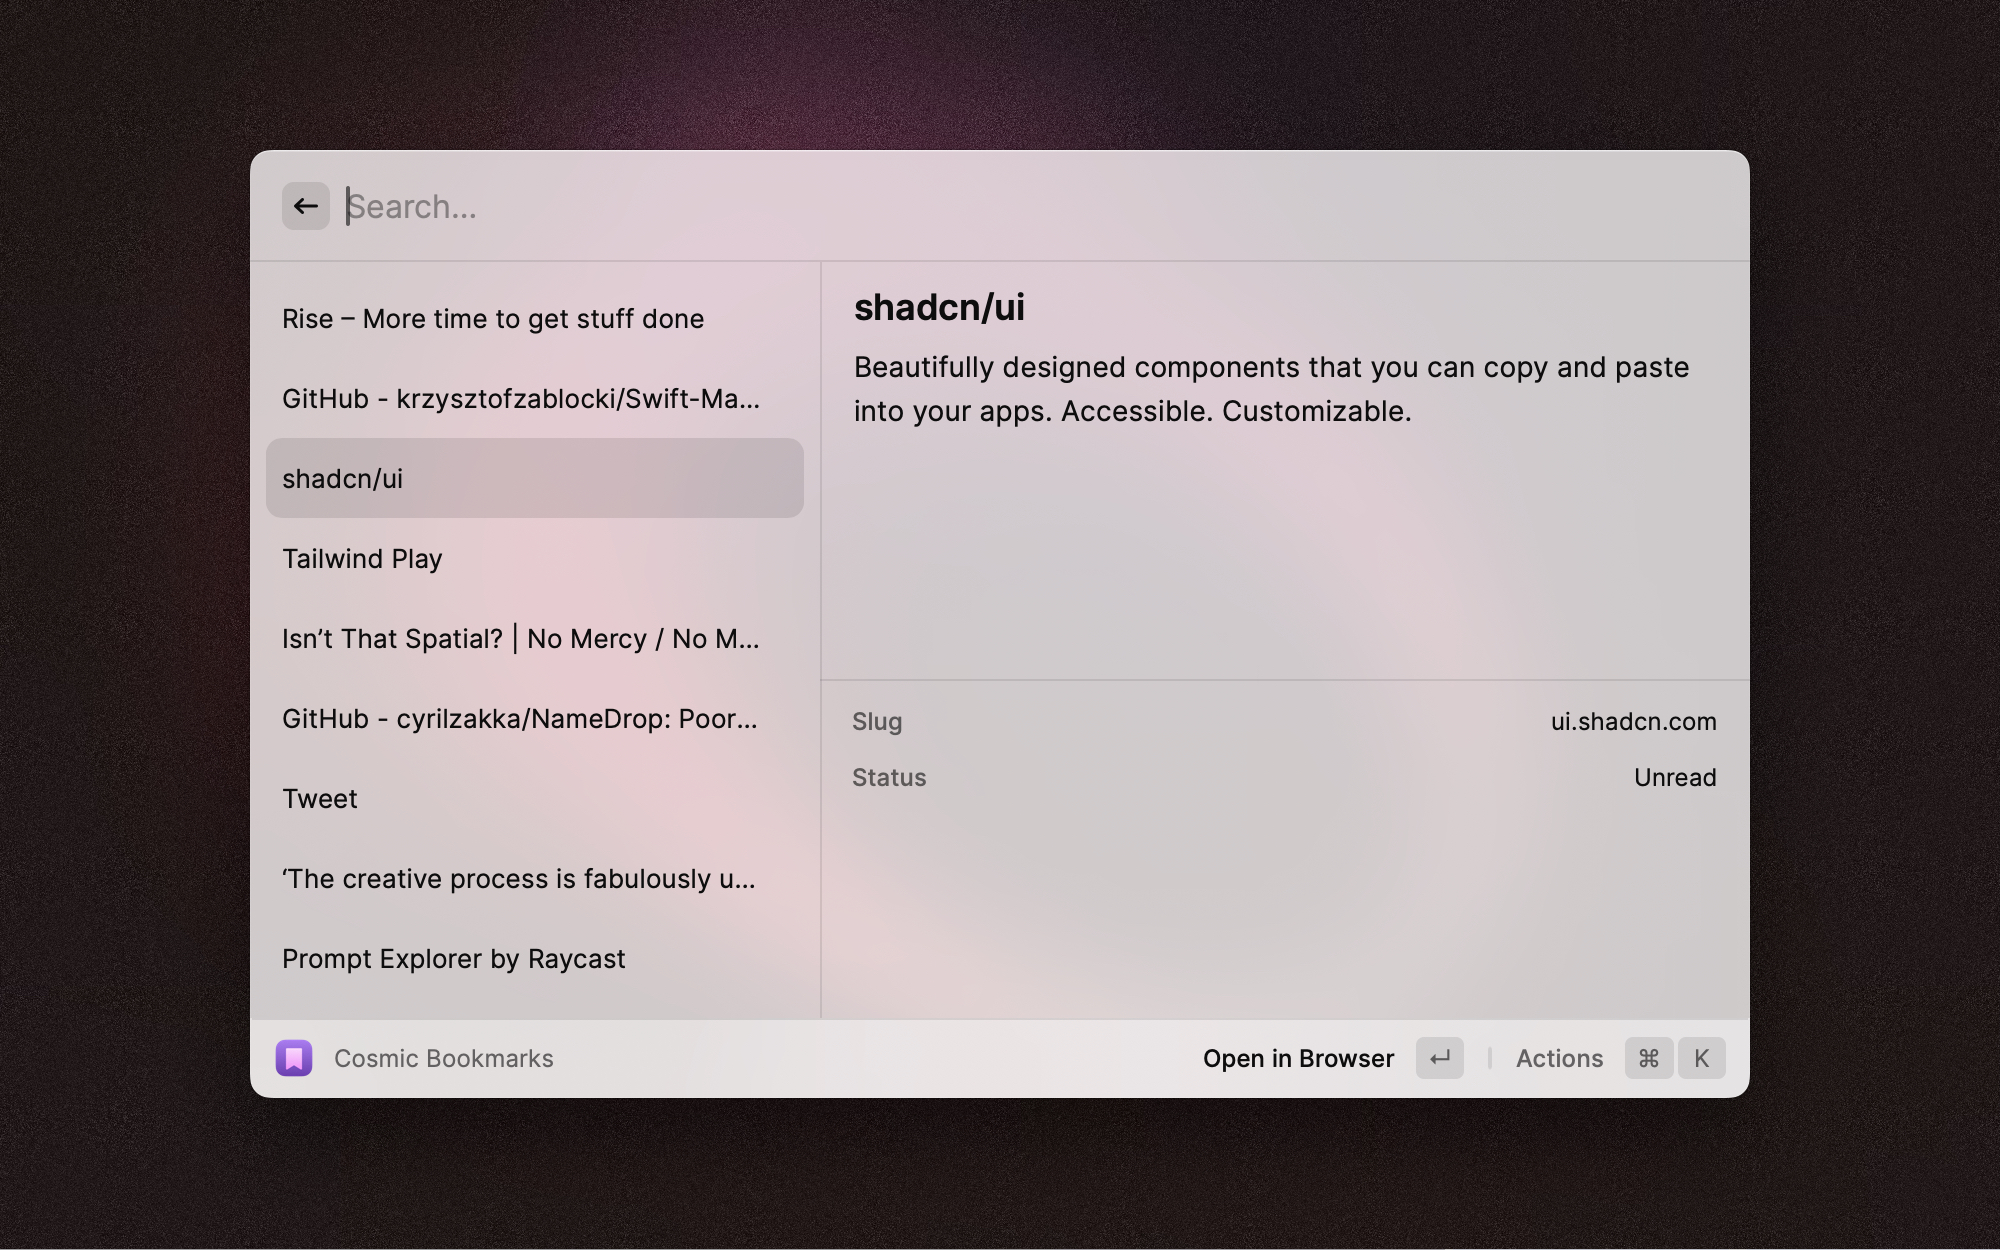
So now we can actually load our detail view and see what we’ve been looking for! Comment out the lines for now to enable it to render.
In this detail view, we’re using a simple regex command that I wrote about here to trim the domains we show to just the core site name (often known as an trim).
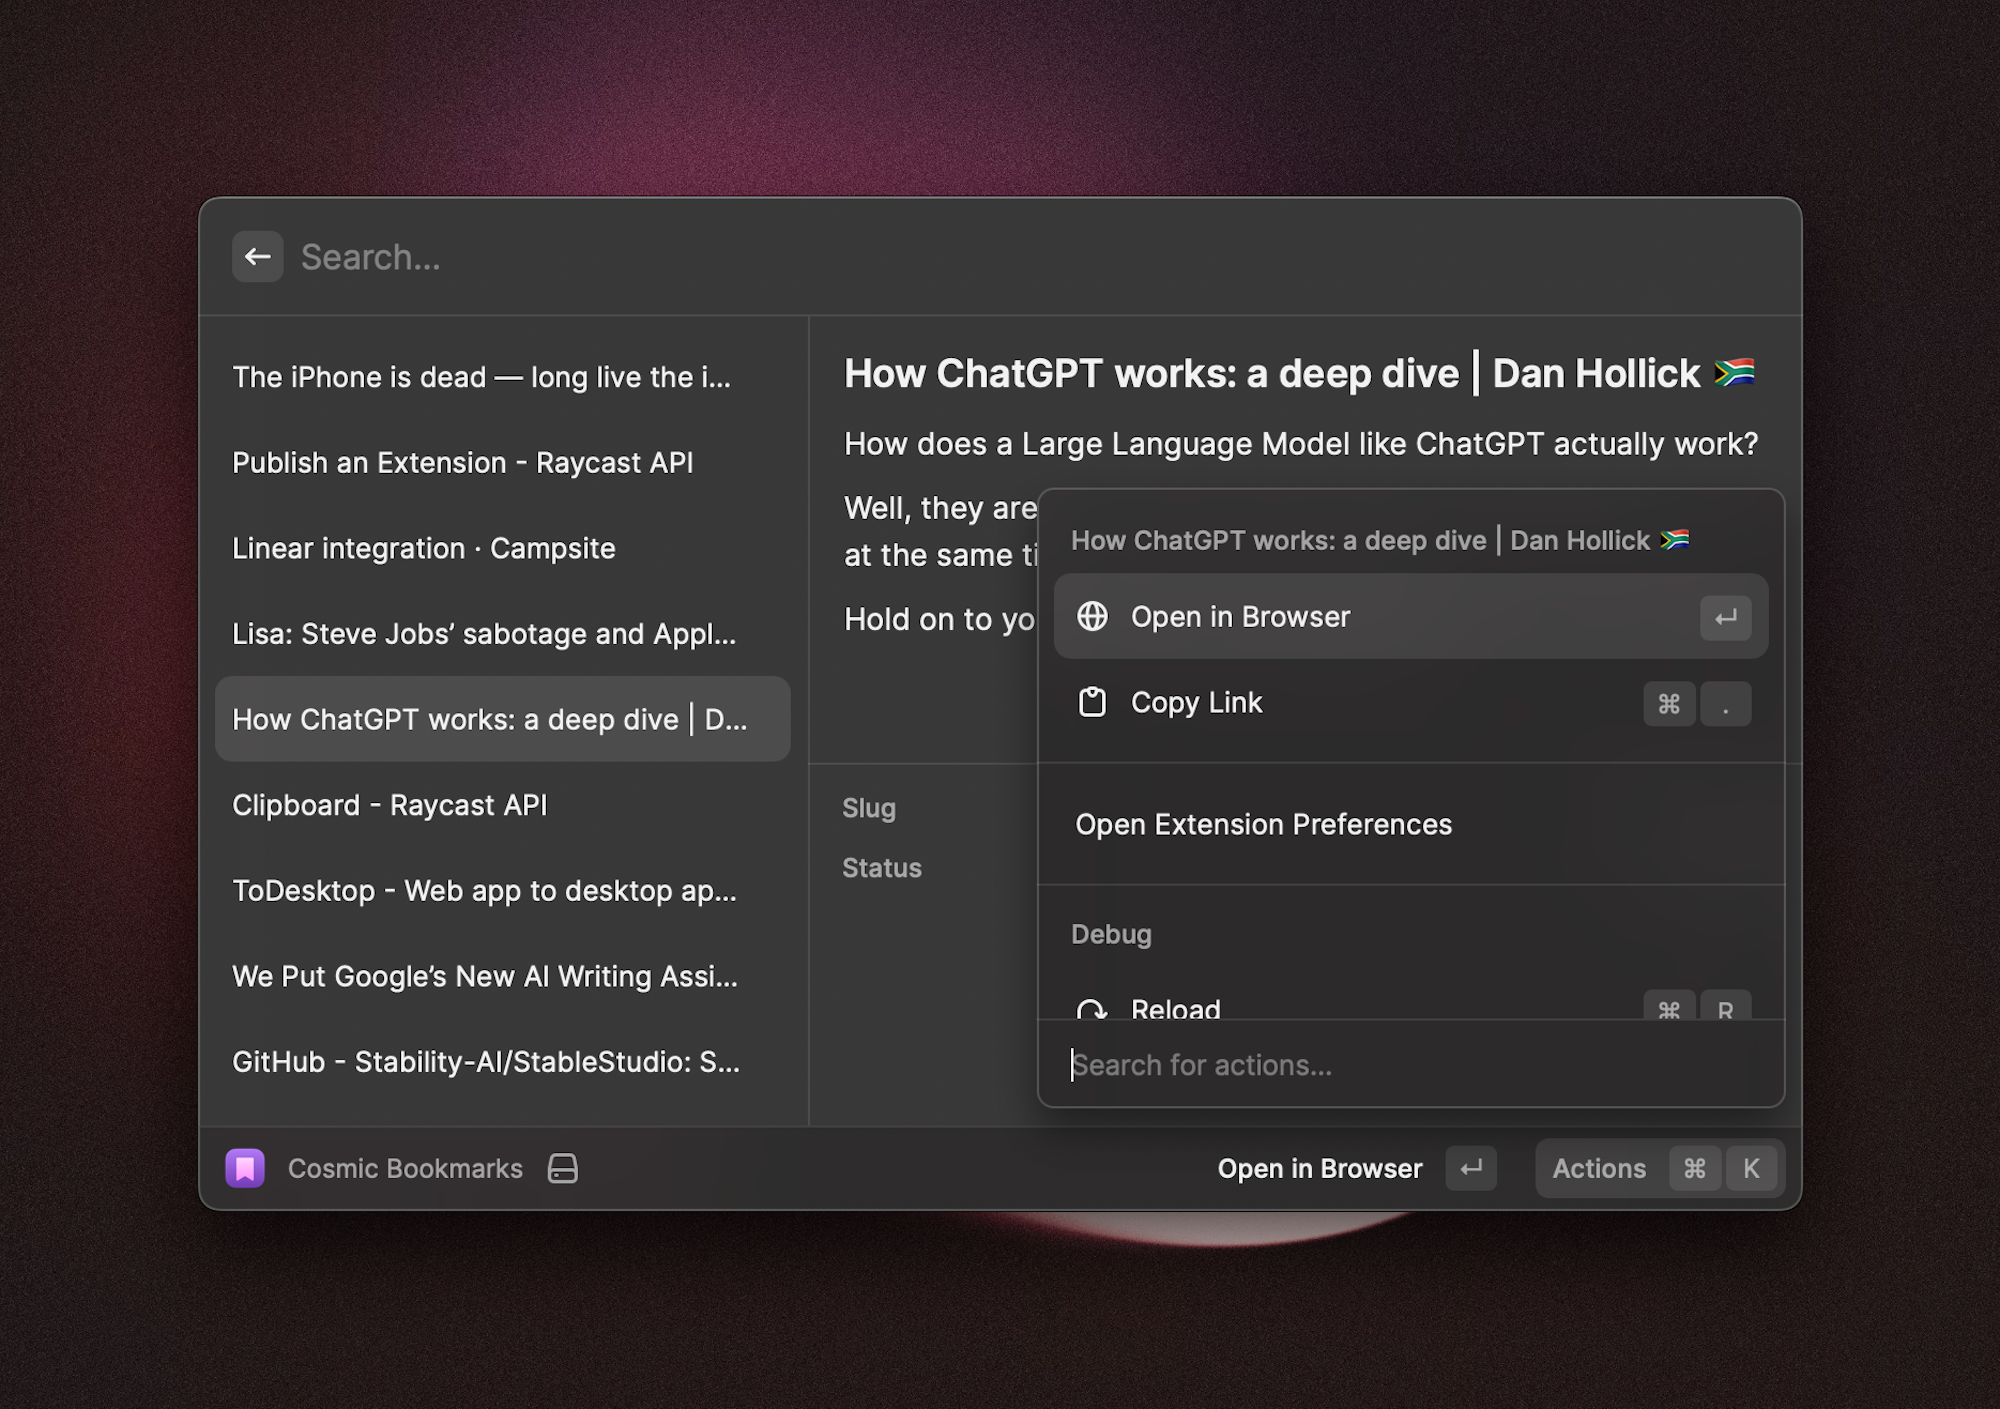
Actions
Finally, with Actions we’ll be able to easily visit one of our bookmark links or copy it to the clipboard to share elsewhere. We can do a lot of powerful things with Actions, and the full version of this that you can get from the Raycast Store utilises your Cosmic write key to update objects through the and methods. But for this tutorial, we’re focused on read-only.
So again, like with our Detail view, we’ll fetch the same data in the same way (we’re also passing the same props down to it!).
In order to render these actions in the UI, we again have super helpful components from Raycast.
Notice that for we don’t have to declare a keyboard shortcut or define a specific browser, Raycast handles all that for us by default the main action to . You can override this by copying the code that we have in the . Just note that modifiers is an array of specific options, so make sure you check the docs.
Step 5: Putting it all together
Here’s the full code as one nice big chunk.
Conclusion
Note: The initial Raycast Extension setup provided here is lifted from their Getting Started docs. You can also find out more about using Cosmic via the Cosmic Docs.
Now you should have a good understanding of Raycast extensions and Cosmic, and a good idea of how to leverage them both to make your own custom extensions. If you end up building anything awesome using both Raycast and Cosmic, share it with us on Twitter!
Resources: