Luke Netti
June 14, 2018
TL;DR
Intro
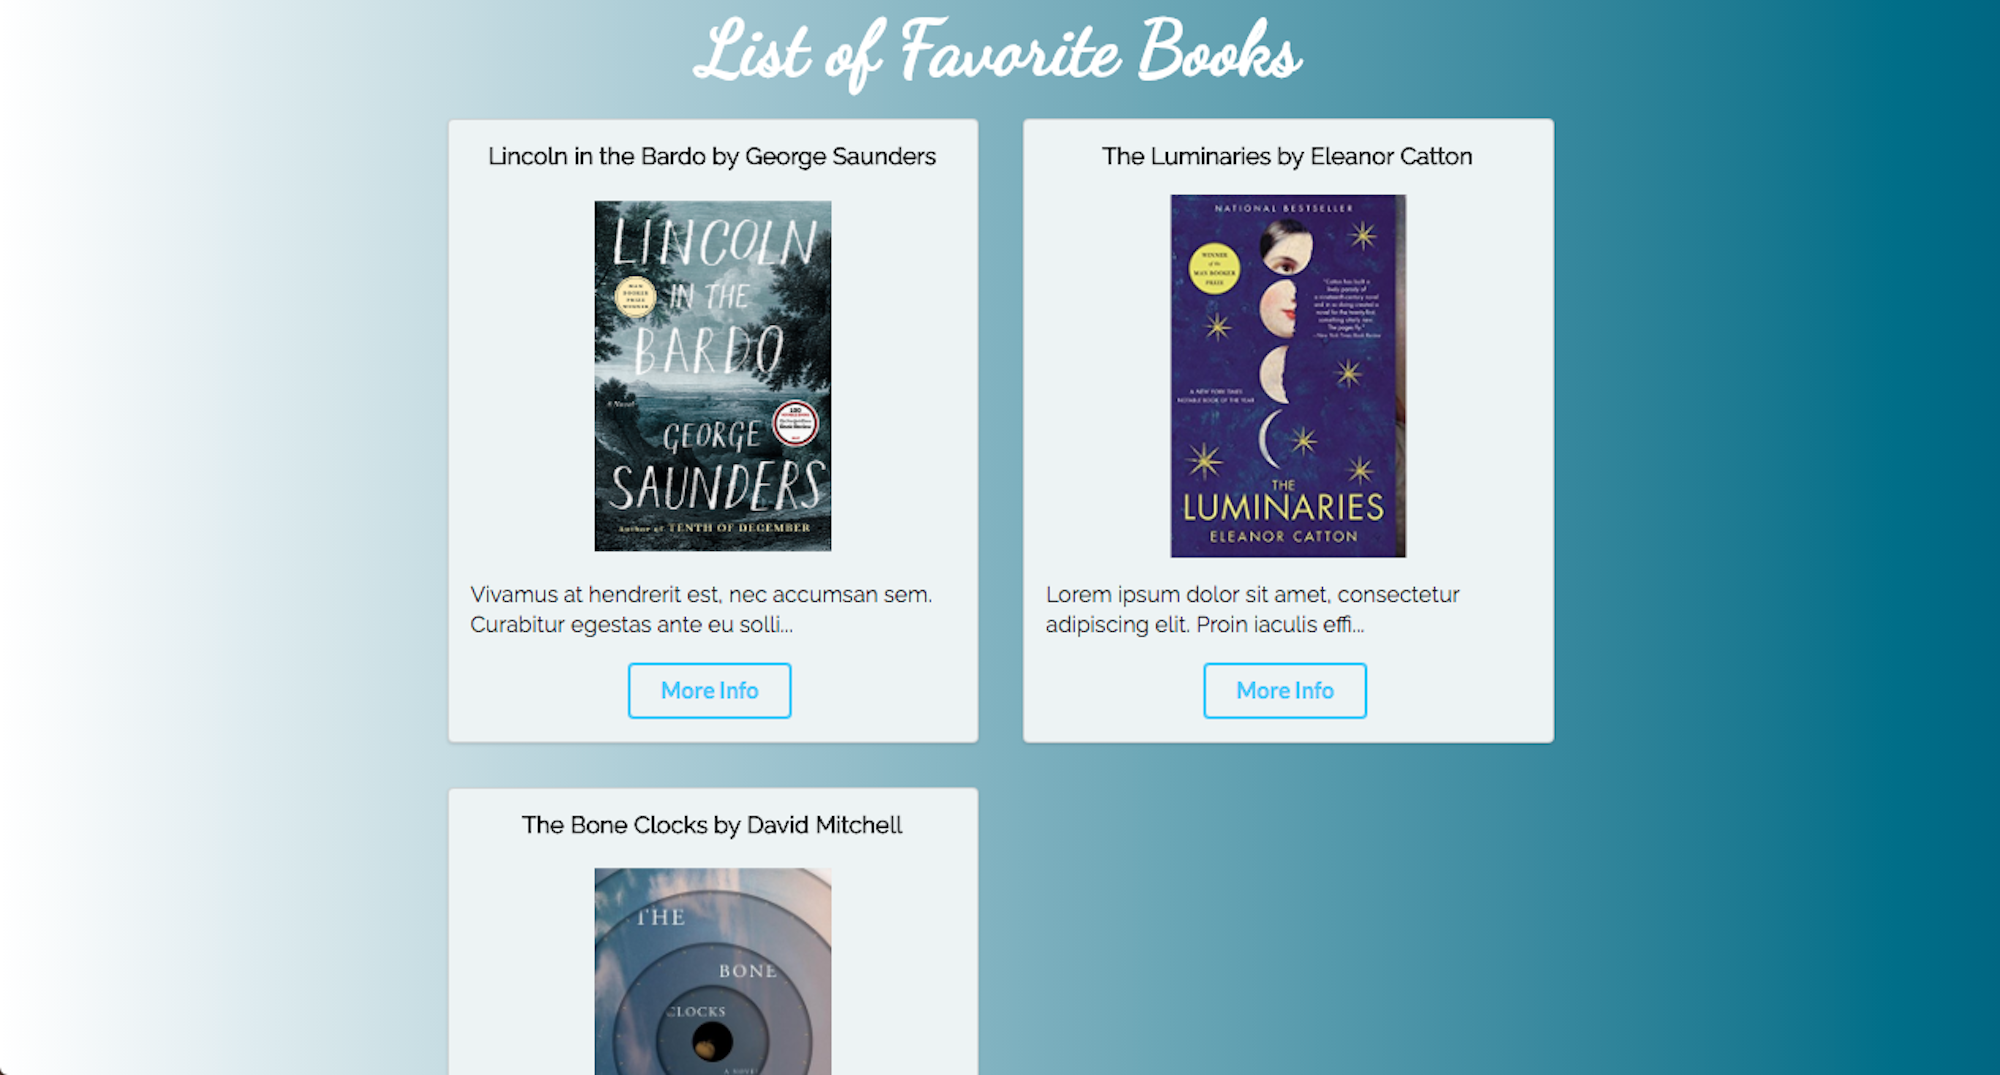
This app provides avid reader fans a way to view a list of favorite books. Using Cosmic you can add books to this list and in addition, a link to purchase the book. The main page displays the current books in the list with a short description/comment of the book. To obtain more info about the book you can click on the “More Info” button. This takes you to the page where it displays a full description/comment of the book along with the full image and a link to purchase on Amazon.
Preparing Backend
The first step is to create a Bucket. After that we need to create an Object Type for describing the books in our app. To accomplish this within your bucket click on “Add Object Type.” For the book app we will have a title with author, and three Metafields. The three Metafields we will use are: a “website” title with a link to the amazon purchase page, an “image” title Metafield with an image url, and a “comments” title Metafield with a description/comment.
That concludes the backend setup using Cosmic. As you can see it is simple to add books or any type of content to Cosmic.
Getting Started
I used Node JS for the backend language, because Node’s NPM manager is a perfect tool to use with Cosmic. Start by creating a folder titled BookApp. This will be the directory where the app will live. For the front end framework I decided to use Semantic UI. This works great with getting a site up and running and look nice with the default selections.
After this setup I created an app.js file, index.ejs, and show.ejs. The app.js file contains the location for all the routes and setup for the application. I used the bucket.getObjects to grab all the data for the books. This is a super simple process and requires only a couple lines of code.
The index page is where I setup the columns and segments for displaying the books. In this file, I looped through the Objects in Cosmic and displayed all the data each in a segment with it’s appropriate content. Semantic UI makes it simple to group things together in a segment inside of a container.
The last file is the show.ejs file. This file was displayed when the “More Info” button was clicked. This was done by writing a get request and identifying the specific slug. The slug plays the role of an id for that specific book. Once the slug for that Object Type was identified, that data was passed to the show.ejs file. Here the content was displayed again using segments similar to what was done in the index.ejs page.
Deploying
Next is deploying your book app. Cosmic makes this really simple. For this application the only thing you need to do is add to your package.json file. Under the scripts section we will need to add, ‘“start”: node app.js’. When you click deploy on Cosmic this will search for what to run and we need to make sure that node app.js is called.
For the actual deploying it’s as simple as going to Settings -> Web Hosting -> Deploy to Cosmic. They will then send you a confirmation email if your app deployed properly. If not, on the deploy page there will be an error log that will help determine what to fix to make it deploy correctly.
Conclusion
Overall Cosmic is a great tool for building your applications. It makes it easy and fast to add and edit the content with ease. By using something like Cosmic, it allows you the ability to build great applications quickly, and isn't that what we all want?
Continue Learning
Ready to get started?
Build your next project with Cosmic and start creating content faster.
No credit card required • 75,000+ developers