Chain Agents in a Workflow
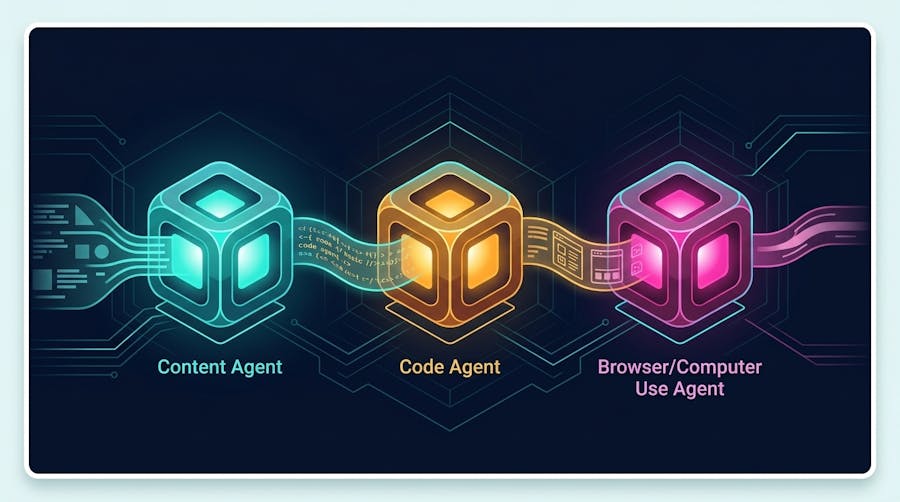
There is one kind of agent in Cosmic, shaped by capabilities rather than a type you pick at creation. Covers chaining agents in a workflow, approval gates, parallel steps, and the automatic prose handoff between steps that decides whether a chain works.
There is one kind of agent in Cosmic. What makes one agent a writer and another a browser operator is not a type you pick at creation: it is the set of capabilities you check on it.
That matters most when you start chaining agents together, because a workflow step is just an agent doing one part of a job. This lesson covers what capabilities do, how to run several agents in order, and the part people most often get wrong: how information moves between steps.
Before You Start
-
A Cosmic project with at least one bucket
-
Project admin access. Agents and Workflows only appear in the sidebar for project admins
-
At least one agent. If you have none, go to Agents > New Agent and hire one from the Use a template tab
Capabilities, Not Types
Open any agent and go to the Tools & Capabilities tab. The Capabilities section is a list of checkboxes grouped into five sets, and it is the whole story of what that agent can do.
Content & Data has Read CMS content and Write CMS content.
Agents & Automation has Manage agents & workflows in this project, Execute automations & workflows, and Delegate to other agents in this and other projects.
External Services has API Requests, Send notifications, Read web pages, and Computer Use (control a browser).
Analytics has Read web analytics, which lets the agent read your Cosmic Insights data.
Repository has Read repository code and Write repository code. Checking write turns on read automatically.
So the agent that writes your blog posts and the agent that opens pull requests are the same kind of object with different boxes ticked. There is no separate content agent or code agent to create.
This is worth internalizing before you build a chain, because it changes the design question. You are not asking "which type of agent do I need for this step." You are asking "what does this step need permission to do," and the answer should be as short as possible.
Step 1: Create the Workflow
-
Click Workflows in the project sidebar
-
Click Create New Workflow
-
Give it a Workflow Name, for example
Draft and review -
Optionally add a Description
There is also a Workflow Prompt (optional) field. Whatever you put there is included in every step, so it is the right place for rules that apply to the whole run: tone, subject matter, things no step should ever do. Leave it empty if you have nothing global to say.
Step 2: Add the Steps
Under Workflow Steps, click Add Agent Step.
The default is Use an existing agent, described as running a saved agent with its own prompt, model, and tools. Pick one from the list. This is the option you want almost every time, because the agent already has its capabilities set and you can test it on its own before putting it in a chain.
In Instructions for this step (optional), describe what this specific step should do. The agent's own prompt says who it is; the step instructions say what it is doing right now. Leave it blank and the agent falls back to its saved prompt.
Click Add Agent Step again for each additional step. Steps run top to bottom.
A useful shape for a first chain is two steps: one agent researches and produces a brief, a second turns that brief into a draft. Two steps that work are worth more than five you cannot follow.
How Data Moves Between Steps
This is the part worth reading twice, because it is the opposite of what most people expect.
You do not wire anything together. There is no variable picker, no field mapping, and no place to connect one step's output to the next step's input. The workflow engine collects what each step produced and puts it into the next step's prompt automatically, along with a note about where the step sits in the run.
So step 2 can simply refer to what step 1 produced:
Take the brief from the previous step and write a complete draft.
Save it to Blog Posts with status Draft.
The consequence is that each step should say clearly what it is handing over, because the handoff happens in prose rather than structured fields. Compare two versions of a research step:
Weak:
Research the topic.
Better:
Research the topic and output a brief containing: a working title,
the reader question it answers, three points to cover, and any
URLs worth citing.
The second gives the next agent something to work with. The first produces a summary the next step has to guess at. Almost every bad workflow run traces back to a step that was vague about its output.
Step 3: Put a Human in the Chain
Click Add Approval Gate to add a step that pauses and waits for a person before anything after it runs. The workflow stops there and notifies you to approve or reject.
Give it a Step Name; it defaults to Review & Approve.
Put one before any step that publishes, commits, or changes something outside Cosmic. While you are still learning what a chain produces, an approval gate is the difference between reviewing a mistake and undoing one.
When you are done, click Create Workflow.
Step 4: Run It and Read the Result
Run the workflow. Each run creates an execution record showing every step, its status, and what it produced, with View output data on each step if you want the raw JSON. A run paused at a gate shows Waiting Approval.
When a run goes wrong, open the execution and find the first step whose output looks off. Everything after that point was working from bad input, so there is no sense debugging it. Fix that one step's instructions and run it again.
A Tip on the Computer Use Capability
Computer Use (control a browser) lets an agent drive a real browser: log in, click, fill out forms, and complete multi-step tasks on a site that has no API. Checking it reveals a Browser Authentication section where you attach saved logins for sites behind a password.
It can also do real damage, so two habits are worth adopting from the start.
Give it credentials for a test account rather than a production one, at least until you have watched it complete the task several times. The dashboard's own warning is blunt about why: a saved login lets the agent act as you on that site.
Be specific about where it should stop. "Log in and check the page renders" is a safe instruction. "Log in and fix anything that looks wrong" is not, because you have handed an open-ended mandate to something that clicks buttons.
Going Further
Steps do not have to run one at a time. Each step has a Parallel toggle, and adjacent steps marked parallel run together rather than in sequence. This is worth doing when two steps have no dependency on each other, such as generating an image while a different agent writes the body copy.
A workflow is the right tool when the sequence is fixed and you know the steps in advance. When the work is recurring and open-ended, where the agent has to judge when it is finished, a goal on a single agent is usually the better fit. Lesson 10 covers both.
Do This in Your Project
-
Open an agent and look at Tools & Capabilities. Uncheck anything it does not need
-
Go to Workflows and click Create New Workflow
-
Click Add Agent Step, keep Use an existing agent, and pick that agent
-
In Instructions for this step, spell out exactly what it should output, not just what it should do
-
Click Add Agent Step again and add a second agent that consumes that output
-
Click Add Approval Gate before anything that publishes
-
Click Create Workflow, run it once, and open the execution record
Read what step 1 actually handed to step 2. That single check teaches you more about workflows than any amount of configuration.
Up Next
Lesson 10: Scheduled and Event-Triggered Workflows
Lesson 10 covers running this without anyone starting it: on a timer, when content changes, or as a standing goal the agent works on by itself.
Up next
Scheduled and Event-Triggered Workflows