Publish Content from Slack with an AI Agent
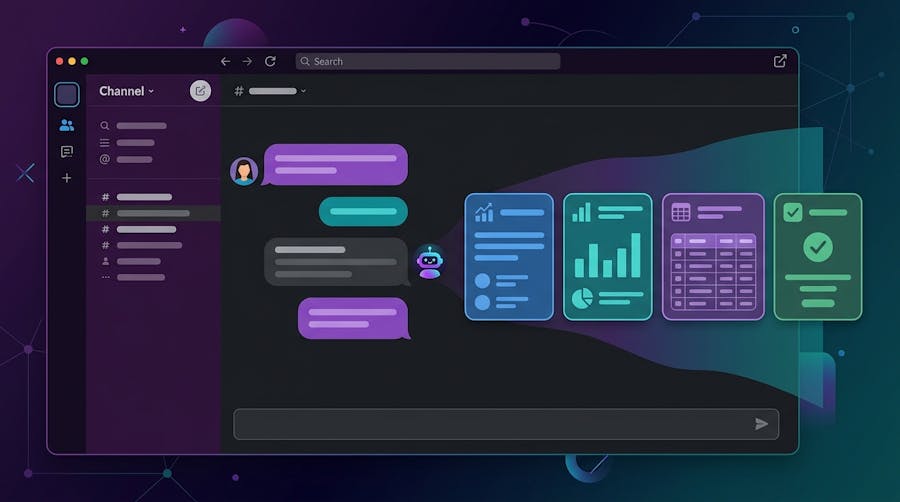
This lesson shows you how to connect a Cosmic AI agent to Slack so anyone on your team can trigger content creation with a simple message, without accessing the CMS dashboard or writing a single line of code.
Most content requests start as a message someone types to a colleague. Then somebody copies it into a doc, somebody else writes it, and eventually it gets pasted into a CMS.
This lesson removes the copying. You will connect a Cosmic agent to a Slack channel so a request posted there becomes a draft in your CMS, with a link back for review. Everything is done through the dashboard and Slack.
How It Works
-
Someone posts a request in a Slack channel
-
The agent picks it up and writes a draft
-
The draft is saved to your CMS with status Draft
-
The agent replies in Slack with a link
-
A person reviews it and decides whether to publish
Steps 1 and 5 are the human parts, and they should stay that way.
Before You Start
-
A Cosmic project with at least one bucket and a content type such as Blog Posts
-
Project admin access
-
A Slack workspace where you can install apps
Step 1: Connect Your Slack Workspace
This is done once for the whole project, not per agent.
-
Click Settings in the project sidebar
-
Open Integrations
-
Find the Slack card
-
Click Connect to Slack
Slack asks you to approve the connection and sends you back. The card should now read Connected.
Step 2: Invite the Bot to a Channel
Pick the channel where requests will be posted, or make a new one for testing. In that Slack channel, type:
/invite @Cosmic Agent
The agent cannot see a channel it has not been invited to. If a channel is missing from the dropdown in the next step, this is almost always why.
Use a test channel for your first run rather than a busy team channel.
Step 3: Hire the Agent
-
Click Agents in the project sidebar, then New Agent
-
On the Use a template tab, search for
content -
Open Ava, Content Lead and click Hire Ava
Hiring Ava drops you into a chat with her. Everything below is configured elsewhere, so open her Settings.
On the General tab, check that Bucket points at the right content, then add your specifics to the Agent Prompt:
When someone posts a content request, pull out the topic, the
audience, and any key points they mention. Write a complete draft
and save it to Blog Posts with status Draft. Reply in the channel
with the title and a link to edit it.

If the request is missing something you need, ask in the channel
instead of guessing.
Step 4: Check Its Permissions
On the Tools & Capabilities tab, look at the Capabilities section. For this job the agent needs:
Capability | Why |
|---|---|
Read CMS content | See existing content and follow its conventions |
Write CMS content | Save the draft |
Send notifications | Reply in Slack |
Uncheck anything else. Ava's template also arrives with Read web pages and Delegate to other agents in this and other projects switched on, and neither is needed for this job. A writing agent has no reason to hold Manage agents & workflows in this project or Write repository code either. The checkboxes, not the instructions, are what actually limit an agent.
Step 5: Turn On Slack for This Agent
Open the agent's Channels tab and find Communication Channels.
-
Switch on Slack, described as Chat with this agent in Slack
-
Pick your channel from the Slack Channel dropdown
-
Tick Only respond when @mentioned
Leave that last box ticked while you are testing. Without it the agent responds to every message in the channel, which in a real channel means a lot of drafts nobody asked for.
You can also set a Display Name and Avatar Image under Slack Appearance so the agent is recognizable in the conversation.
Step 6: Give Your Team a Format
Consistent requests produce consistent drafts. Share a short template people can paste:
Topic: [the topic or working title]
Audience: [who should read this]
Key points: [three to five bullets]
Filled in:
Topic: How to choose between REST and GraphQL for a mobile client
Audience: Developers planning a new mobile app backend
Key points:
- Over-fetching and under-fetching, with a real payload comparison
- Caching differences and what they cost to implement
- When the extra GraphQL tooling is not worth it
Post it in your test channel, mentioning the agent, and watch what comes back.
Step 7: Review the Draft
The agent replies with whatever you asked it to include in the prompt. A title, a link, and the status are usually enough for someone to decide whether to open it.
Open the draft and read it properly before publishing. Treat it as a first draft from a fast junior writer: useful structure, claims that need checking.
If something is off, reply in the channel instead of quietly fixing it yourself. The agent keeps the conversation as context, so a specific correction like "the second section is generic, add the payload comparison from the brief" gets you a better revision than "make it better." It also shows you which part of your prompt needs work.
A Tip for Technical Content
If your posts include code, name the library you want directly in the Agent Prompt. Models default to whatever was most common in their training data, which is often an outdated package.
When writing code examples, always use the @cosmicjs/sdk package.
Do not use the older cosmicjs package.
The same applies to any tool your content covers. One line in the prompt is cheaper than correcting every draft.
Going Further: Start a Whole Workflow From Slack
Once a single agent is reliable, a Slack message can kick off the multi-step workflow from Lesson 1 instead of just one writing step. Research, draft, and review each run as their own step, and the last step posts the link back to Slack.
To allow this, tick Execute automations & workflows on the agent's Tools & Capabilities tab. The agent can then start a workflow and pass along the details from the Slack message.
Do this only after the single-agent version works. A three-step pipeline has three places to go wrong and one place to notice.
Do This in Your Project
-
Connect Slack at Settings > Integrations
-
Create a channel called
#content-testand run/invite @Cosmic Agentin it -
Hire Ava, Content Lead from the agent templates
-
Enable Read CMS content, Write CMS content, and Send notifications
-
On the Channels tab, switch on Slack, pick
#content-test, and tick Only respond when @mentioned -
Post a request using the format above and open the draft it creates
Run a few requests through the test channel before sharing the format with your team. You are checking whether the results are consistent, and the only way to know that is repetition.
What You Have Built in Stage 1
-
A team of agents that research, write, and review, running in order on a schedule
-
A direct connection between your code editor and your content
-
A Slack entry point so a request becomes a draft without anyone opening the dashboard
Each works on its own. Together they cover the three places content work usually starts: on a schedule, in your editor, and in a conversation.
Up Next
Lesson 4: Ship a Site on Cosmic with Next.js
Stage 2 moves from agents to the frontend, pulling the content you have been producing into a deployed site through the REST API and SDK.
Up next
Ship a Site on Cosmic with Next.js