Jamie Introcaso
October 08, 2020
Note: This article has been archived as it may contain features or techniques not supported with the latest version of Cosmic.

This article will walk you through creating a marketing landing page using Cosmic and Angular. This landing page allows for an organization to collect contact information in exchange for some "gated" materials. You may have seen something like this used to distribute white papers, exclusive wallpapers or images, ebooks, or even new music. We will be building out the Cosmic Bucket structure and then show how you can set up a simple Angular application to hook into the Bucket and start gathering those leads for your sales team to grow the business. I say “simple” not to say that it is something self-evident, but that it covers the basics and serves as a starting point for you to expand upon.
TL;DR
Setting up the Bucket
Our Bucket will only consist of a few Objects to accomplish our goals. These Objects will be a Campaign Object to store information about our marketing campaign, a Contact Object to store information of visitors to our page who sign up, and a Materials Object to store the files we will be offering to those who sign up on the page.
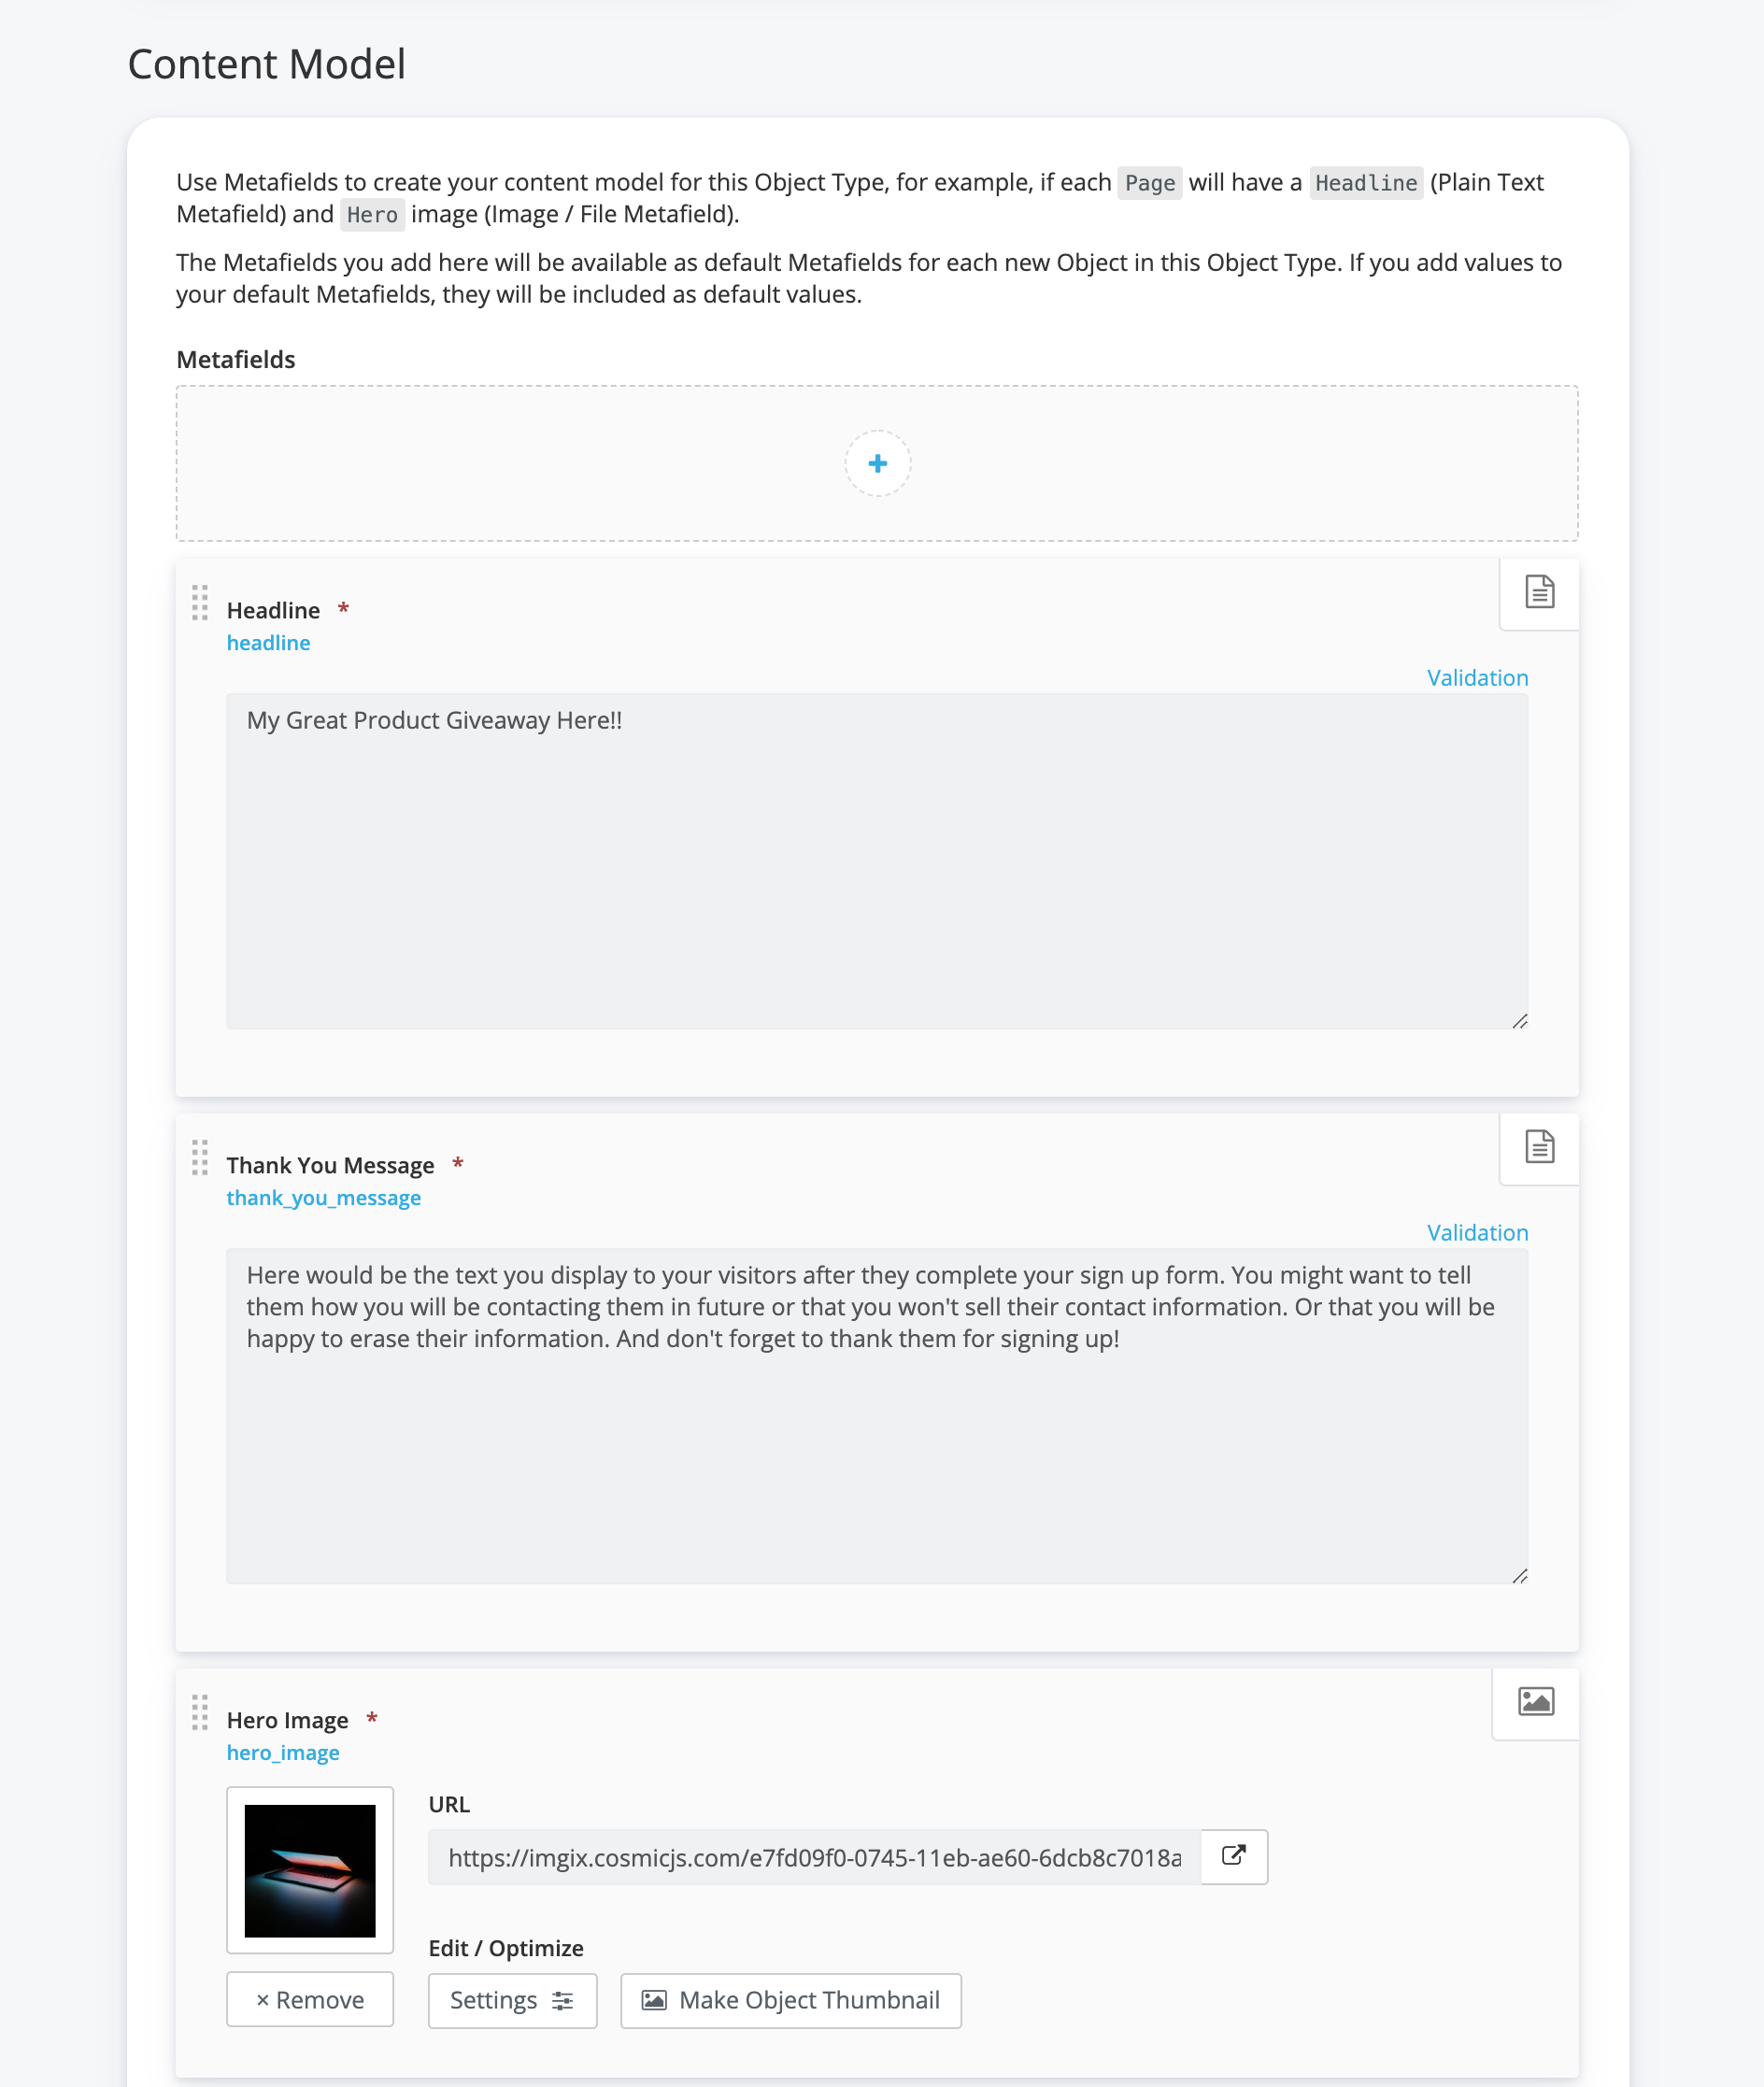
First we start with the campaign Object which will consist of the following Metafields:
Headline: text area
Thank You Message: text area
Hero Image: File/Image
Sign Up List: One to Many Object Relationship
Campaign Materials: One to Many Object Relationship
We will mark the Headline, Thank You Message, and Hero Image fields as required to ensure that we have the data needed to display on the site.
Next we will create the Contact Object. This will hold the data we are going to ask the visitors to the site to submit. For our example, we are only going to create the following Metafields:
First Name: text area
Last Name: text area
Email Address: text area
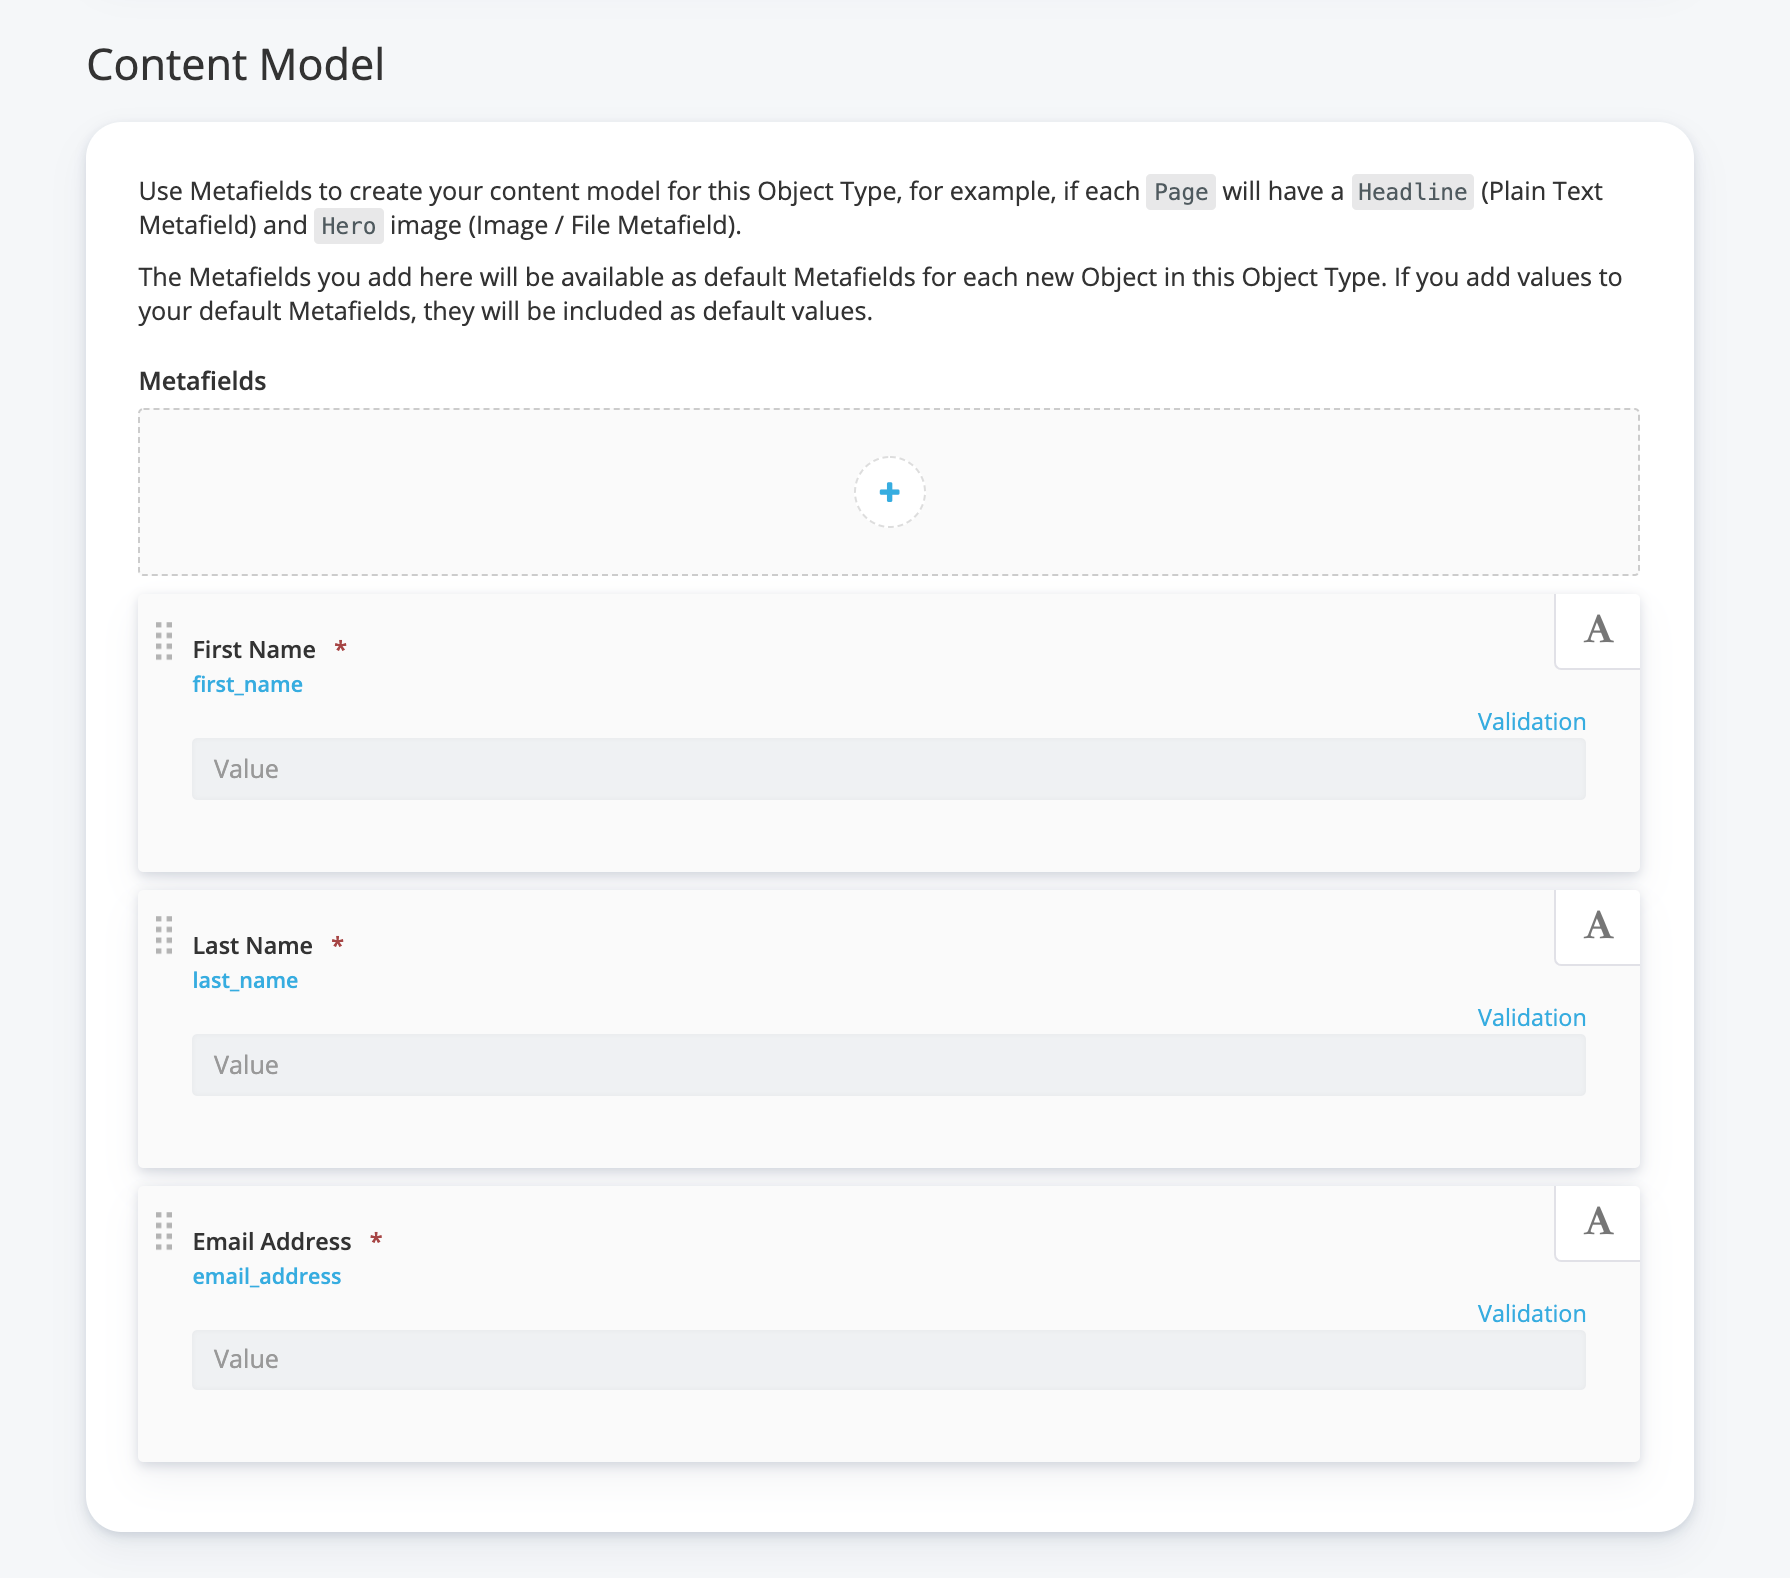
We will be marking all of these as required as well. The Sign Up List Metafield we set up in the Campaign Object will be a collection of these Objects. Next, we will create a Material Object to hold the files that we are going to be delivering in our application. This Object will only have a File/Image Metafield to hold the file. The Campaign Materials Metafield in the Campaign Object will be a collection of these Objects.
We will also need to create an Object to hold the contacts that we are gathering from the landing page. We will use the contact Object for that. Ours will only hold first name, last name, and email address for now. Cosmic gives us the tools to create some constraints on these fields. We are going to mark these as required and use that in our front end application later.
Finally, we will need an Object to hold the files that we are going to distribute after a visitor submits their information. We can use the file Object in Cosmic to store this file so we can download it from the application.
Setting up the Application
We will be using the Angular framework to handle our presentation and interaction with visitors to our page. This application assumes that you have some familiarity with Angular, but you do not need a deep understanding of the ins-and-outs of the framework. Also, since we are keeping this a bare bones example, we won't be using some of the more complex offerings of the framework.
Our application is basically going to have three different presentations to the user:
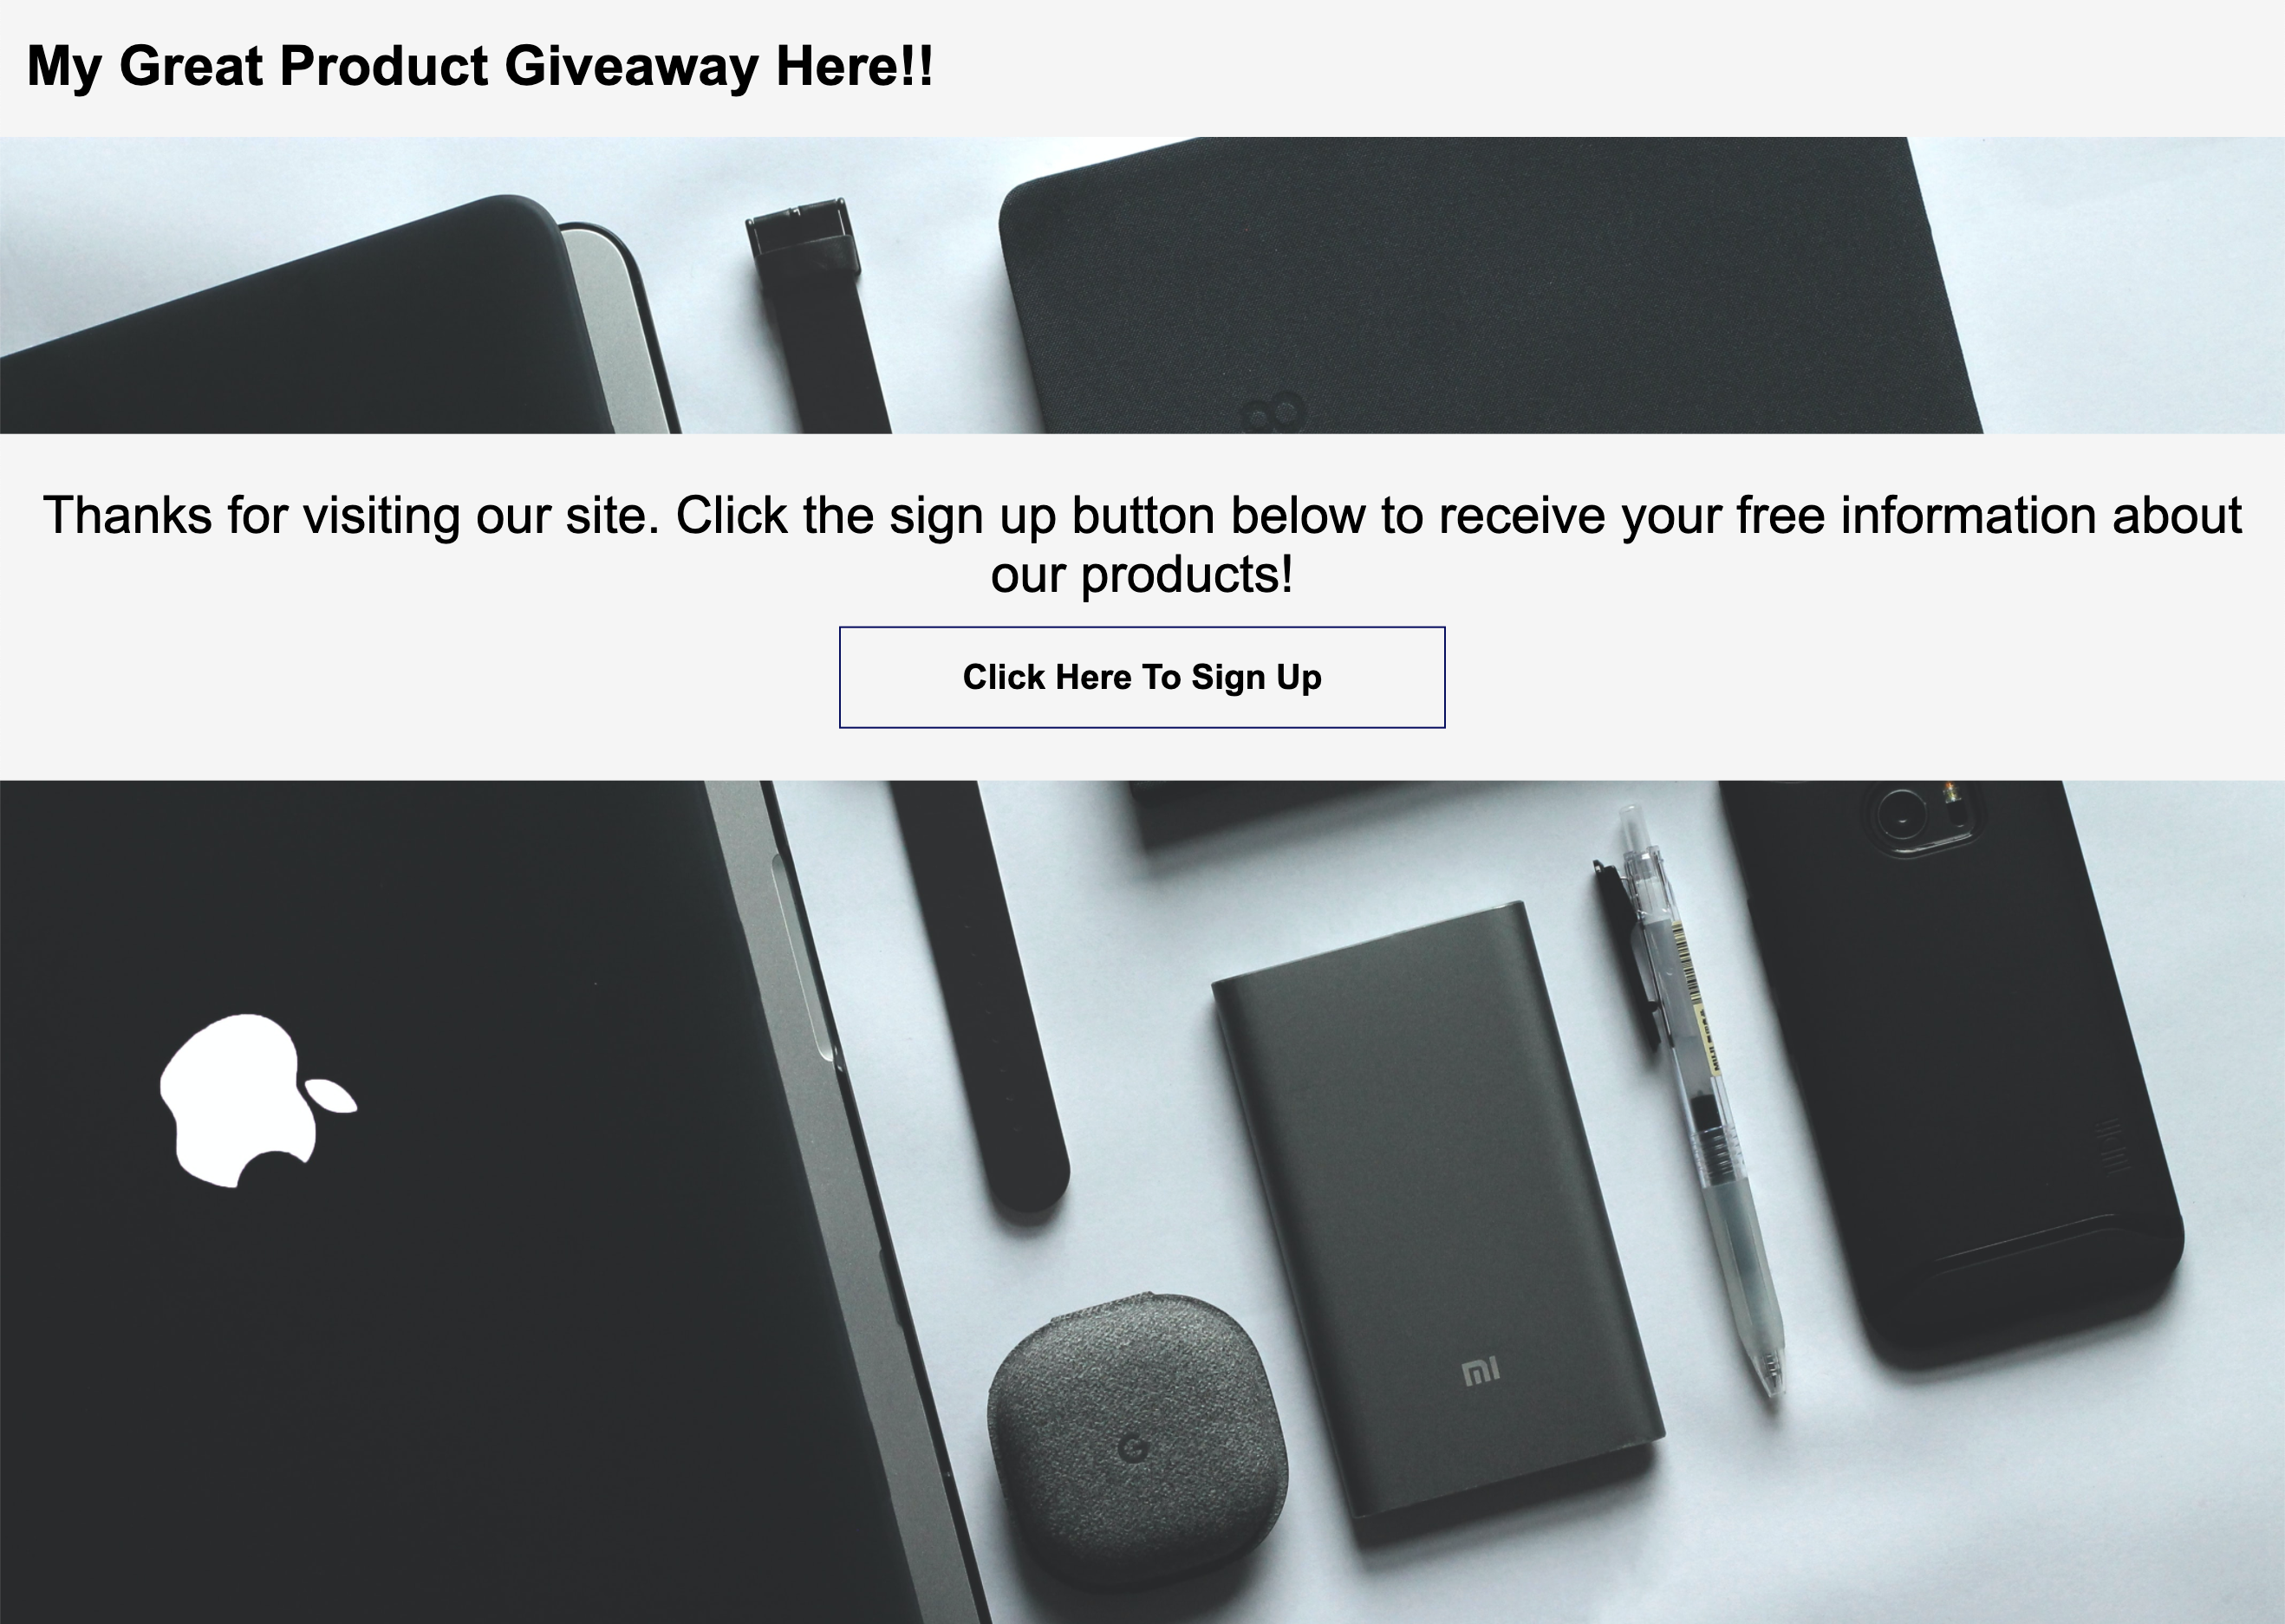
1. The first is the initial landing page to introduce our product, offering, and campaign to the user visiting our page.
2. Next, we will need to have a component to present the form to collect the visitor's information.

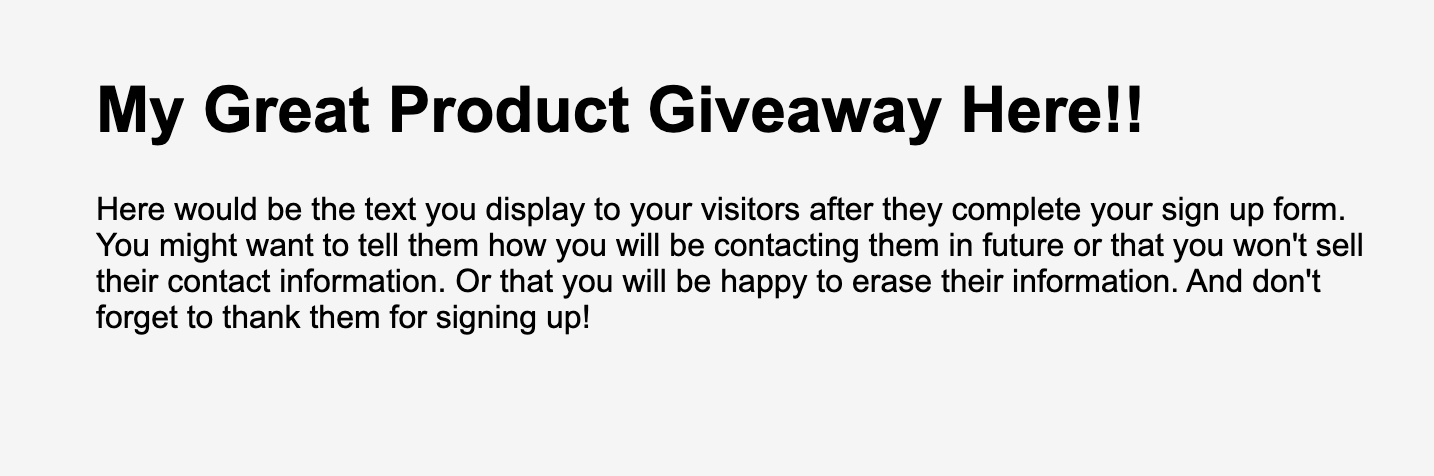
3. And finally, we will need to distribute the content and communicate that to our visitors and thank them for signing up.
We are going to start by creating a landing page component that will hold our three presentations that we will show and hide as the user travels through the application flow. We will also create a service to interact with our Cosmic Bucket. The last supporting piece we will need is going to be a config file to hold some data for us such as our Bucket slug and read and write keys.
On the button click, we will use the data from our form to save a new contact in our Bucket via our Campaign service. Once we have the id from the Contact Object, we can then add it to the list of contacts that already exist for our campaign and update that in our Campaign Object creating the relationship between the Campaign and the Contact. We are also going to create a service to convert the fields for the sign up form to form controls for a reactive form in our UI.
Now that we have obtained the data from the user and saved that to our Signup List in our Campaign Object, we need to deliver our files to the user by downloading them to the user's machine. We will create this component which the application owner will be able to communicate any last words to the visitor to thank them for signing up. We will also use the OnInit() function of the component to trigger the downloads of the files in the Campaign Materials Metafield of the Campaign Object.
And just like that, we have everything we need to stand up a marketing landing page website that will allow users to sign up in exchange for some materials that your marketing team needs to get into the hands of potential customers! As I said in the beginning of the article this is just one approach that I took to achieve this goal. You may find a totally different way to set up your Bucket and Objects and that is the beauty of what Cosmic offers: flexibility. Thanks for reading and learning more about different things you can do with Cosmic. Feel free to follow me on Twitter, LinkedIn, GitHub, or at my blog.
Images from Unsplash.
Continue Learning
Ready to get started?
Build your next project with Cosmic and start creating content faster.
No credit card required • 75,000+ developers