Thomas Dale
August 31, 2021
Note: This article has been archived as it may contain features or techniques not supported with the latest version of Cosmic.
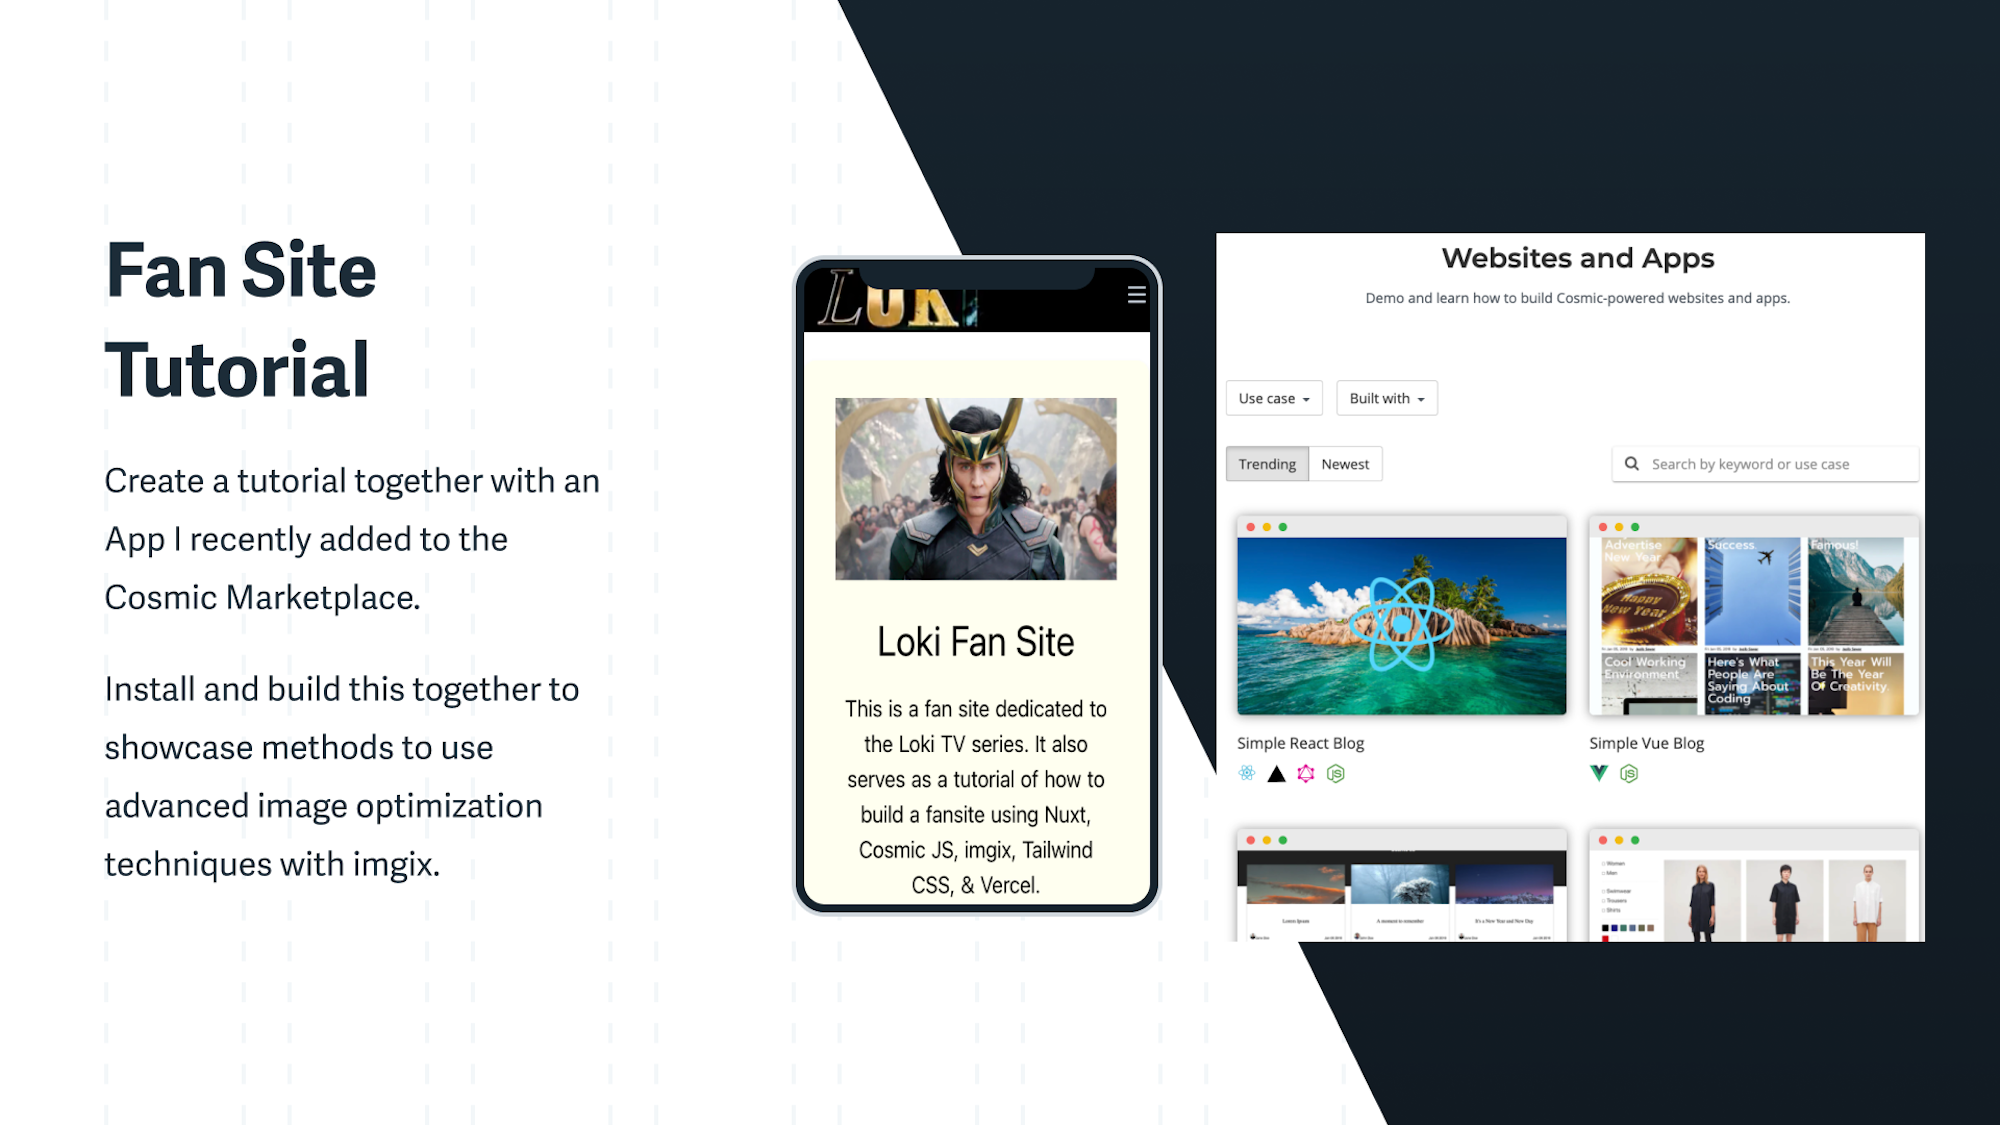
This is a Nuxt App built using Cosmic as its Headless CMS. It utilizes Apollo to access the Cosmic GraphQL API. It uses Tailwind CSS as the CSS framework. It utilizes Cosmic's built in integration with imgix to build out responsive images as well as advanced use cases for og image optimization, and blending with text.
There is a video tutorial which was done by Tony Spiro (CEO at Cosmic) and Tom Dale (Head of Customer Success at imgix). There is also an accompanying App in the Cosmic Marketplace and live demo.
Getting Started
Take the following steps to get your fan site up and running locally connected to Cosmic:
- Log in to Cosmic and install the Nuxt Fan Site application which includes demo content.
- Clone this repository
- Add your and info to the files in the folder . You can find these in your Cosmic dashboard in Bucket Settings > API Access.
- Using the terminal, cd into your app, install dependancies, and start your app.
Your fan site should now be running at ! Go into your Cosmic dashboard and edit content to see it reflected on your application. Follow the steps below to add content from scratch and learn more about this application.
Adding Content to Cosmic
You are going to first want to add some content to Cosmic for your fan site or whatever site you are making. You will see several buckets in Cosmic to add content to. Let's start with the homes bucket, for your home page.
<img src="https://tom.imgix.net/cosmic_buckets.png?h=450&auto=format">Each item you add in the homes bucket will reflect a different section you can click into on your home page. It's important to think about the organization of your site now, because this is what will enable that. In the example, I make a Loki site and created three sections:
- Episodes (a section to look at each episode from the show)
- Lokis (a section to look at each Loki variant from the show)
- About (an about page)
These sections have very limited info needed. Just a title and an image. Their names are important, because this will become the routes for each section in your nuxt app that you will be updating.
<img src="https://tom.imgix.net/cosmic_homes_bucket.png?h=450&auto=format">You will now want to create Cosmic buckets for each section you made. In the template, you already have the three I created:
- episodes
- heroes
- homes
You may want to edit or add additional ones. These buckets will allow you to add content to each of those sections you started creating.
When you create a cosmic bucket, select them as a multiple bucket at the top. This is because you are going to enter multiple entries.
<img src="https://tom.imgix.net/cosmic_bucket_settings1.png?w=450&auto=format">Then leave the default settings of title, slug, content alone. You will then most likely want to add an image to the metadata area and anything else you may want to display. In my examples, I added a heroimage and an episode_number.
<img src="https://tom.imgix.net/cosmic_bucket_settings2.png?w=450&auto=format">You can go ahead and finish making these buckets and add some content to them.
Apollo GraphQL Queries with Cosmic
Once you have some content in your Cosmic buckets, you now need to make a few updates to the Nuxt app in order to display your content. You will need to update the GraphQL Queries we are doing to Cosmic. For these queries, I am using Apollo. You will find 5 Queries in a apollo/queries folder.
<img src="https://tom.imgix.net/cosmic_apollo_folder.png?h=450&auto=format">Here is an example of what one of the queries looks like:
You will need to update the bucket_slug and the read_key. Also, if you are adding additional or Modifying Cosmic Buckets, you would add the name of the bucket to the query type. You can find the bucket_slug and read_key in your Cosmic settings, API Access. We are not using the write_key, so the rest of these items are not a concern to publicly be seen. That's why they are not obscured in my screenshot or added to .env files or anything.
<img src="https://tom.imgix.net/cosmic_api_access.png?w=600&auto=format">If you do want to do a bit of a deeper dive on the GraphQL, Cosmic does have a simple GraphQL playground. Just click on one of your Cosmic Buckets, then next to the name of it, you will see Developer Tools. This can help you debug items and see what the values you are going to get from each query. The reason I am choosing to use the GraphQL is to ensure that I don't get large payloads by accessing all of the content of my Cosmic site on each page load. The GraphQL allows me to get pretty specific and only ask for certain content. In my example query above, I'm only asking for the id, content, title, slug, and metadata of the items in the episodes section. The metadata is the additional items we added, like the hero image or the episode number.
<img src="https://tom.imgix.net/cosmic_developer_tools.png?w=600&auto=format">Once you have filled in the bucket_slug and the read_key, your queries should look like this:
You can also certainly use my bucket_slug and read_key if you would like to just see the content I did in my demo app.
Deploy Via Vercel
At this point, you actually don't need to make any additional changes. You can run the app locally using or deploy it easily via Vercel or whatever tool you prefer. There are certainly additional tweeks we can make to the site which I will go over below if you would like as well. I have added a vercel.json file to this template, so it is extremely simple to deploy the site. I find it easiest to push the site to Github and connect your Github with Vercel. You can then just click in Vercel and choose the git repo you pushed the project to. No other adjustments or settings need to be added. The settings of the vercel.json ensures everything will work smoothly.
Customizations to Routes
The routes are set-up for three paths in the pages folder of your nuxt-app. They are set up as:
- Episodes
- Lokis
- About
Depending on how many objects you created in your homes bucket and what they are called, you should modify these. In my example, I called them Lokis, Episodes, and About in my Cosmic bucket, which is why I changed the names of the folders in my pages section to be identical to those.
If you open one of those folders (I opened episodes) you will see a index.vue and a _id.vue. The _id.vue is a dynamic route, for each of the individual objects I created in my episodes bucket, there will be a dynamic route to match those. No customization needs to happen with the _id.vue.
For the index.vue, this would be the episodes page, which displays all of the objects you added to the episodes bucket. In the index.vue of the episodes folder, you will notice it is pretty empty.
In the template, I am simply injecting a component called Episodes.vue. In the script, I am referencing one of my GraphQL queries from Apollo. This is how I prefetch the data from that query to display the content in the Episodes component. Let's have a look in the components folder at the Episodes.vue component.
I am using Vue's functionality to loop through each of the results from the episodes bucket we made in Cosmic. For each result, it will display an image and the content. It is wrapped in the which is a simple nuxt component that pre-generates a route so it loads instantly when you click it. Now if you created a different object in your homes that wasn't called episodes, you would want to modify one item here.
The route is going to something called . But if you changed the name of the folder in pages, then you will want this to match that. That way if you click on an object, it will go to that same route.
For the image, I am using a Vue SDK from imgix to generate a responsive design which is already installed in the template. That is why it says instead of . I am calling the heroimage that we created in the metadata of our bucket in cosmic by referencing this . This isn't anything you need to change, as long as you also used the template bucket with the heroimage title for your images. If you created something customer yourself, you would just need to change the heroimage part. These images are going to be displayed at 500 x 281, which is determind by the height and width I added. I chose for these images to be fixed. The Vue SDK will create a srcset for each image that will create several different sizes to intelligently matcth the device pixel ratio of a user. This is nothing you need to change or worry about. If you want different sizes, then just change the width and height here. The loading lazy is also the native lazy loading for Chrome web browsers, again, nothing you need to change.
The ix-img from imgix
I am actually using the Vue SDK from imgix. I have installed it already in this repo. You can see the settings for it in my plugins folder:
There is nothing needed to be changed here, but simply showing the idea that I am importing this Vue plugin into Nuxt. I am declaring what imgix url to use, which is the url provided by Cosmic in this instance. To finish registering this plugin, you will want to go into the nuxt.config.js and add it to the plugins section as well.
Now that the plugin is set up, you can use instead of tags. Now you have the option to generate various types of responsive images with srcsets as well as easily adding imgix parameters. From one example in my Episodes.vue Component, you can see me creating a fixed image. I have declared the width and heigh and then added fixed.
By doing this, it will generate a srcset that creates multiple versions of that same size of image with different device pixel ratios. The browser can then choose the correct DPR image based on the device viewing the image. It's quite important to display higher dpr images to certain devices, like mobile phones, otherwise they will end up looking blurry. Higher DPR images also have denser pixel data, so they can withstand higher levels of compression without visually impairing the image. That's why in the generated srcsets you can notice that the quality value decreases as the dpr value increases. This is a great way of serving great looking performant images. Here is an example of a srcset that would be generated:
All I had to do was install the Vue SDK and change the img tag to an ix-img, a very easy way to generate great srcsets for my images.
Optimizing my OG images
Something you always want users to do is to share content from your website. This is a great opportunity for your content to be viewed by many other users that may have not found it. I love it when shared content is customized in some way to stand out. One way I love to do this is by optimizing the og:image and twitter:image. You can add watermarks or logos of your website to these images, maybe you can even overlay text on a nice overlay from your article on the image.
That's going to be a lot of time in figma or photoshop to create all these customized images to be shared. But wait, all of the images are on imgix. imgix is practically a photoshop on the fly, with tons of APIs to add custom watermarks, blends, text, etc. I can actually create a nice function or component in Nuxt to programmatically append the metadata to each of the og:images for every article. If you go to the episode.vue component, you will see a component I reference their called . I got this idea from a Nuxt tutorial. All this component is doing is passing the title, content, and image url from Cosmic to the Social head component.
Now if you go to the actual SocialHead.vue component file, you will see that it is generated the head metadata. it will add the title and content to the appropriate og and twitter fields for each article. I am also adding some further imgix APIs to the og:image and twitter:image. For the twitter card, I want a 450 x 450 image. I am including the website logo in the bottom right as well as a watermark. Then I am also adding a dark gradient to the image, so I can overlay the name of the article as text on the image.
Once you publish your app, you can test the pages to see their social share content is working. I like to use the Twitter Validator to do this. If you enter a url from my demo site, like this one:https://cosmicapp-nuxt-fan-site.vercel.app/episodes/journey-into-mystery, you will then see the twitter card I created:
<img src="https://tom.imgix.net/twitter_validator.png?w=600&auto=format">Conclusion
Not only has this been a really fun site template to make, it's been great to further explore some advanced ways to use imgix to optimize the images. it is truly a powerful tool to have already included with your Cosmic accounts. Remember, there is a tutorial video which was done by Tony Spiro (CEO at Cosmic) and Tom Dale (Head of Customer Success at imgix). There is also an accompanying App in the Cosmic Marketplace. I hope you do fun things with this app and my suggestions and look forward to helping with anything else you might need.
Continue Learning
Ready to get started?
Build your next project with Cosmic and start creating content faster.
No credit card required • 75,000+ developers