Matt Cain
October 17, 2017
When you're laser focused on writing songs, getting the most out of your studio time, and finding gigs, you can't be bothered with setting up a static site for your band or dealing with abstruse CMS systems. When you want easy access to your data, want to know where everything is, and want to be able to write a simple, predictable app for yourself, Cosmic should be the most obvious choice.
Cosmic is an API-first CMS, meaning it is language independent, database independent, and practically everything-else independent. This is great for a small project like this one because we can extend it quickly with any language or framework in the future and we can define data structures that are only as complex as we need them to be.
Our band site needs to have the following features:
Tour dates, so our fans know where they can see us
A photo gallery, because looking cool is just as important as sounding good
A video gallery, because photos get boring
A biography, so new fans can learn what we're about
A mailing list signup form, so we can market to our fans
Our site will be built as an Express app, integrate with Mailchimp to handle email signups, and will have all of its data served entirely from Cosmic. It will be deployed through Cosmic as well.
Part 0: Setting Up Cosmic
We'll use three Object types in Cosmic to structure our data.
Tour Dates - for storing gig information
Galleries - for storing photo albums
Videos - for storing links to Youtube videos
Settings - for storing site settings
We'll set up each Object type with predefined metafields like so:
Tour Dates
| Metafield Name | Type |
|---|---|
| Location | text |
| Venue | text |
| Date | date |
| Ticket Link | text |
Galleries
| Metafield Name | Type |
|---|---|
| Photos | repeater (photo) |
| Date | date |
Videos
| Metafield Name | Type |
|---|---|
| Embed Code | text |
(The Settings type won't have predefiend metafields — we'll set those as we need them)
Part 1. Boilerplate Setup
To save time on boilerplate, we'll use Yeoman and the Express Generator (which builds on Express' official generator) to get started. If you don't have Yeoman installed, run npm i -g yo. Then install the generator with npm i -g generator-express and run it with yo express. Follow the instructions to set up your project under a new directory (say CosmicUserBlog), install the Basic version, and use Handlebars for your view engine.
Your directory structure is now this:
Part 2. Installations
We'll be using the following packages:
Async - A powerful async utilities library
Axios - Simple, promise based http requests
Cors - Standard cors middleware
Cosmic - The official client
Moment - to format dates
TruncateHTML - for HTML safe text shortening
Lodash - for its various utilities
You could install these with npm, but I advocate for Yarn. It's significantly faster and we have no time to waste. So install Yarn (on macOS we'll do a brew install yarn) then run yarn add async axios cors cosmicjs moment truncate-html lodash.
Part 3. Configure the App
Within app.js, import the packages we just installed and declare a config object to be used with the Cosmic client:
We assign it to app.locals to use it in our routes.
Site Settings
We want to be able to display certain data globally throughout the site and we'll store it in a Cosmic object to make it easy to edit, rather than having to redeploy our site everytime something needs changed. In your Cosmic dashboard, make a Settings object called `Site Settings` with the following metafields (filling them as desired).
| Metafield | Type | Value |
|---|---|---|
| Band Name | text | (your band's name) |
| Logo | image | (your band's logo) |
| text | (link to your band's Twitter) | |
| text | (link to your band's Instagram) | |
| Youtube | text | (link to your band's Youtube channel) |
| Apple Music | text | (link to your band's Apple Music page) |
| Spotify | text | (link to your band's Spotify page) |
| Bandcamp | text | (link to your band's Bandcamp profile) |
| Bio | text area | A biography of your band |
| Music Link | text | (link to your band's primary music hub, e.g. Soundcloud) |
| Bio Header | image | A header image for your band's bio page |
Styles
To make things easy, we'll also start off with predefined styles. Copy and paste this into /public/css/style.scss (when we run/build our app later, Gulp will handle the compilation):
The Main Layout
The last step before we get building is to make a few tweaks to the main Handlebars layout, in which we need to link to Font Awesome, Normalize.css, and change the title. Post-changes, main.handlebars will look like this:
Part 4. Build the Header and Footer
Every page on the site will have a header, so we'll build that first. For the same reason, we'll make it a partial. It will feature links to our social media, a signup form for our mailing list, our logo, and the main navigation.
Add this to partials/header.handlebars:
This gives us a responsive header with a mobile dropdown menu where we need to build out nav-links, signup-form, and social-links as their own partials. Again, settings.logo (and other data) will be passed from the route through req.locals.
Nav Links Partial
For the sake of not repeating ourselves, we create a partial with all of our navigation links in partials/nav-links.handlebars.
Social Links Partial
The same goes for our social media links, except the way we pass the data will make the construction slighly more interesting. Because the link element is the same for each account, save for the title, text, and href, we'll use the Handlebars each helper to iterate over all of our accounts.
Signup Form Partial
Finally, we need a form to handle adding new subscribers to our Mailchimp list. We'll simply gather their email address and process it later in a POST request to /signup.
With all of the Header partials complete, the header itself is complete, and we essentially get the Footer for free:
Notice the #getYear helper. We'll define this later in app.js and us it to return the current year as a string.
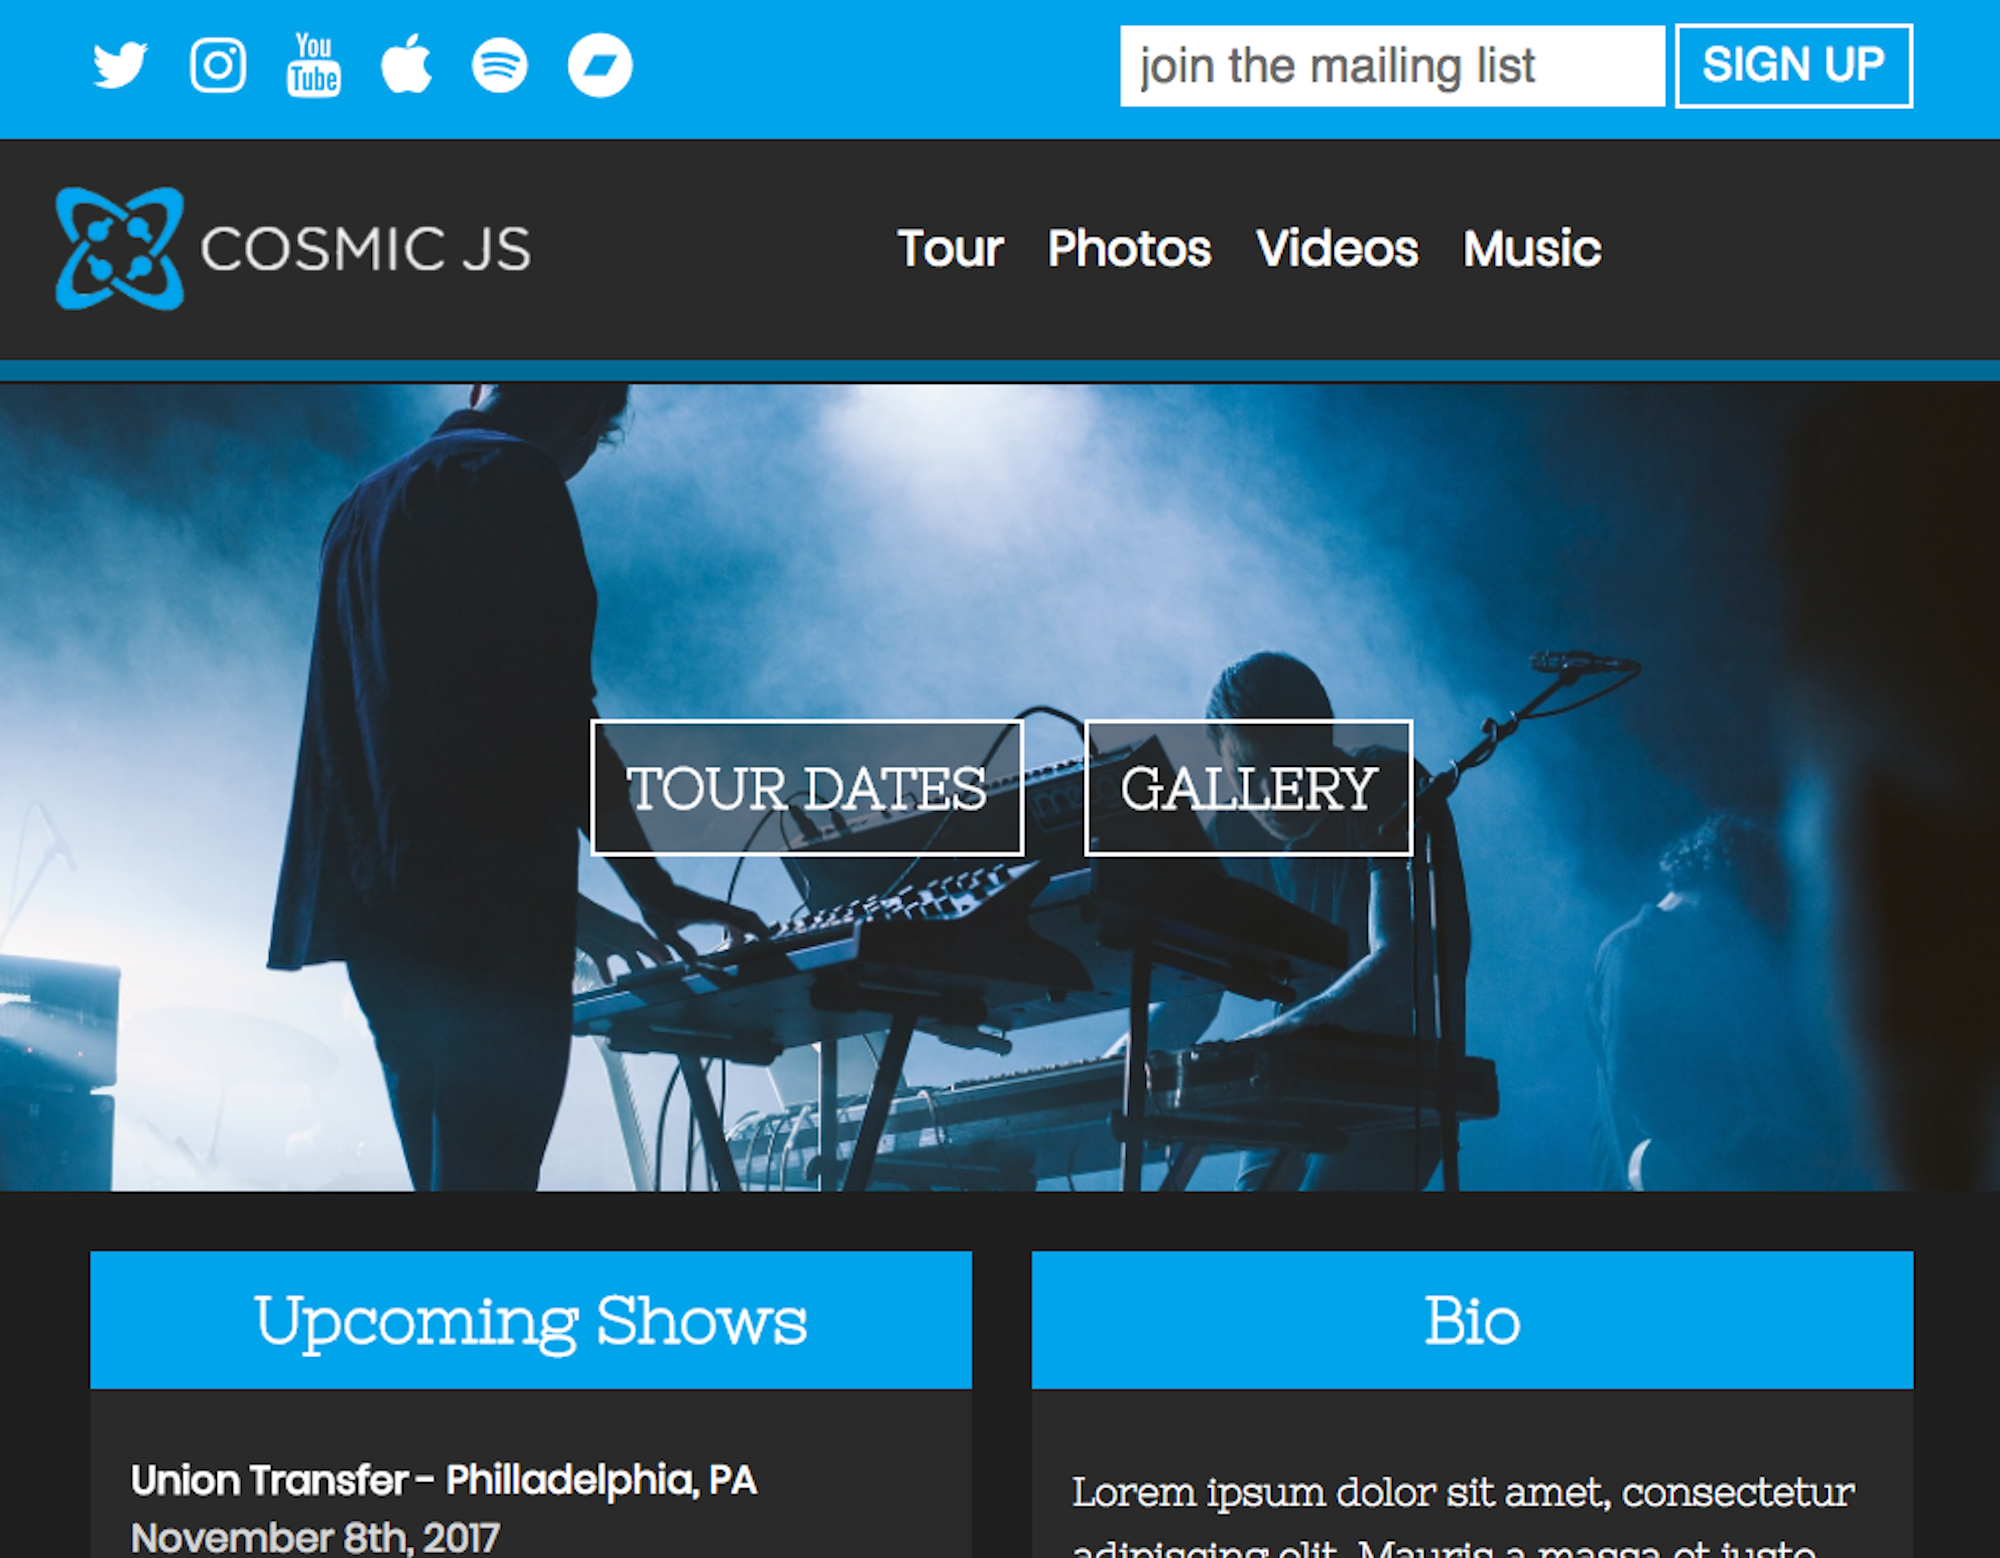
Part 5. Build the Home Page
The home page will be a glimpse into what's on the rest of the site. In the top half we'll show our header and a big CTA section with buttons linking to our Tour Dates and photo gallery. In the bottom half we'll show three upcoming shows, a blurb of our bio, and a footer.
Later, we'll define the formateDate and truncateText helpers to display a nicer date format than we've stored in Cosmic and to shorten our bio, respectively.
Home Page Settings
The home page will have a banner image that gets displayed on it uniquely in the CTA section, so we'll create a Settings object called Homepage with the metafield Banner Image, and upload a banner of our choice.
Part 6. Build the Remaining Views
Tour Dates
For the Tour Dates page, we'll simply iterate over the Tour Date objects we pass it and display them in a stylized container:
Videos
Similar to the Tour Dates, we simply use the embed codes we store for our Youtube videos in Cosmic by wrapping the reference in triple-brackets to escape html, i.e. {{{embed-code}}}.
Bio
The last of the simple views is the Bio, which literally just stylizes the biography we've stored in Cosmic and puts a header image of our choice behind it.
Gallery
Marginally more complicated, but similar to the Tour Dates view is the Gallery view, which will show all of the photo albums we've stored on Cosmic. It iterates over the albums, linking to each's slug as a subdirectory of photo-gallery/.
Album
Finally, is the album view which displays photos from indivudual albums/galleries.
Part 7. Define Custom Handlebars Helpers
You've noticed throughout our views that we've used three custom helpers — truncateText, getYear, and formatDate — to help us with display logic problems. Handlebars lets us define these when we're setting our App's view engine. We'll leverage moment and truncate-html within them.
Part 8. Build the Routes
We'll keep all of our routes within routes/index.js for simplicity. First, import cosmicjs, axios, async, and lodash, to cover our Ajax needs.
Index Route
Since we're showing Tour Dates and need to pull from both our Site Settings and Homepage Settings, we need to make three requests with the Cosmic client. We'll do them in series usinc async.series and store the fetched data in res.locals to send to the index view. To only show the 3 most recent tour dates, will use _.sortBy to sort according to metadata.date in our Cosmic object, and slice off the rest.
Tour Route
The Tour route is similiar to the index except that we don't need the hompage settings and aren't modifying the tour date data.
Photo Gallery Route
Following the same pattern:
Album Route
The album route is different in that we display each individual album as a subdirectory of photo-gallery, passing the album's slug in Cosmic as a url parameter. When we fetch the album object with Cosmic.getObject, the object slug we have to pass is then req.params.slug.
Videos Route
The videos route is essentially equivalent to the photo gallery route:
Bio Route
The bio route is equally uninteresting:
Signup
The signup route is the most interesting because here we accept a post request containing the subscribers email address and use the Mailchimp API to add the subscriber to our list. Cosmic gives us the option to add custom ENV variables when we deploy, so we'll leverage this to store our Mailchimp API key (as MAILCHIMP_KEY), Mailchimp Data Center (as MAILCHIMP_DC). and Mailchimp List ID (as MAILCHIMP_LIST_ID). We can then access these via process.env.
Using these, we construct a post request with axios that points to the Mailchimp api, add our subscriber, and redirect to the homepage.
Part 9. Deploy
Before deploying — which is just pushing to a Github repo and following the instructions on the Cosmic dashboard — make sure you compile the Sass styles with gulp sass
Part 10. Conclusion
Using Cosmic, Express, and Mailchimp, we've built an accessible, functional website for our band that lets us update information, tour dates, photo galleries, and videos on the fly, all without having to redploy the site with every change. Cosmic's API first approch let us do this simply, without a database, and with a great dashboard to manage our data whenever, wherever.
With how quickly we've been able to build our app and with the simplicity of deploying and maintaining it, it's clear that Cosmic is one of a kind in its API first approach to content management. Clearly, CosmisJS is a money maker.
Matt Cain builds smart web applications and writes about the tech used to build them. You can learn more about him on his portfolio.
Continue Learning
Ready to get started?
Build your next project with Cosmic and start creating content faster.
No credit card required • 75,000+ developers