
Tony Spiro
June 10, 2026
Building a Static Site with Astro and Cosmic CMS
Astro's HTML-first philosophy is having a moment. A post on Hacker News this week about doubling user growth by going HTML-first cracked the top 10 with 383 points — and the replies were full of developers reconsidering their stacks.
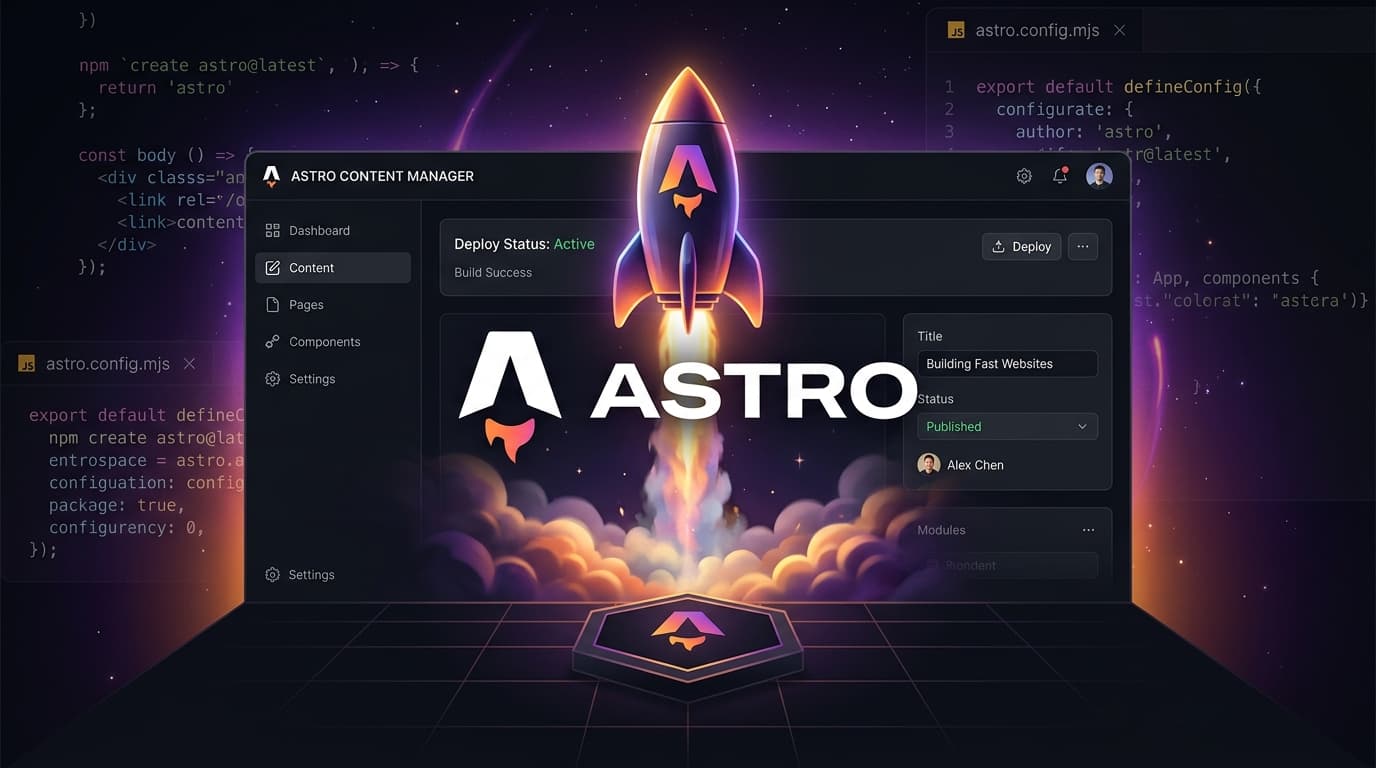
The short version: ship less JavaScript, get faster sites, keep more visitors. Astro is purpose-built for exactly this. And when you pair it with Cosmic as your content layer, you get a stack that is fast to build, fast to run, and easy for non-developers to manage content without touching code.
This tutorial walks through building a production-ready blog with Astro and Cosmic from scratch.
Why Astro + Cosmic
Astro generates zero-JavaScript HTML by default. Every page is a static file until you opt into interactivity with islands. That means:
- Lighthouse scores in the high 90s out of the box
- No hydration overhead for content pages
- Content editors can update copy in Cosmic without a developer involved
Cosmic delivers content via REST API and the @cosmicjs/sdk. Your Astro build fetches content at build time, bakes it into static HTML, and serves it from a CDN. Fast, structured, and zero runtime CMS overhead.
Prerequisites
- Node.js 18+
- A free Cosmic account (sign up here)
- Familiarity with TypeScript basics
Step 1: Create Your Cosmic Bucket
Log in to Cosmic and create a new bucket. Then create a blog-posts Object Type with these metafields:
title(text)slug(text, unique)published_date(date)teaser(textarea)content(markdown)image(file, image)
Add a few sample posts so you have content to render.
Step 2: Scaffold the Astro Project
npm create astro@latest cosmic-astro-blog
cd cosmic-astro-blog
npm install @cosmicjs/sdk
Choose the "Empty" starter when prompted. We'll wire up everything manually so you understand each piece.
Step 3: Initialize the Cosmic Client
Create src/lib/cosmic.ts:
import { createBucketClient } from '@cosmicjs/sdk';

export const cosmic = createBucketClient({
  bucketSlug: import.meta.env.COSMIC_BUCKET_SLUG,
  readKey: import.meta.env.COSMIC_READ_KEY,
});
Add your credentials to .env:
COSMIC_BUCKET_SLUG=your-bucket-slug
COSMIC_READ_KEY=your-read-key
You'll find both values in your Cosmic bucket under Settings > API Keys.
Step 4: Fetch Posts at Build Time
Create src/pages/blog/index.astro:
---
import { cosmic } from '../../lib/cosmic';

const { objects: posts } = await cosmic.objects
  .find({ type: 'blog-posts' })
  .props('id,title,slug,metadata.teaser,metadata.published_date,metadata.image')
  .sort('-metadata.published_date');
---

<html lang="en">
  <head>
    <meta charset="UTF-8" />
    <title>Blog</title>
  </head>
  <body>
    <h1>Blog</h1>
    <ul>
      {posts.map((post) => (
        <li>
          <a href={`/blog/${post.slug}`}>
            <h2>{post.title}</h2>
            <p>{post.metadata.teaser}</p>
          </a>
        </li>
      ))}
    </ul>
  </body>
</html>
Step 5: Generate Individual Post Pages
Create src/pages/blog/[slug].astro for dynamic routing:
---
import { cosmic } from '../../lib/cosmic';

export async function getStaticPaths() {
  const { objects: posts } = await cosmic.objects
    .find({ type: 'blog-posts' })
    .props('slug');

  return posts.map((post) => ({
    params: { slug: post.slug },
  }));
}

const { slug } = Astro.params;

const { object: post } = await cosmic.objects
  .findOne({ type: 'blog-posts', slug })
  .props('title,metadata');
---

<html lang="en">
  <head>
    <meta charset="UTF-8" />
    <title>{post.title}</title>
  </head>
  <body>
    <article>
      <h1>{post.title}</h1>
      {post.metadata.image && (
        <img
          src={`${post.metadata.image.imgix_url}?w=1200&auto=format`}
          alt={post.title}
          width="1200"
          height="630"
        />
      )}
      <div set:html={post.metadata.content} />
    </article>
  </body>
</html>
Astro's getStaticPaths runs at build time, fetches all post slugs from Cosmic, and generates one HTML file per post. Zero runtime API calls.
Step 6: Handle Images with imgix
Cosmic stores all media on imgix, which means you get URL-based image transformations for free. Append query params to any image URL:
// Resize and auto-format for modern browsers
const heroUrl = `${post.metadata.image.imgix_url}?w=1200&h=630&fit=crop&auto=format`;

// Thumbnail
const thumbUrl = `${post.metadata.image.imgix_url}?w=400&h=300&fit=crop&auto=format`;

// WebP with fallback
const webpUrl = `${post.metadata.image.imgix_url}?w=800&fm=webp&q=80`;
No image processing pipeline needed. imgix handles it at the CDN edge.
Step 7: Deploy to Vercel
npm install -g vercel
vercel
Add your environment variables in the Vercel dashboard under Settings > Environment Variables:
COSMIC_BUCKET_SLUGCOSMIC_READ_KEY
Set up a deploy webhook in Cosmic (Settings > Webhooks) so every content publish triggers a new Vercel build. Your editors publish in Cosmic, the site rebuilds automatically — no developer involvement required.
Step 8: Enable Incremental Builds (Optional)
For larger sites, Astro's content collections combined with Vercel's ISR let you rebuild only changed pages. Configure in astro.config.mjs:
import { defineConfig } from 'astro/config';
import vercel from '@astrojs/vercel/serverless';

export default defineConfig({
  output: 'hybrid',
  adapter: vercel(),
});
Then mark individual pages for server-side rendering when you need fresh data, while keeping everything else static.
Performance Baseline
A default Astro + Cosmic blog with no optimization effort typically scores:
- Performance: 95-100
- Accessibility: 90+
- Best Practices: 100
- SEO: 90+
The main lever is images. Use imgix transforms and the loading="lazy" attribute on below-the-fold images and you'll stay in the green across the board.
Adding an AI Agent (Optional)
Once your Cosmic bucket has content, you can add a Cosmic AI agent to manage it. From the Cosmic dashboard, connect an agent to your bucket — it can draft new posts, update metadata, generate featured images, and publish on a schedule. Your Astro site rebuilds automatically via webhook every time the agent publishes.
This is what the HTML-first HN crowd is discovering: a static frontend plus an API-first CMS is the right architecture for AI-assisted content workflows. The agent writes to the CMS API. The static site rebuilds. No CMS logic in your frontend, no CMS vendor in your runtime.
What's Next
- Add a search index with Pagefind (runs at build time, zero runtime JS)
- Add RSS with
@astrojs/rss - Add a sitemap with
@astrojs/sitemap - Add an MCP server so AI assistants like Claude and Cursor can read and write your Cosmic content directly
Get Started
Free Cosmic plan includes 1 bucket, 1,000 objects, and 2 team members — enough to build and launch a full blog.
<a href="https://app.cosmicjs.com/signup">Start building for free</a> or <a href="https://calendly.com/tonyspiro/cosmic-intro">book a demo with Tony</a> if you want to talk through your architecture.
Questions? Join the Cosmic Discord or check the Astro + Cosmic docs.