Quickstart
This guide will get you set up to use the Cosmic dashboard and API. We'll cover how to get started creating your first project and making your first API request.
We'll also look at where to go next to find all the information you need to use the Cosmic REST API and available client libraries to power content for your websites and apps.
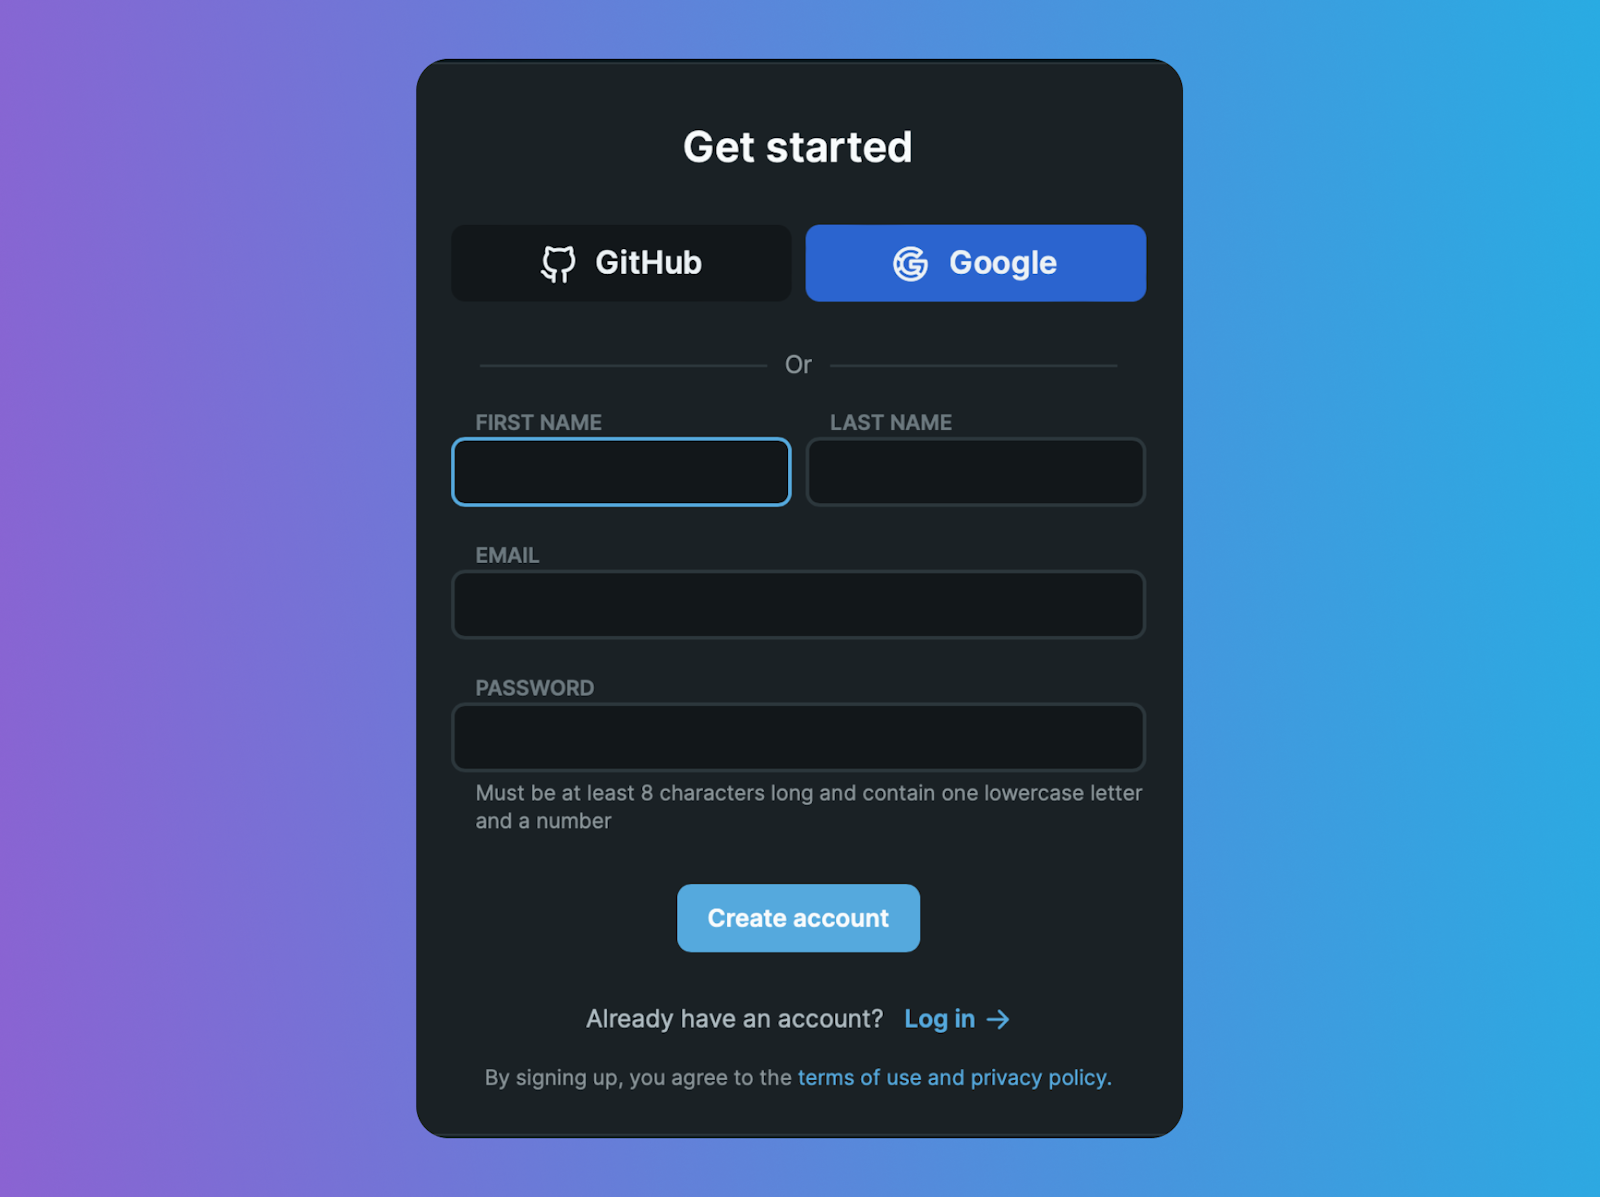
1. Create your free account
First, you will need to create your free Cosmic account.
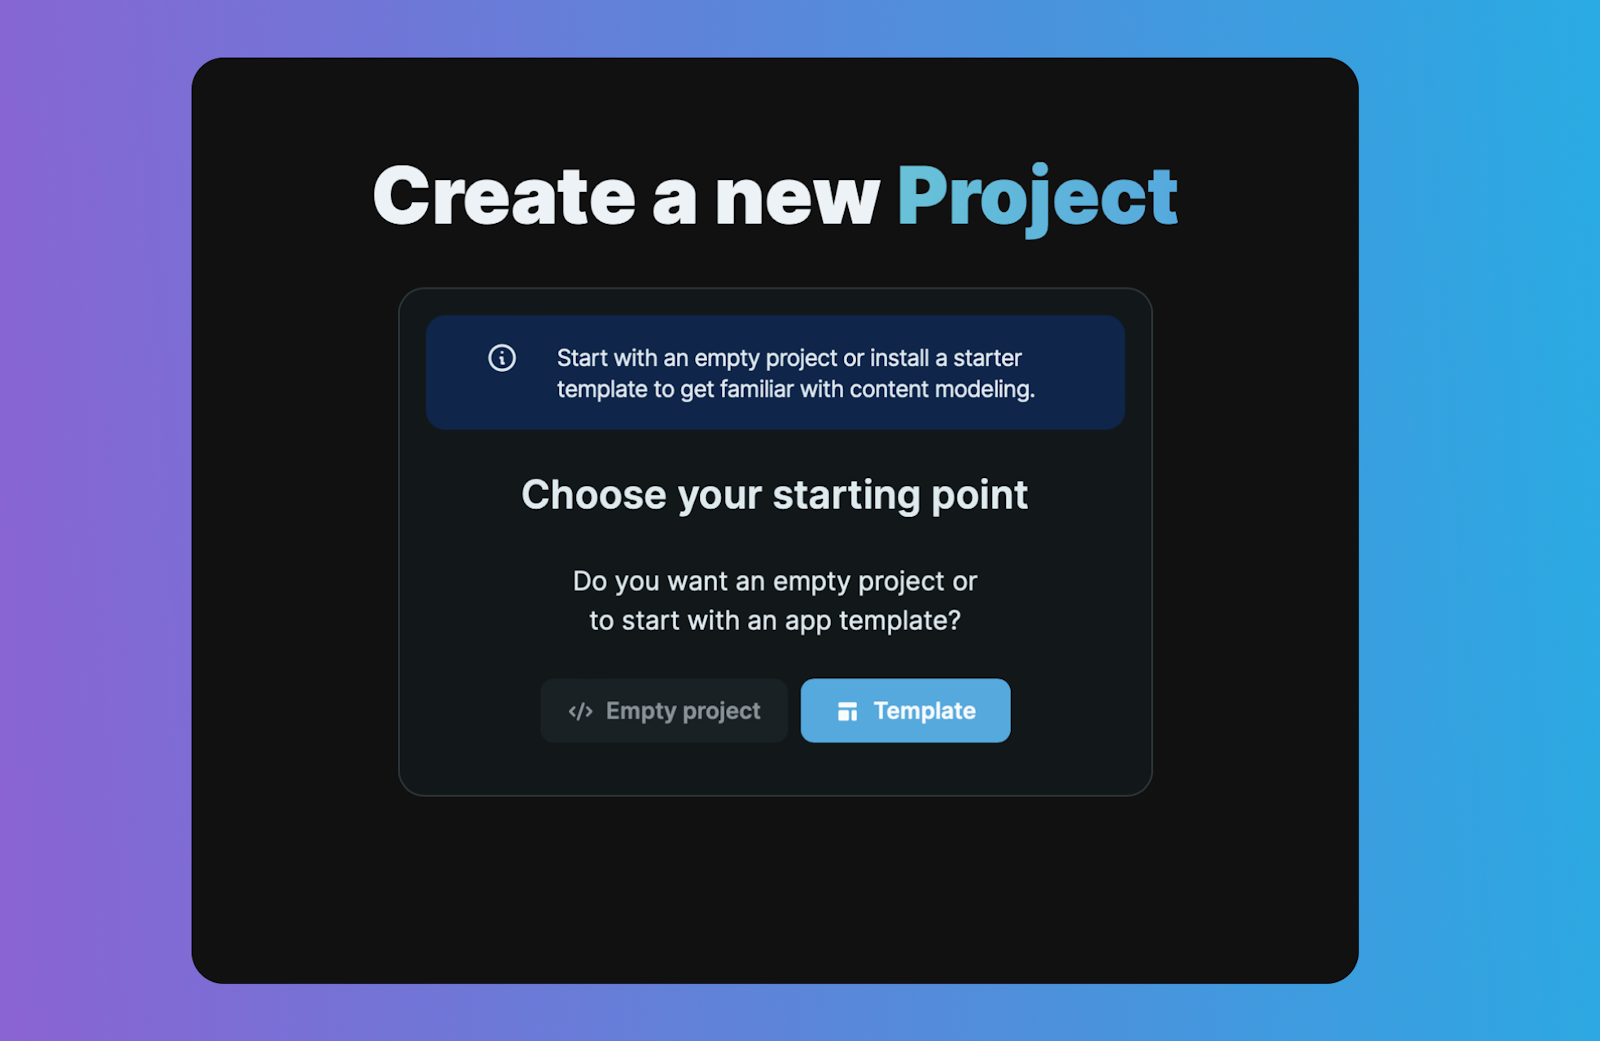
2. Create a Project
Create a new project by going to Dashboard > New Project. You can either start with an empty project or start with a template.
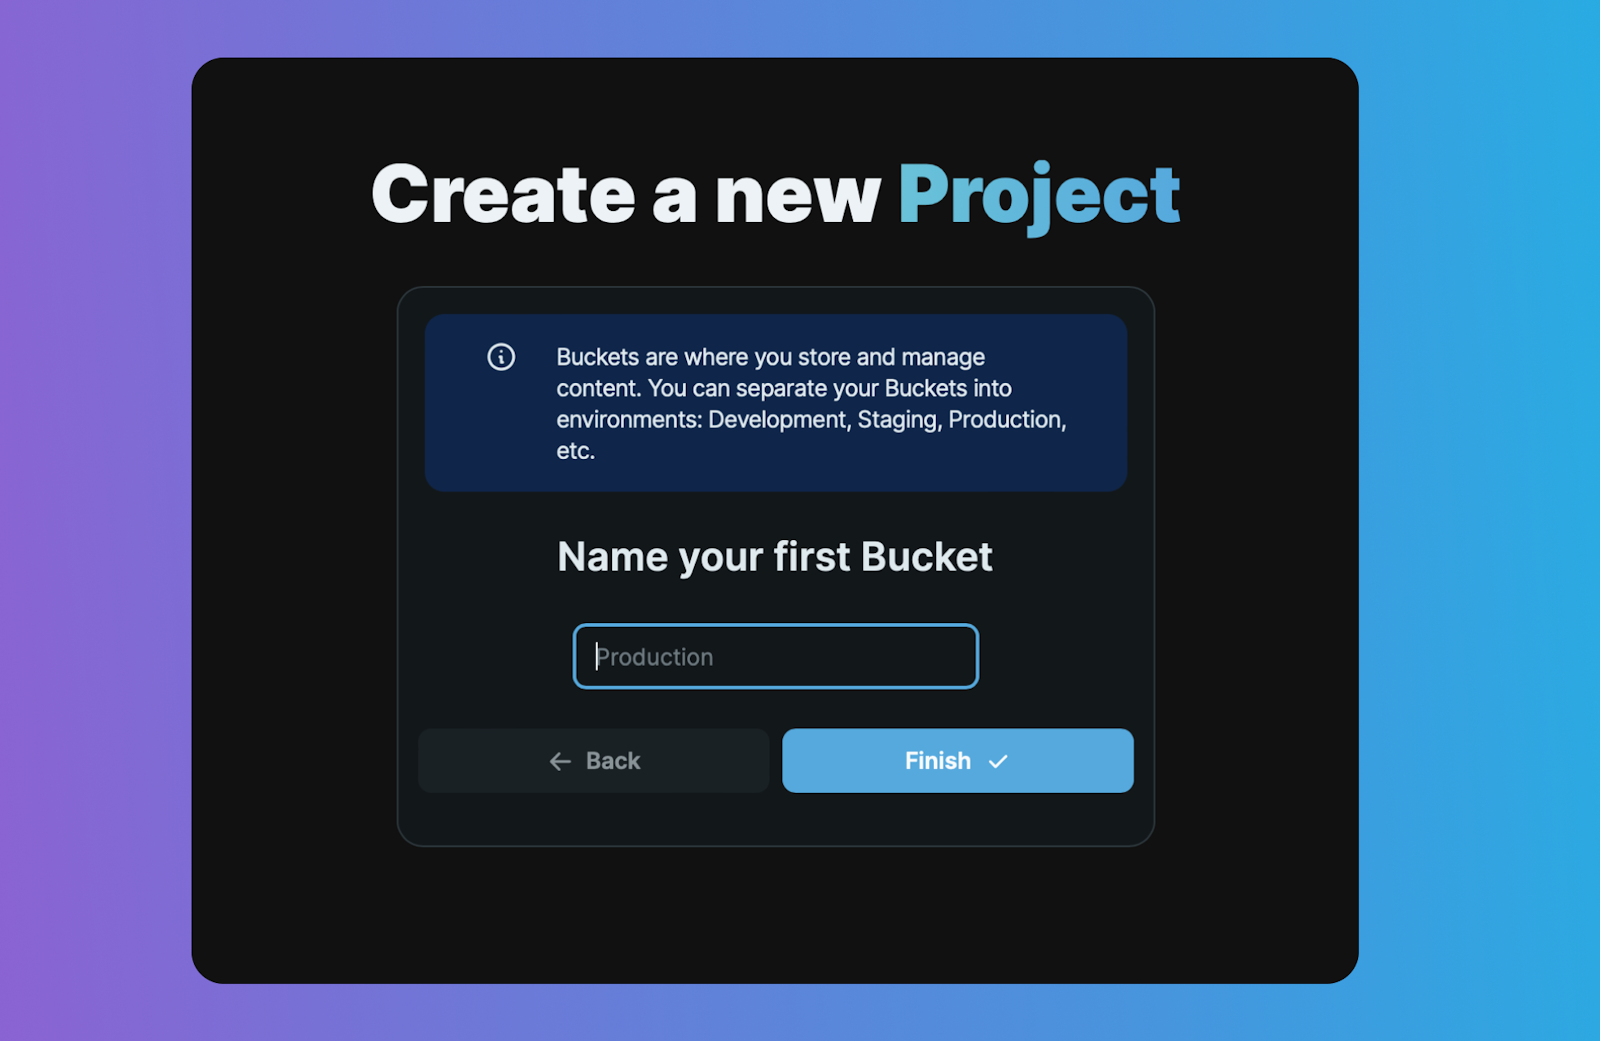
3. Create a Bucket
Next step is to create a new Bucket. This is where your content will live. A Bucket is an environment for your content (Production, Staging, Testing, etc) so you can have multiple Buckets in your project each with their own set of managed access for team members and API keys.
4. Create an Object type
The next step is to create an Object type. Object types are how your content is modeled in Cosmic. Examples of Object types are: pages, blog posts, authors, categories, etc.
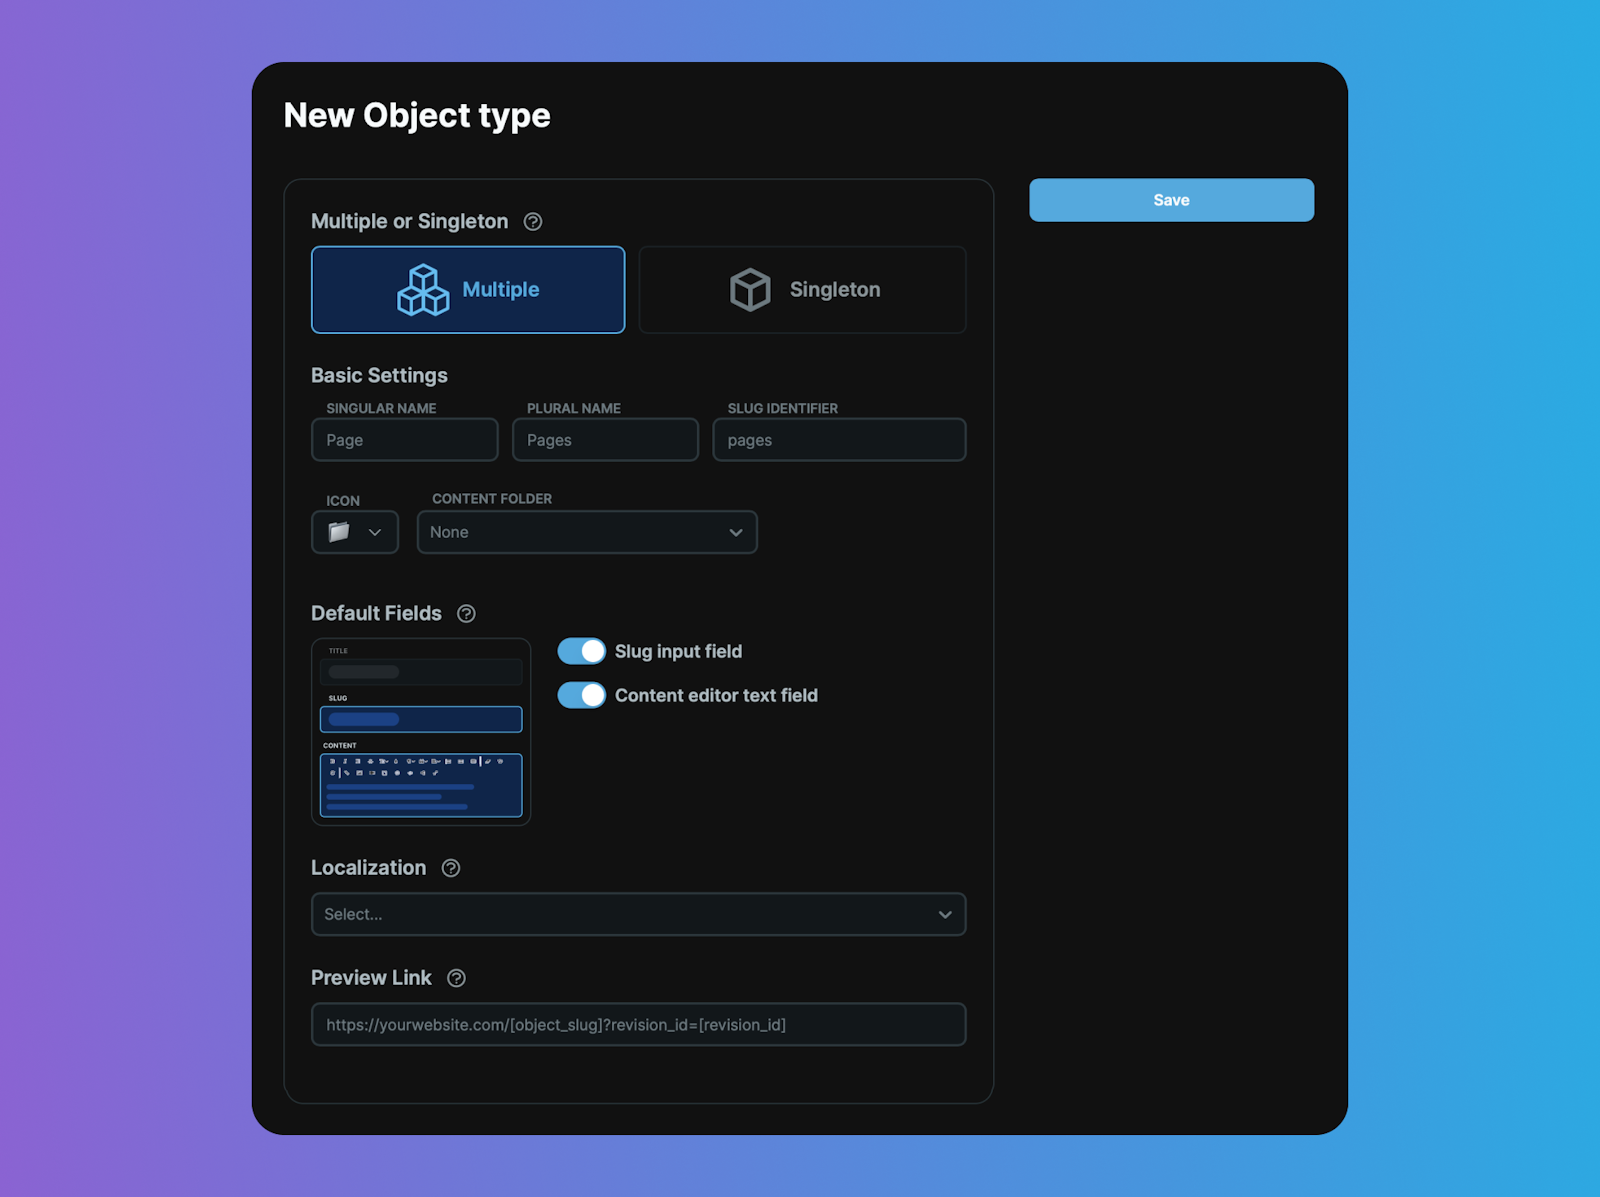
Use Metafields to create your Object type model. Available Metafields include: plain text, rich text, number, color picker, form fields like select, multi-select, and dropdown, switch field, media fields like image and video, Object relationships, and more.

5. Create an Object
Now that you have your Object type set up, you can now begin adding Objects. Objects are the building blocks of content in Cosmic. To create a new Object, go to any Object type table and click the button "+ Add Object".
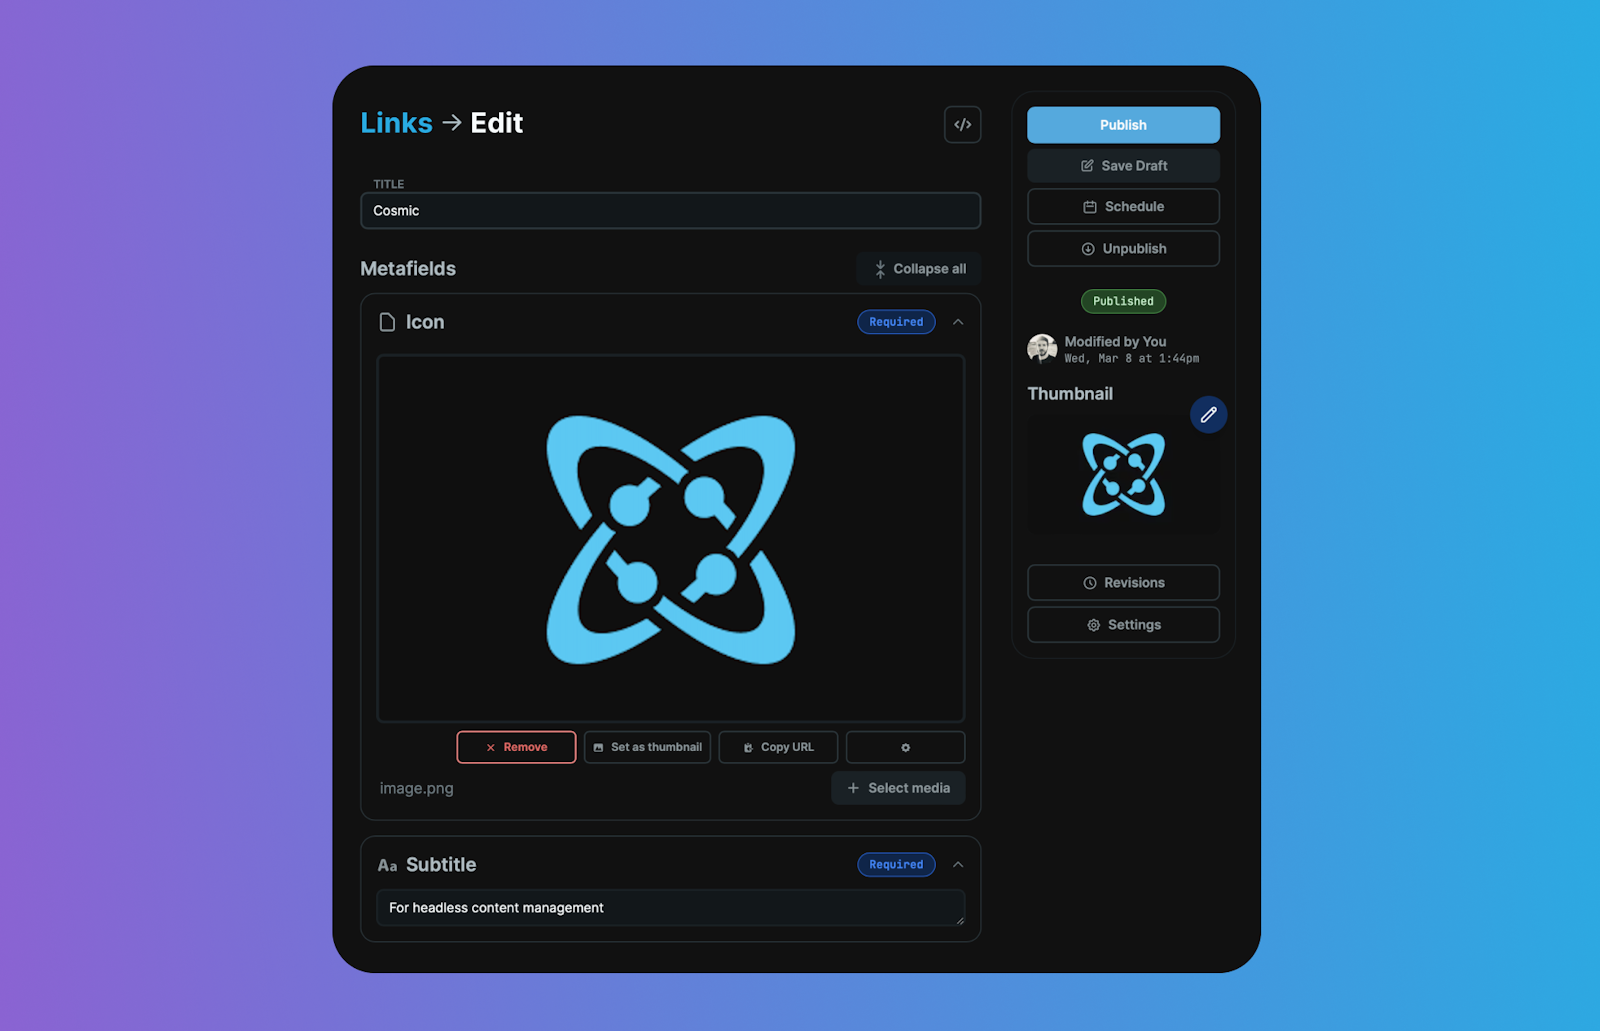
6. Upload media
Your media for your Bucket is located in Bucket > Media. Upload, edit, and delete media from this area.

7. Choose your client
Before making your first API request, you need to pick which API client you will use. In addition to cURL HTTP requests, Cosmic offers a client for JavaScript. In the following example, you can see how to install each client.
# Install the Cosmic JavaScript SDK
npm install @cosmicjs/sdk --save
8. Fetch your content
After picking your preferred client, you are ready to make your first call to the Cosmic API. Below, you can see how to send a GET request to the Objects endpoint to get a list of all your Objects in a certain type.
Before you can make requests to the Cosmic API, you will need to grab your API key from your dashboard. You find it under Bucket Settings » API Access.
Request
import { createBucketClient } from '@cosmicjs/sdk';

const cosmic = createBucketClient({
  bucketSlug: 'BUCKET_SLUG',
  readKey: 'BUCKET_READ_KEY',
});

await cosmic.objects
  .find({
    type: 'cars',
  })
  .props(['title', 'metadata.image', 'metadata.headline', 'metadata.max_speed'])
  .limit(1);
Response
{
  "objects": [
    {
      "title": "Camero",
      "metadata": {
        "image": {
          "url": "https://cdn.cosmicjs.com/19c2e290-9135...",
          "imgix_url": "https://imgix.cosmicjs.com/19c2e290-9135..."
        },
        "headline": "This car is FAST!",
        "max_speed": 150
      }
    }
  ],
  "total": 1
}
Notice that by setting the props, the response will return only the data you request.
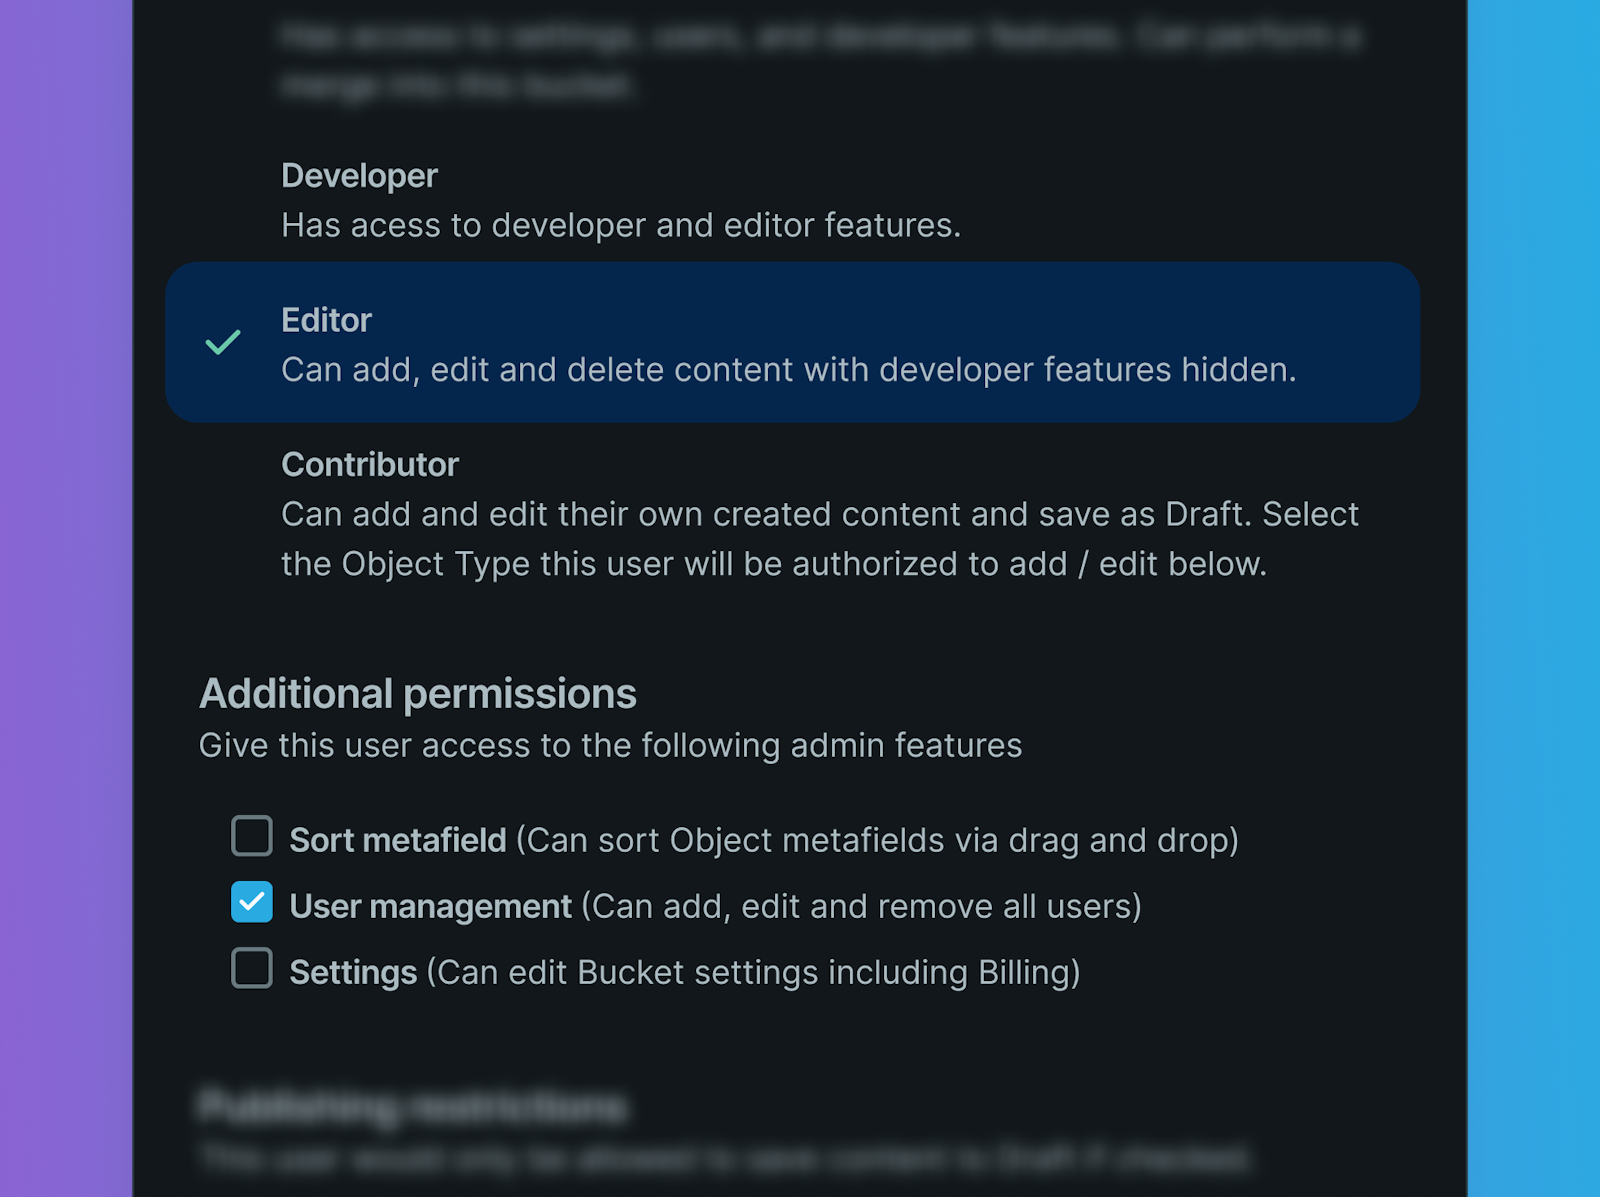
9. Add team members
Now that you have your content in the Cosmic dashboard and are able to deliver your content into your applications, it's time to invite your team members. To add team members to your project, go to Project > Team and set the permissions for each team member.
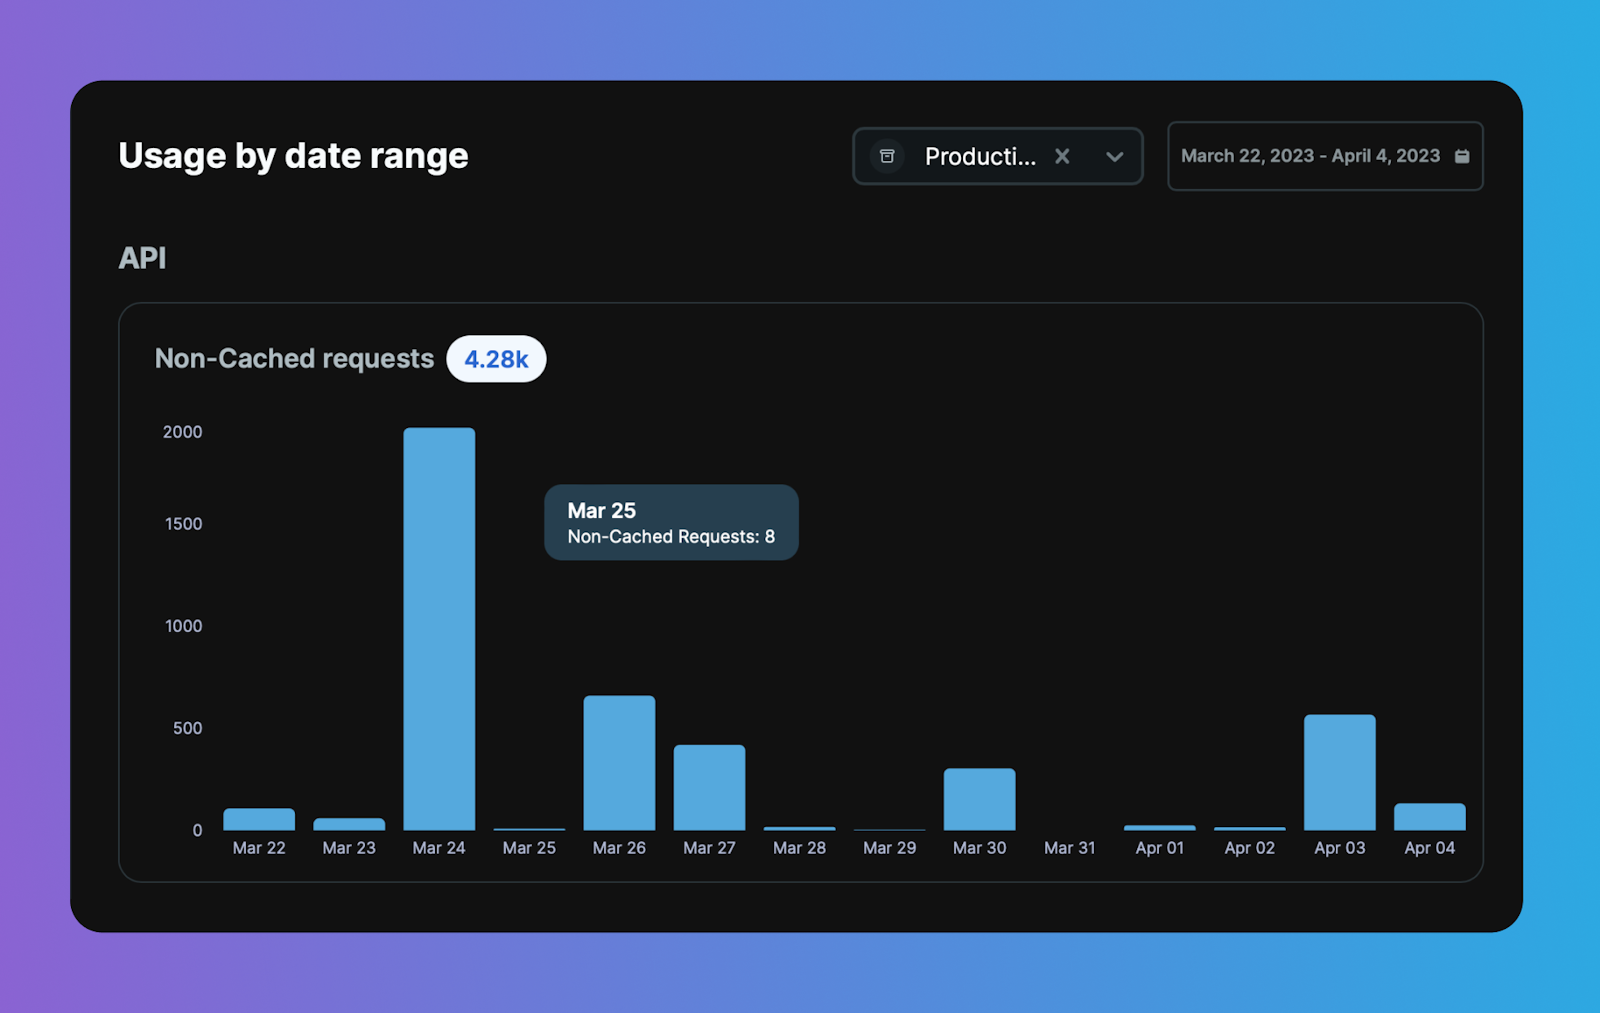
10. Monitor usage
As you continue to use Cosmic, you can monitor your Project usage by going to Project > Usage.
11. Upgrade your plan
As you find that you are using Cosmic more and more, growing your team, and your company, you can upgrade your plan by going to Project > Billing.
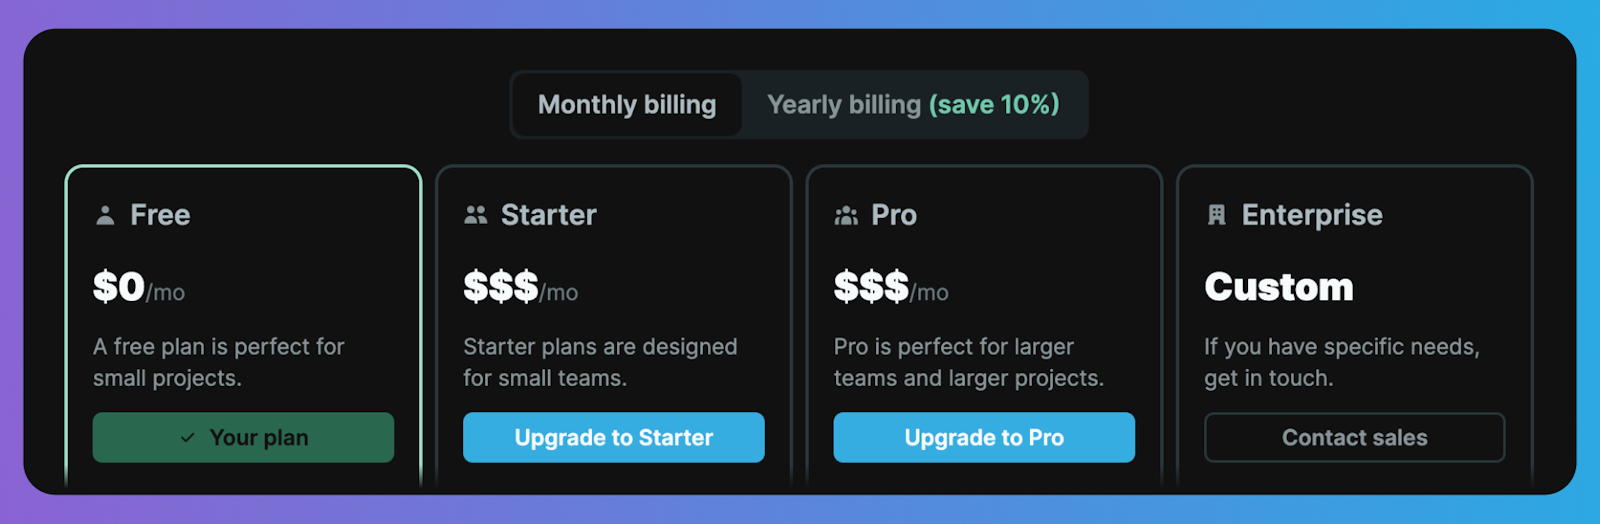
You can also add helpful add-ons such as webhooks, automatic backups, revision history, and more.
Next steps
Great, you're now set up with an understanding of how to get started with the Cosmic dashboard and connect to the Cosmic API. Here are a few links to explore further: