Muhammad Althaf
January 25, 2018
Building curated collections of resources and tools is an easy way to gain visibility in your community. In this tutorial, we’re going to build a simple content curation website powered by Cosmic. You’ll see how easy it is to create relational database models for our content with Cosmic and also how quick we can get from scratch to deployment.
We’ll use Vue JS as our frontend-framework and the flexbox-powered Bulma to make everything look pretty. So let’s get started.
TL;DR
Download the code from Github Repo
Checkout the Demo
Pre-requisites
You need to have node and npm installed in your machine already. If not, visit node js website and install the latest stable version.
Getting Started
For our project, it makes sense to build our backend models first.
Setup Cosmic backend
Login to your Cosmic dashboard and select ‘Add new Bucket’. In the next screen, provide a name for your bucket and select ‘Start from scratch’.
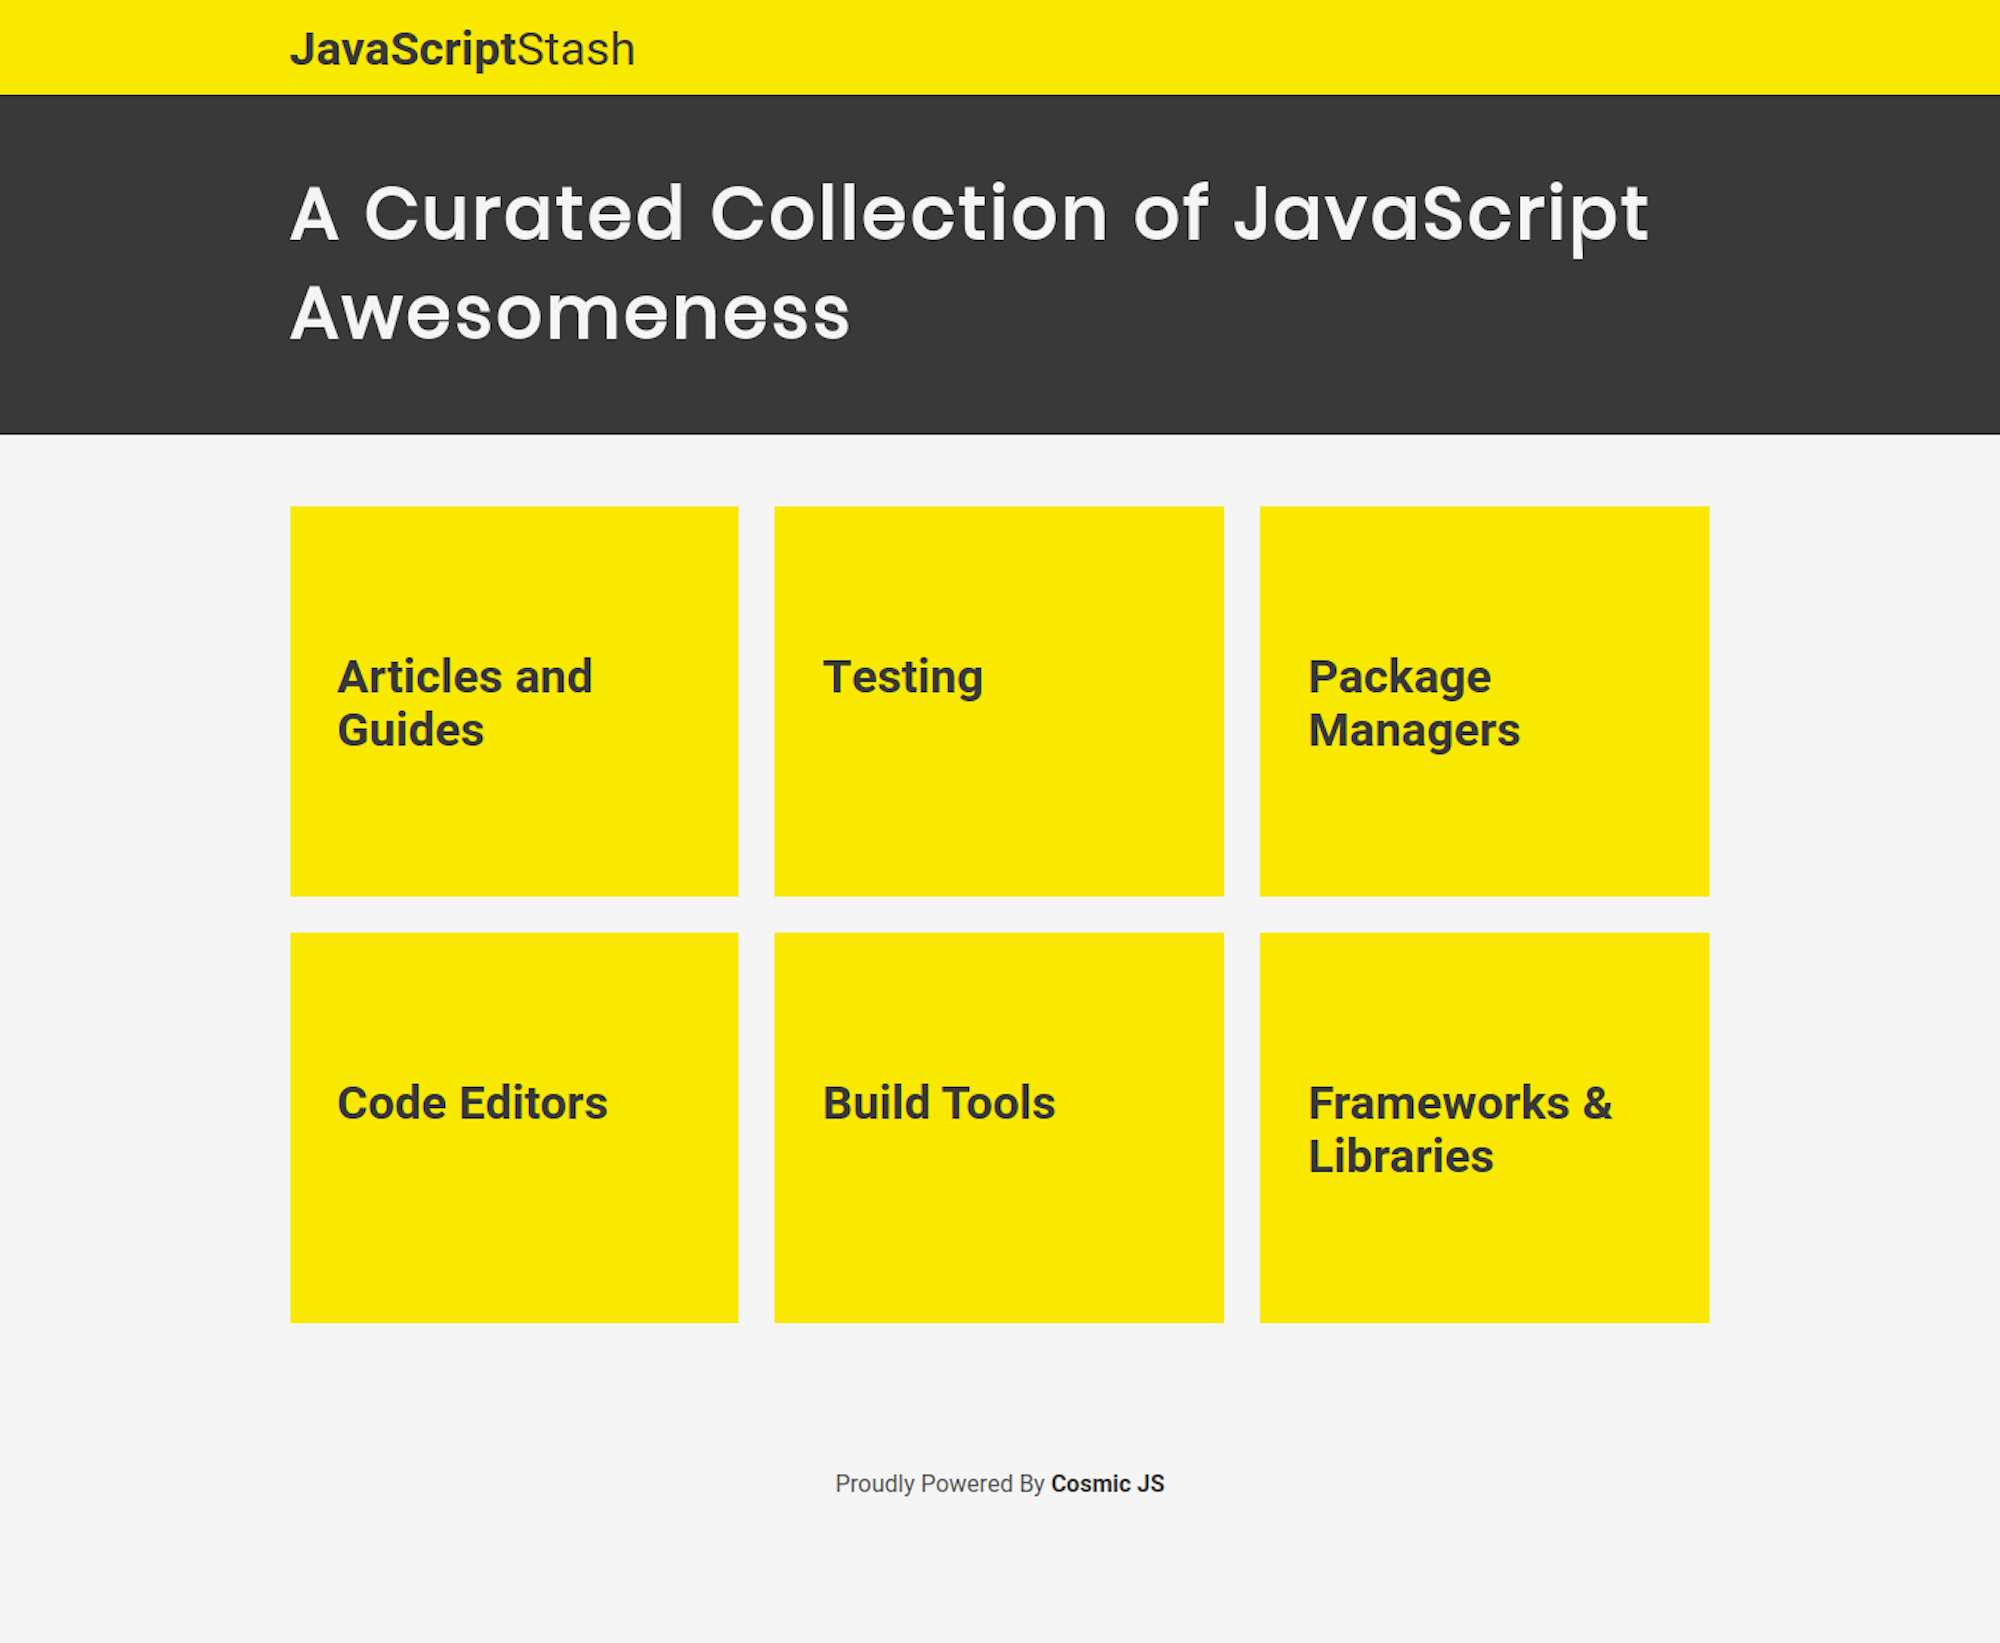
We now have our bucket setup and need to add our content. But first, we need to model how our content will be structured. We’ll add two object types for this. Categories and Resources.
Click on ‘Add object type’ from the menu. We don’t need any metafields for categories, so just add the singular name as ‘Category’ and save the object type.

Similarly, create an Object with singular name ‘Resource’.

We need to define a few metafields for each Resource. Click on Metafields and add the following fields.
- A Plain text field with title ‘Link’ and value ‘http://’
- An Image/File field with title ‘Image’
- A Single Object Relationship with title ‘Category’ and ‘Category’ as the object type to choose from.

We use the last field to assign a category to a resource. Now save the object type.
We now have the content structure in place. You can now add categories and resources from their appropriate tabs.
Installing the Demo
Having the content in place, we can now focus on the source code of the application.
The source code of the project demo is located at https://github.com/cosmicjs/vue-content-curation-app. Get a copy in to your machine either by cloning the repository with git clone or by clicking the download button in the github page.
Once you have the repository, cd into the directory and install the project dependencies with npm install . There is one more step you need to do to get the app running. Copy and rename the .env.samplefile in the root folder to .env and fill in the bucket configuration variables - which you can obtain from the Settings → Basic Settings tab in your cosmic dashboard. (you can skip write_key if you want as we are not writing anything yet to our Cosmic backend from the app)
Once this is done, you can start the app in development mode with npm run dev ,and you will be able to access it at localhost:8080 by default, or at the port you defined in .env file.
To build the app for production, run npm build. The built app ready for serving will be generated in to the ‘dist/’ folder. To serve the app, run npm start, which will start an Express server and serve our built files at localhost:5000 by default, or at any other port you defined in the .env file.
Understanding the source code
The project is scaffolded with vue-cli, which gives us a nice structure to work with. The only major addition to this is the server.js file, which was included for deployment within Cosmic.
As you can see, this will start an Express server and serve our dist/ folder as static files. The dist/ folder is where the production app will be built into, as mentioned before.
Inside the src/ folder, there are four folders.
The assets/ directory is for the static assets like images, stylesheets etc. We have a main.scss file inside the assets/styles/ folder where you can define global styles, and also modify any Bulma variables as needed.
The components/ folder contains two component files. A List component for category list and a Single component for each category page.
The router/ folder contains the vue-router configurations and resources/ folder contains a cosmic bucket initialization file, which we can import and use in components
Deploying the App
Since Cosmic does the heavylifting in the backend side and there is no database to configure, deployment is a walk in the park. We’ll look into deployment using Cosmic hosting.
Go to your bucket in your cosmic dashboard and navigate to Settings → Deploy Web App. Supply your Github repository url and the branch to be deployed. Cosmic makes the three enviroment variables we set early available automatically on every deployment, so you don’t need to enter it manually.

There are other deployment options that you can explore, including setting custom enviroment variables, adding custom domain and ssl etc. After you are finished, just click on ‘Deploy to Web’ and the site will be deployed. You’ll receive an email on successful deployment
Conclusion
I hope you can see what’s possible with CosmicJS with this short tutorial. By taking away the heavy-lifting in the backend, Cosmic essentially speeds up the process and reduces hassle in building content driven websites and apps. If you have any questions, feel free to reach out to us on Twitter or join our Slack community.
Continue Learning
Ready to get started?
Build your next project with Cosmic and start creating content faster.
No credit card required • Free forever