
Jazib Sawar
November 2, 2017
In this tutorial, I'm going to show you how to create a Restaurant Menu App using Vue2, Vuex, Buefy and Cosmic. We will be using Cosmic npm package for implementing the basic CRUD for our objects and to retrieve data and media from Cosmic. Let's get started.
Download the GitHub repo.!
Check out the demo
Prerequisites
You will be requiring to install Node JS and npm before starting. Make sure you already have them.
Getting Started
Doing everything using the existing git repo
First of all, you have to be sure you have node > 6.x installed, than run the following commands:
After successfull completion of the last command browser window will automatically open
package.json will look like this.
What we're installing and why
We're going to use vue and vuex libraries to create components and manage state.
We're using async package to make async requests to Cosmic for deleting media in a loop.
We're using buefy package to create our layouts using vue components.
We're going to use Cosmic library to handle our requests to our Cosmic bucket.
vee-validate is used for form validation.
nuxt is used for server side rendering.
Building our app
Now we will set up our nuxt.config.js in our root directory where we will change the favicon and set the other basic properties for the app link build properties and linting etc. Also we will include the external CDN's required for the app.
Below is the nuxt.config.js file.
Setup default.js
default.js in the layouts directory is the starting point in all the app. Here we include master view attributes like navbar and footer. the important thing here is the nuxt tag will initiate all the pages depending upon the route.
In the script section in beforeMount we have called the actions that we need to be called when the application loads. Here 'getMenus' is worth noting. This action fetches the menu for the current date when application is launched. We have also exposed the store to the vue components.
Routing
When using nuxt.js we do not need to worry about creating the routes. Nuxt do the job for us. We need to follow the file directory rules described by nuxt and it will create all the necessary routes for us. For more information visit Nuxt documentation
Setup index.vue
\pages\index.vue is the first page that will render. I have used buefy components for UI. You can check their documentation here. Most important code block here to include landingpage component in the template . This piece of code will render the LandingPage component.
Vuex
Moving ahead first I will discuss about Vuex and why we should use that. You can obviously use simple state and props for smaller applications. But for large applications we must use some kind of state management like redux in React. Vuex is maintained by vue team and it is widely used. Today we will use that. Below is the Vuex flow diagram that I will explain.

There are four main concepts in vuex.
State
Actions
Mutations
Getters
State is where our whole application state/data will be store. So how it will work? For example, you are using this store in you component and want to change some state value. You have to dispatch an action. Then actionwill commit the mutationand it will change the state. So why action is needed, we can change state directly in mutation. Action is very important. We need actions when we have to call any async function and then on its success change the state. In case of API we consume request in actions and commit mutation to change state. It is very simple but very import to follow.
Getters are simple getter function to get value of state in components. If you need one state value in different components so it is better to create getter for it and use that getter in component as computed property.
It is convention to create vuex folder and then create store.js in it. So I did the same and created store/store.js. Below is the store.js code:
Config
config/config.js is the file in which we store the basic configurations to access the Cosmic.
Commons
In /common I have created three .js files inorder to structre my code and make it scalable. /common/request.js file will use /common/cosmic.js package and make requests to provided endpoints and return Promises. /common/paramMapping.jswill create a request object in case of add and edit.
/common/cosmic.js extends the Cosmic package as it was missing deleteMedia and sort functionality in getObjectsByType functions.
cosmic.js extended code is below.
Components
In this application I created following components.
LandingPage.vue
Menu.vue
AddMenu.vue
AddMenuDetails.vue
AddCategoryTitle.vue
AddCategory.vue
AddMenuItem.vue
LandingPage.vue
LandingPage.vue is the main component. It will show a date picker already set to the current date. If any menu exist for that date it will be loaded below via the component
otherwise a button will appear to add a menu on that date.
This will map getter of vuex store to computed property of Vue and map actions to methods.
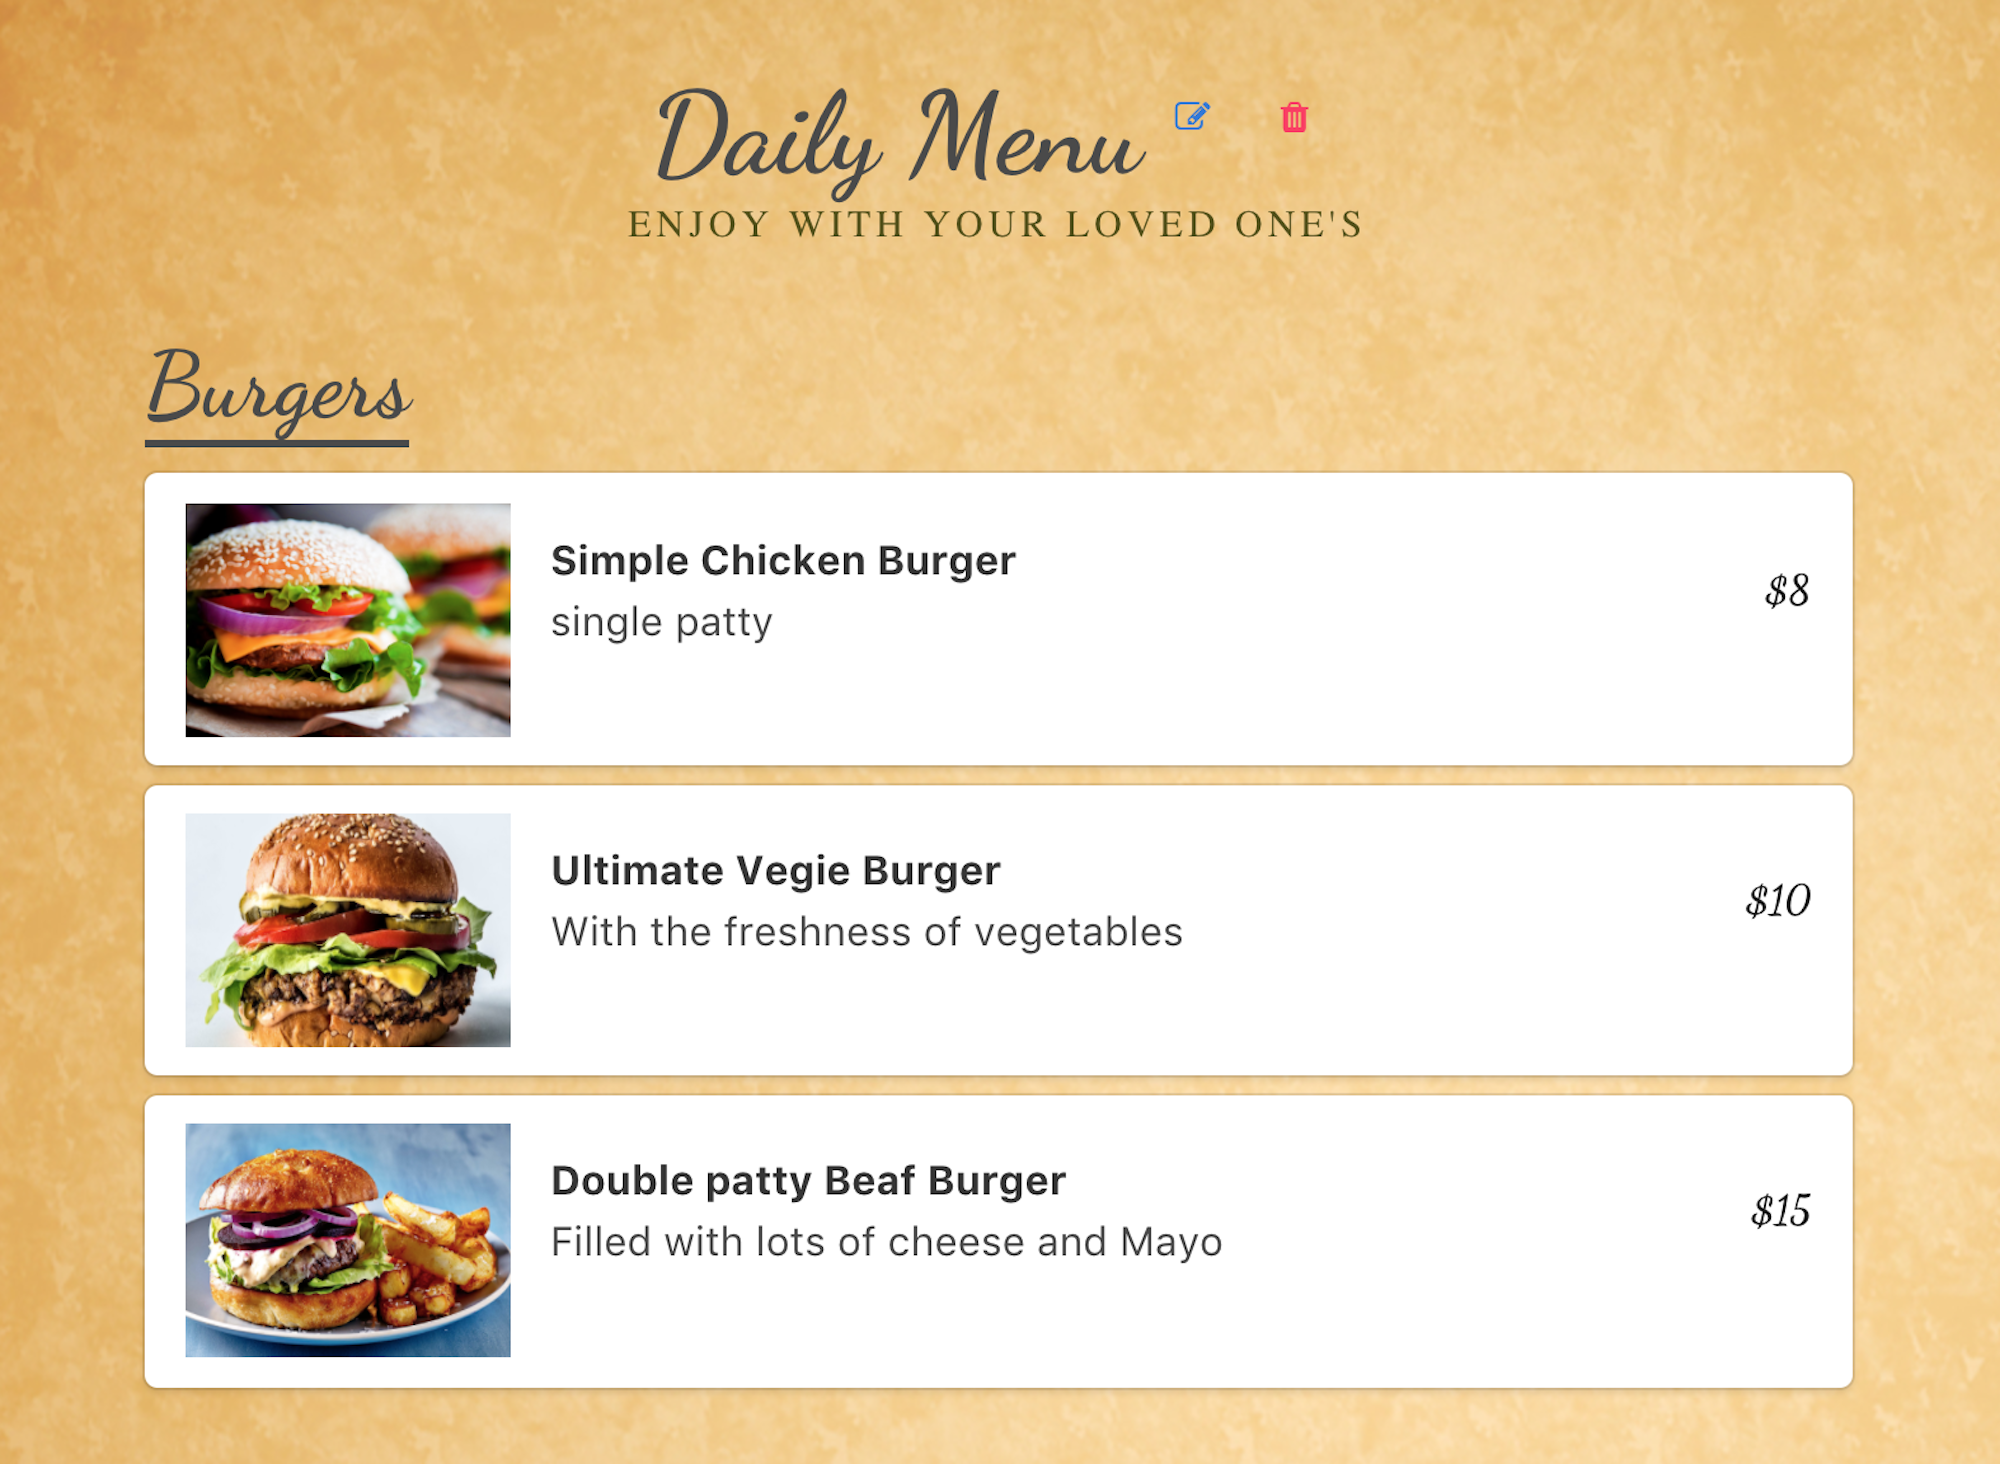
Menu.vue
Menu.vue shows the menu fetched for that date.
AddMenu.vue
AddMenu.vue displays a dialog to enter the title , description and date for the menu. It appears after you click the add Menu button.
AddMenuDetails.vue
Once you have entered the title, description and date for the menu and saved it a menu will be created and a new component will be loaded in which you can add new categories and menuItems in the menu object.
AddCategoryTitle.vue
On pressing the add category button a dialog opens in which you enter the title for the category.
AddCategory.vue
This component displays the Category title and provides the functionality to add menuItems in the category.
AddMenuItem.vue
This component shows the form to enter the basic information for the menu item.
Conclusion
This is a basic app for a restaurant menu built using vue , vuex , Cosmic and nuxt.js. I hope you liked the tutorial and will be helpfull for you.
Continue Learning
Ready to get started?
Build your next project with Cosmic and start creating content faster.
No credit card required • Free forever