Muhammad Althaf
February 17, 2018
For simple shopping websites, going with full-fledged solutions like Shopify or Woocommerce can be a total overkill. In this tutorial, we're going to build an e-commerce website using Nuxt and Cosmic. We'll also use Buefy, which is a UI component library for Vue JS based on the much loved Bulma.
TL;DR
Download the GitHub repo
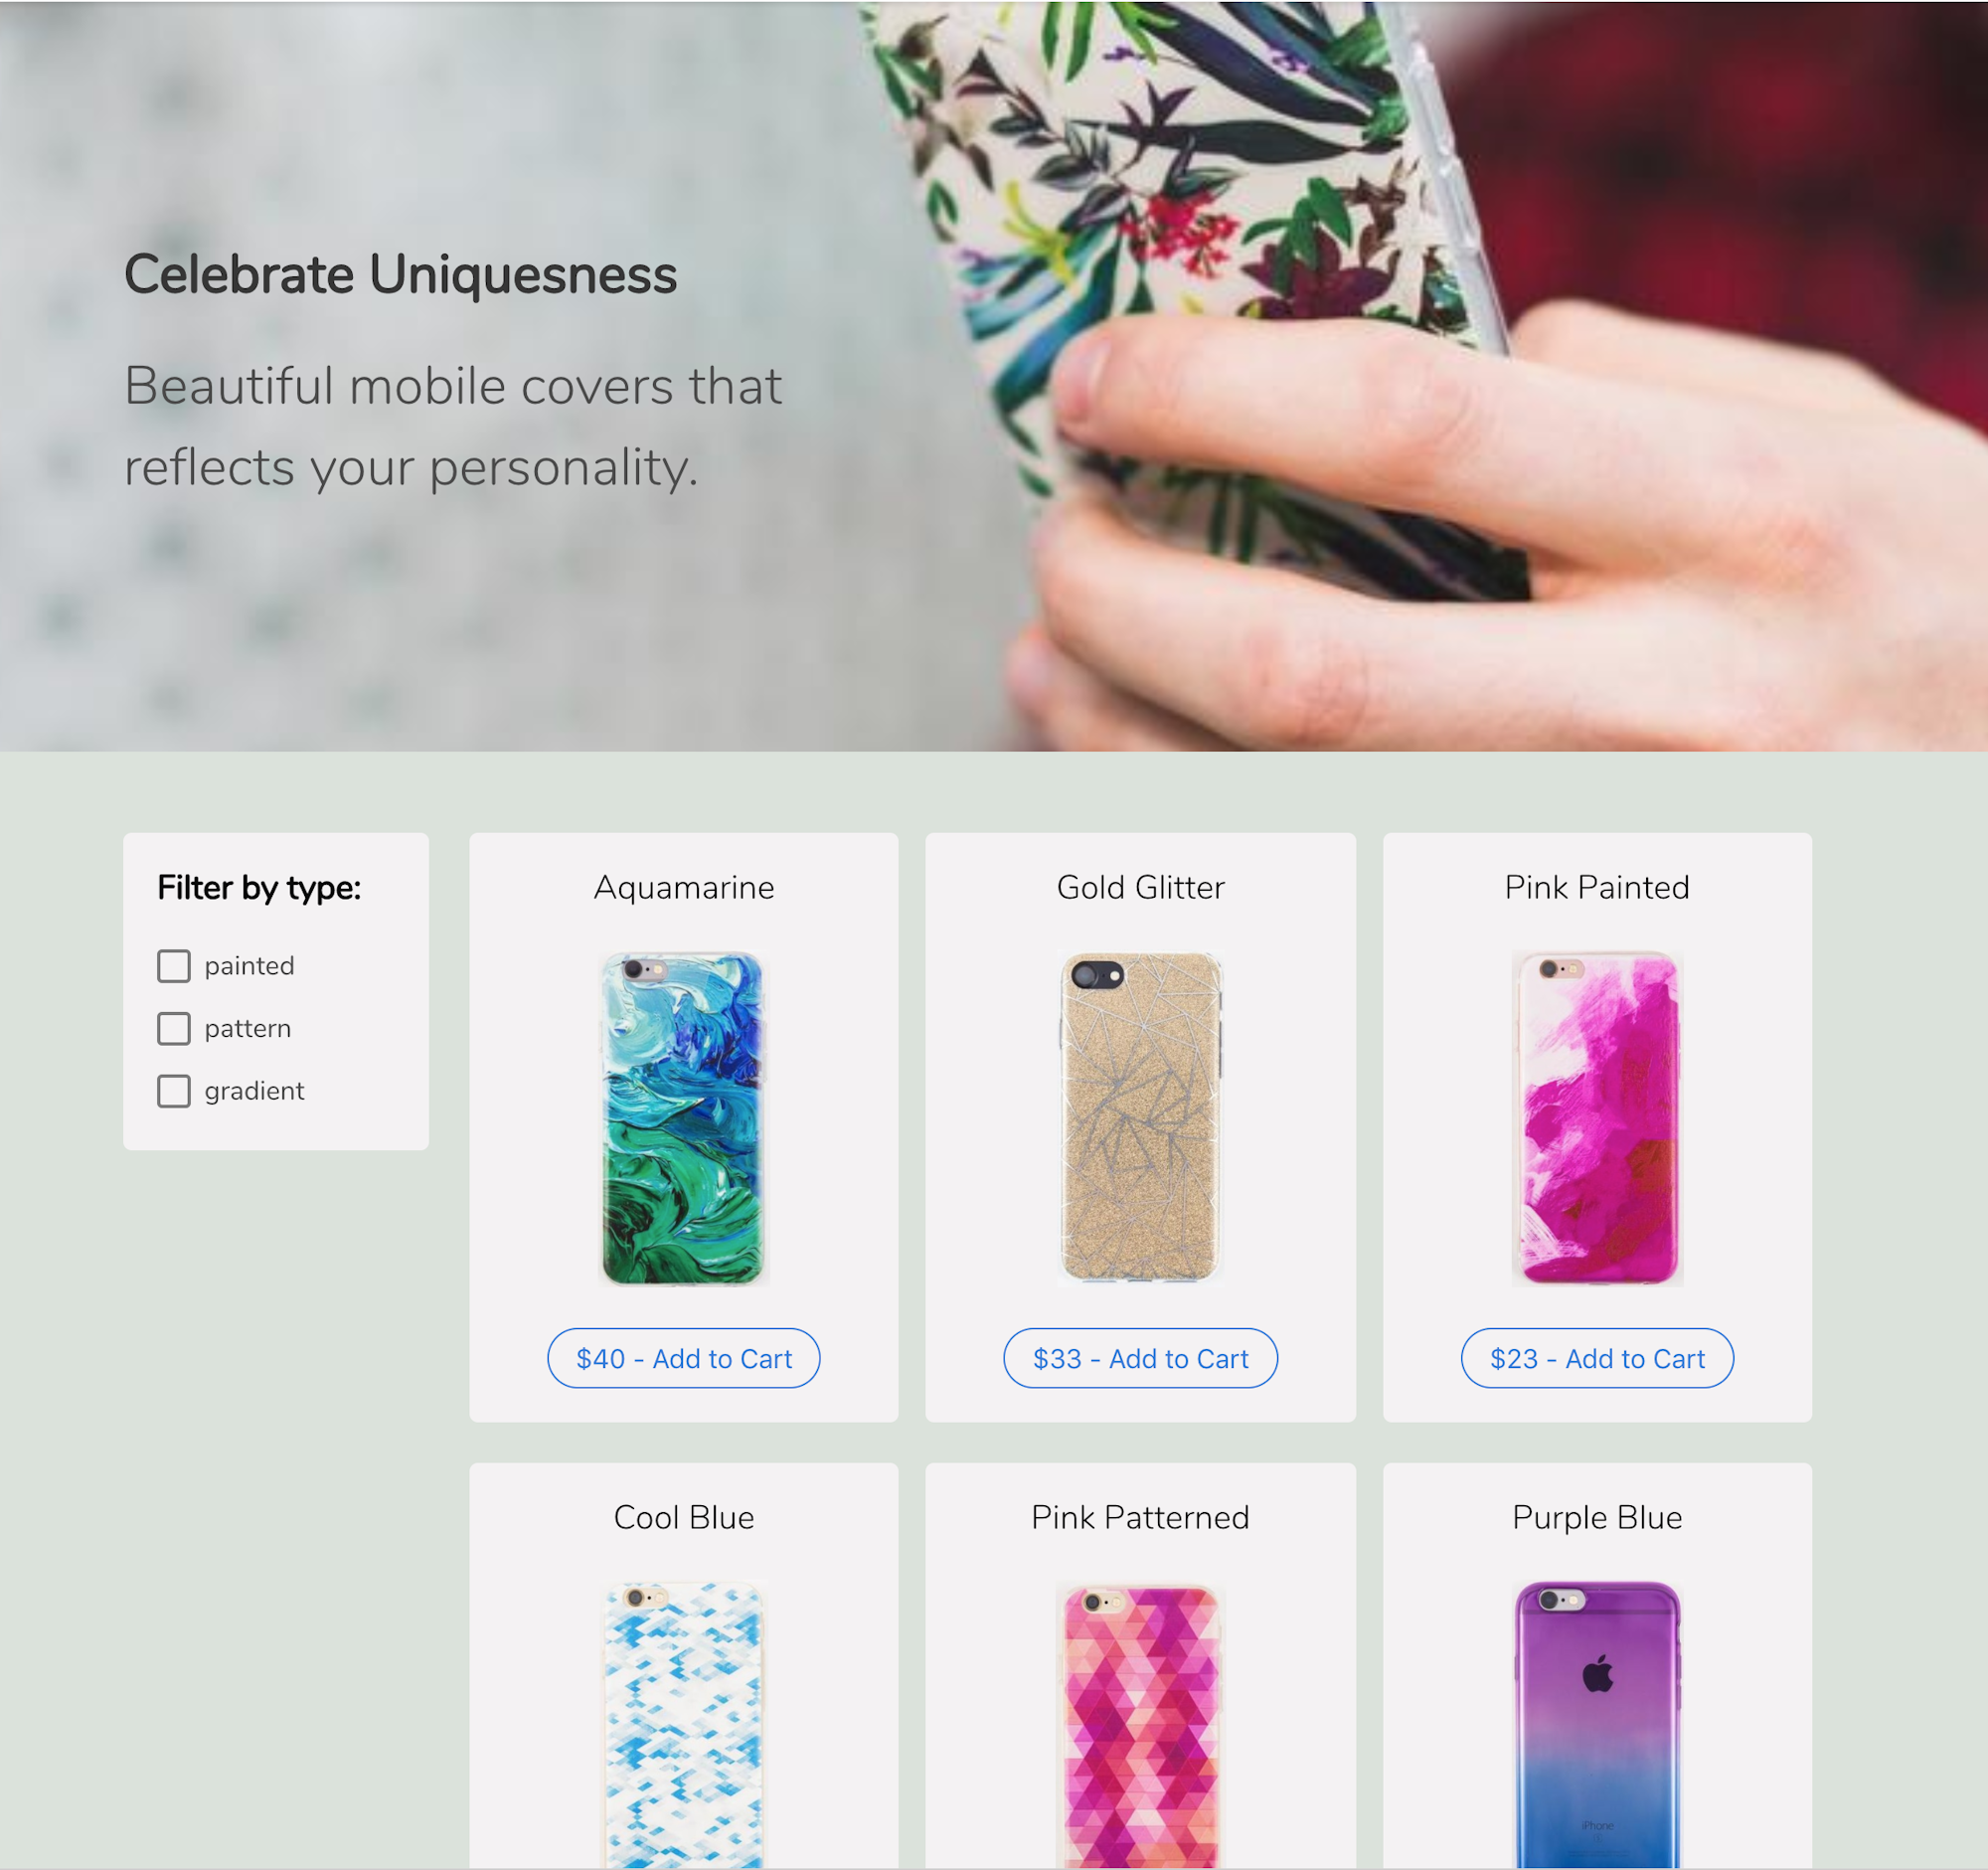
Check out the demo.
Pre-requisites
You need to have node and npm installed in your machine already. If not, visit node js website and install the latest stable version.
Getting Started
For our project, it makes sense to build our backend models first.
Setup Cosmic backend
Login to your Cosmic dashboard and select ‘Add new Bucket’. In the next screen, provide a name for your Bucket and select ‘Start from scratch’.

Import Bucket data
Download the bucket.json file from the repository. Then go to Settings -> Import/Export page from the dashboard and import the downloaded file. Now we'll have the objects and object types available in the dashboard.

Setting up Stripe
For any e-commerce website, we'll have to accept payment from the customer at one point or another. Setting up a payment processor used to be a difficult area, but luckily we now have a lot of convenient solutions.
For our website, we'll use Stripe. To start with, go to their website and create an account. After you fill in details and everything's setup, go to the API section and grab your public and private keys.

We'll need these keys to configure Stripe in our website, using the much convenient Stripe Checkout element.
Installing the Demo
Get the source code into your machine by either downloading or cloning the repo, which is located at https://github.com/cosmicjs/vue-ecommerce. Then run,
cd vue-ecommerce
npm install
There is one more step left before running the app. Rename the .env.sample file to .env and file in the enviroment variables there.
Since the HOST variable for production needs to be 0.0.0.0, and NODE_ENV needs to be 'production', we'll set them both in package.json file, and is not needed in the .env file.
Now run npm run dev to run the app in development mode. If you want to build for production, run npm run build and start the app with npm start
Understanding the Source Code
One major perk of using Nuxt for building Vue.js applications is that Nuxt is opinionated. So one can jump into any Nuxt project and find a familiar structure there.
The most important file is the nuxt.config.js. You'll find three plugins imported from the plugins/ folder for Buefy, Stripe and Cosmic.
We're using the vue-stripe-checkout as a wrapper for the Stripe's checkout element. Visit Stripe documentation to learn about the available options.
Any environment variable that need to be used in the client side needs to be defined in the env section and we'll also have stripe script linked in the scripts section.
The pages/ folder contains the home and cart pages. The checkout method int the cart page handles the stripe checkout. Basically what we're doing is sending the token generated by the checkout component and other identifying details to the app server. Checkout the vue-stripe-checkout package to learn more about the usage.
For a simple Nuxt app, we can just use server only for SSR and have all the code shipped to client side. But in this case, we need to handle the stripe checkout separately in the server. Inside the server/ folder, we have the Express server setup in index.js file and a single route handler in api/index.js file. We'll first create a customer in Stripe with stripe.customers.create function and then charge with stripe.charges.create function. Check out https://stripe.com/docs/checkout/express to learn more about the implementation.
Once the payment is successful, we'll add the order to our Cosmic Bucket under the 'Orders' object type.
Deploying the App
Deploying the app with Cosmic is pretty easy. Just go to your Bucket and then navigate to Settings -> Deploy to Web.
Provide your Github repository url and the branch to be deployed. Cosmic makes the Bucket slug, read key and write key environment variables available by default.
Choose the repository there and branch to deploy (which in most cases is master), and click 'Deploy to Web'. That is all there is to it and you will get a confirmation mail once deployment is successfull. Once it succeeds, do not forget to supply the stripe keys and environment variables through the 'Set Environment Variables' section in case you haven't setup .env file.
PS: Any e-commerce app needs to be secured with https. So do enable SSL in your app from deployment section when going live.
Continue Learning
Ready to get started?
Build your next project with Cosmic and start creating content faster.
No credit card required • Free forever