

Abey Joy
January 26, 2019
Cosmic is an amazing content management system with options to categorize and distribute data in a way that makes sense to you. When building an expositional site for educational purposes, you have to display a large amount of text, images, videos and
more. In this tutorial we will learn how to utilize the power of the Cosmic CMS to easily display, track, and update large amounts of data.
TL;DR
Scholastic Website Demo
View Code on GitHub
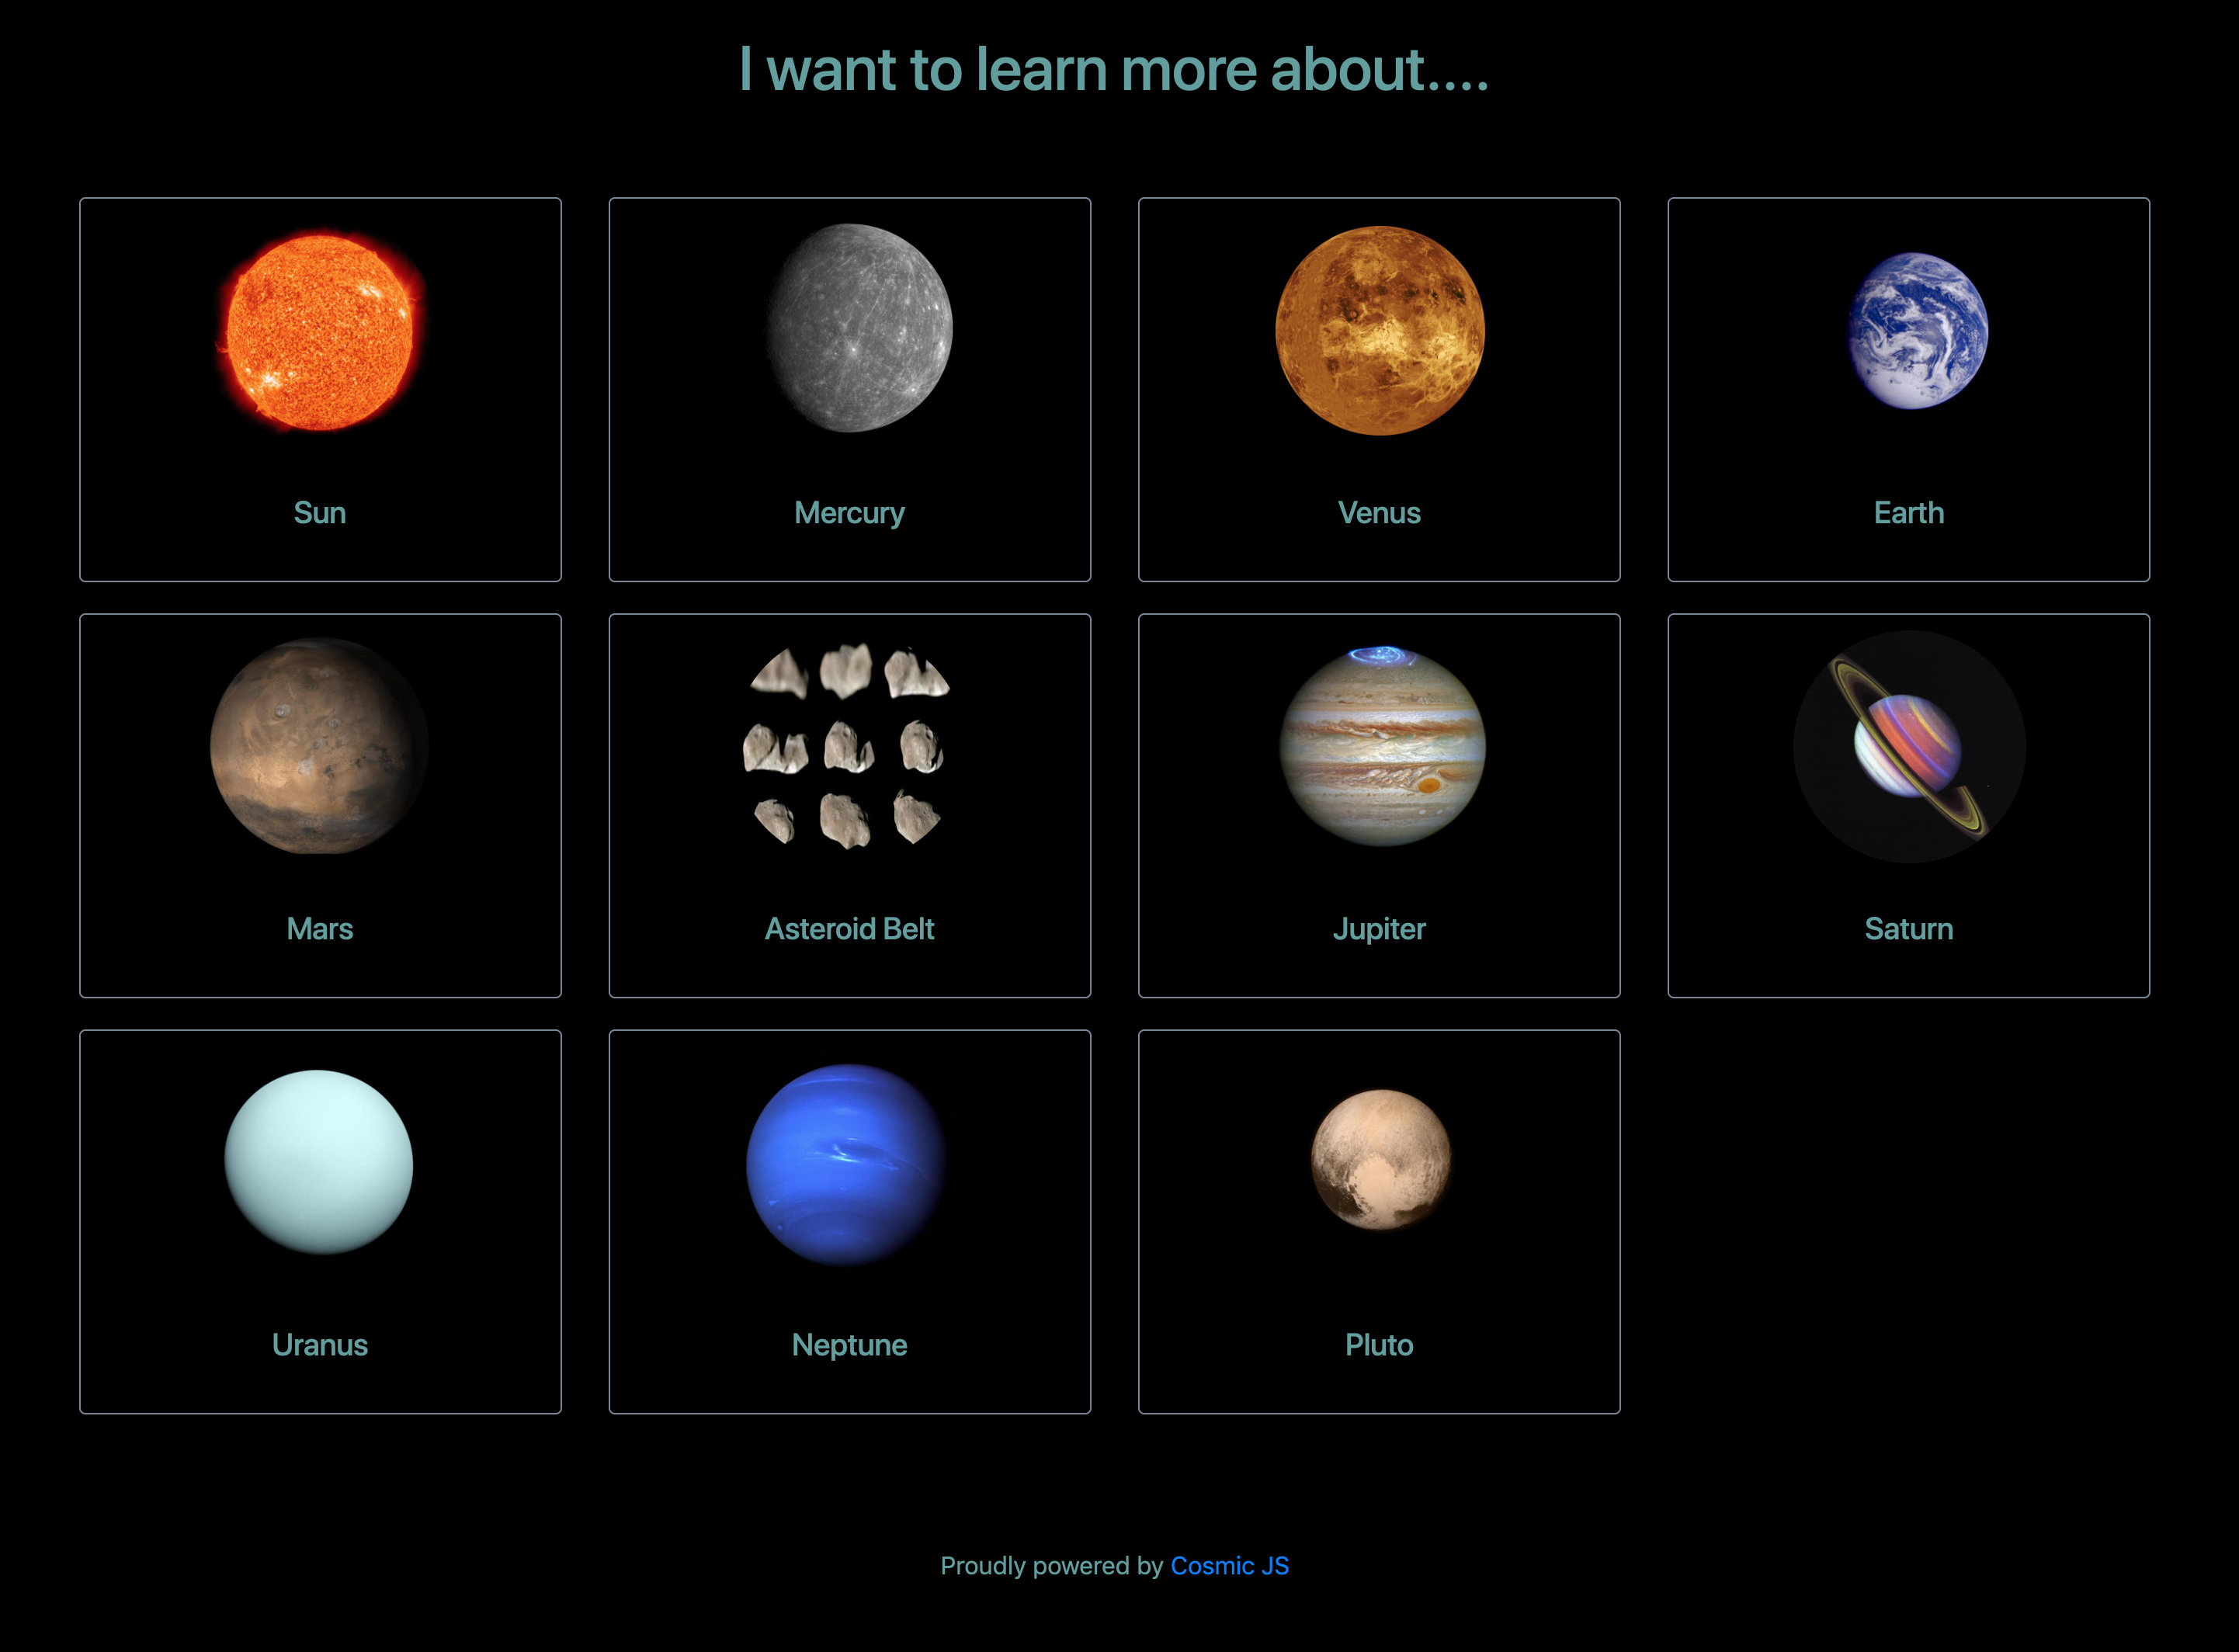
What we'll be building:
Intro
As there are many articles on this site to help you get started using Cosmic, this tutorial will assume you have a basic understanding of how Cosmic works. Refer to the Getting Started Guide.
As Cosmic is an API-first CMS, it is exceptionally easy to get up and running - you just need to make a simple asynchronous call in Vue. Throughout the course of this tutorial, you will be able to see just how easy it is to divvy up data and update it using the Cosmic CMS.
Installing and Setting Up our Project:
In this tutorial, we will use Vue's CLI and NPM to install Cosmic and set up our project quickly and seamlessly. We also can install Vuex to utilize its global store:
$ npm install -g vue-cli
$ vue init webpack cosmic-game
$ cd cosmic-game
$ npm install --save vuex cosmicjs
$ npm install
$ npm run dev
Optionally, we can also add Bootstrap (and its dependencies of jQuery and popper.js) to our project, to leverage some pre-written CSS to organize our layouts:
$ npm install bootstrap jquery popper.js
If you choose to add Bootstrap to your project, after running npm install you also need to import it in main.js:
import 'bootstrap'; import 'bootstrap/dist/css/bootstrap.min.css';
Uploading Asset Data To Cosmic:
When creating a site for educational purposes, your site requires large amounts of text, images, videos and other assets to be hosted. As you continue to iterate on your site, it is vital to not only be able to edit those assets easily but to also be able to access them readily.
First, we need to create a Bucket for our project. Once that is done, we can leverage some unique properties that Cosmic offers to compartmentalize our data. Because the site being built in this tutorial is centered around our Solar System, let's add a new Object Type called "Cosmic Assets". The Cosmic Assets Object will be responsible for containing information, images, and other assets about the inhabitants of our Solar System. For example, if I wanted to add some information about the planet Jupiter - I would go into the "Cosmic Assets" Object type, and create a new Cosmic Asset named "Jupiter".
Now, we have a Cosmic Asset that can host any data we want to tie to the planet Jupiter. We can add images of Jupiter, give expositional data, and even list quick tidbits of information using the Text Input Metafield provided by the CMS.
Being able to break up data of our Cosmic Assets into the content field, image Metafield and text input Metafield make it extremely easy to take a glance at the CMS and understand where each piece of data is being rendered in our Vue.js application.
Setting Up Our Application:
Because our solar system contains so many objects, we should leverage the v-for property that Vue offers us to loop through them. This prevents us from repeating our code for each celestial object, and allows us to utilize the full power of component based design.
We use three components in this project:
The first component, referred to in our project as Homescreen.vue, is responsible for rendering everything. It calls and obtains the data we added to the Cosmic CMS, and uses it to render our application.
The second component, referred to in our project as CosmicAsset.vue, is a short introduction to the celestial object. It displays a small image, and the name of the celestial object. If this component is clicked, it renders the next component: CosmicPage.vue.
CosmicPage.vue renders a full screen component, which gives detailed information about a specific entity. It features a big expositional paragraph, some fun facts, and other information such as size and it's distance from Earth.
Accessing Uploaded Data from Cosmic in our Vue.JS Application
We can utilize the Cosmic API to access the data that we uploaded to the CMS. First, we need to initialize the Bucket that stores our project. We do this by first instantiating Cosmic in our component, and then using a promise to return data from the specific Bucket we want. Then, we can mutate the information and add it as a property on the data object of our Vue Component. We make the call to the Cosmic API on the mounted() property of Vue's lifecycle, so that the information we need is readily available as soon as the component(s) are mounted:
Rendering Our Components from Accessed Data:
As you can see above, we find the Bucket we want, get our uploaded data from it, and mutate it how we want to. We filter the objects on the data and determine whether they are Cosmic Objects or simple content that is to be rendered on the page.
We now have our Cosmic Objects stored in an array in the data property cosmicAssetObjs on the Vue Object. Using this array, we can use Vue's v-for to loop through and render our CosmicAsset component. We can break up each of these components using Boostrap classes, so they appear in a grid:
As you can see we use the v-for property to loop through our array. For each element that we loop through, we pass that specific element as a prop for use by the component. We can see how props are used by looking at the component(s) itself:
As you can see, we take the specific celestial entity's information in the form of an object and filter through it to display what we want it to.
Conclusion
In this tutorial, we uploaded a large amount of data to Cosmic so that we could create an educational application that teaches about the things in our Solar System. By leveraging the Cosmic API, we could easily and seamlessly access that data.
Cosmic is a lightweight platform with an extremely powerful CMS to offer.
If you have any comments or questions about building apps with Cosmic, reach out to us on Twitter and join the conversation on Slack.