
Karl Koch
December 11, 2020
Note: This article has been archived as it may contain features or techniques not supported with the latest version of Cosmic.
Introduction
Cosmic is a fantastic headless CMS for powering your website, but if you write regular articles or often update site text, you might find it challenging to always come into the backend and make those changes (especially when you're on the go).
If you use the Pro version of Drafts, then you're in luck. I'm going to talk you through how I set up a custom action extension in Drafts to allow you to create a blog post automatically using the Cosmic API. It's lightning-fast to set up and a delight to use. It gives you the power to quickly update a blog post from anywhere on your Mac, iPad or iPhone. So no more annoying typos that you can't fix until you get home.
Assumptions
This post assumes you already understand how to create a blog using your preferred programming language and have a basic understanding of APIs and particularly Cosmic's API. The documentation is great if you get lost though!
The setup
- So, to get started you'll need to have a Cosmic account with a Bucket set up
- You'll need access to the Drafts app (so sorry Android users!)
- You'll need to upgrade to their Pro subscription to enable the ability to add a custom Action Extension
Cosmic Bucket
-
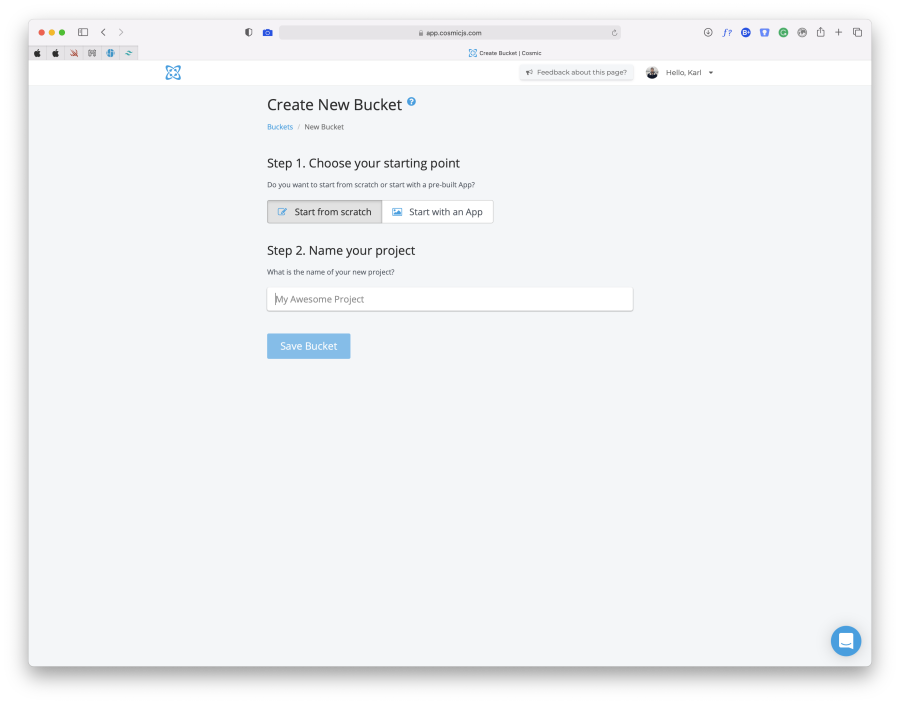
Start by naming your project, we're calling ours Post from Drafts
-
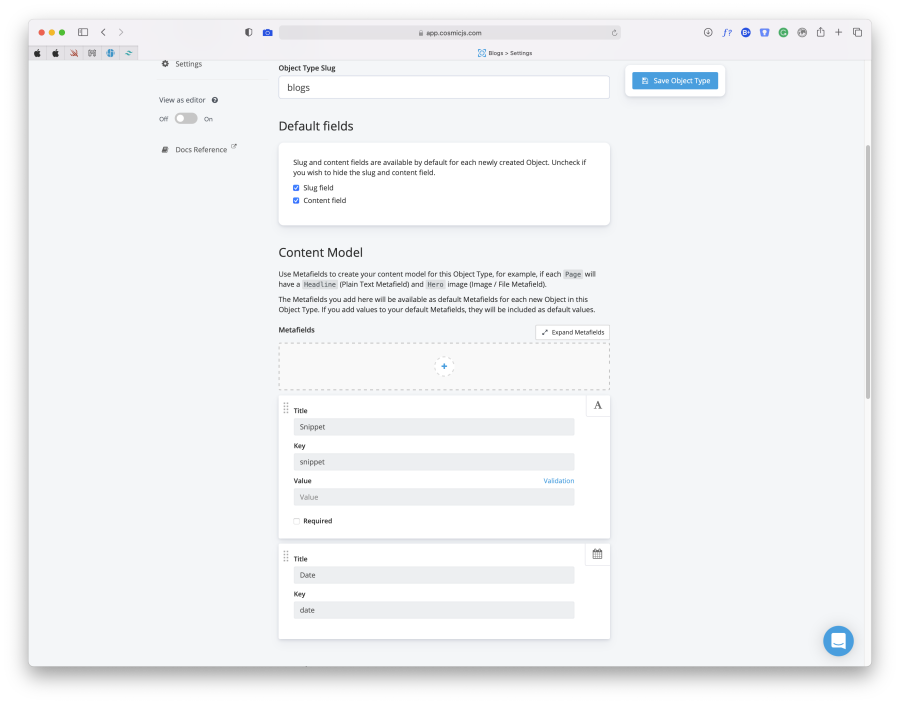
Create a new Object and call it Blogs (you can of course call it what you like, but for the purpose of following along I'd recommend Blogs)

-
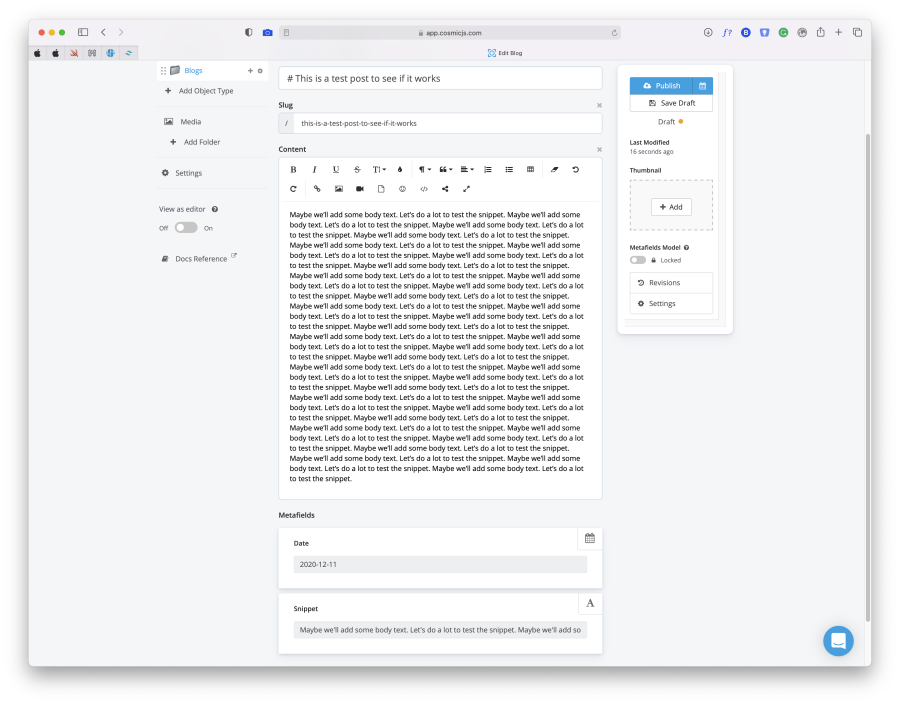
We're then going to add some additional metafields. One is a Date type for setting a publication date. This is deliberate as we may want to control the date shown as published rather than relying on Cosmic's record or when the button was pressed or when it was last modified etc. We also want one for a snippet, this allows us to pass in a short character limited version of the Draft to act as a teaser.
Now, we're ready to enter the land of APIs...
Cosmic API at the ready
-
In order to pass in the right fields for our HTTP request, we need specific data from our Cosmic Bucket to give to the POST URI.
*note this Bucket has been deleted and these keys do not work, so don't attempt to use them -
Download the extension from Cosmic or grab the JS file directly from GitHub

-
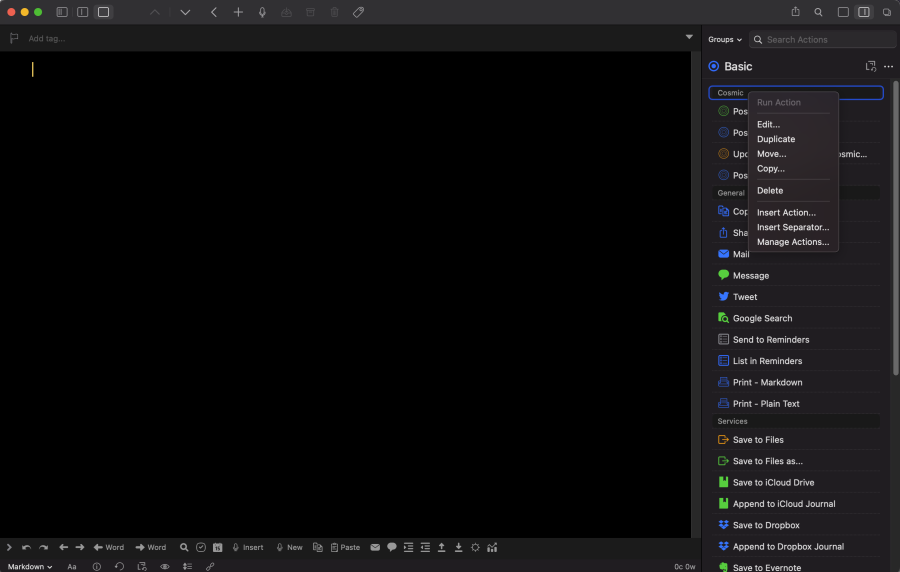
Start by right clicking (if on a Mac) in the right hand Action Extensions panel and choose "Insert Action". You can also add this on iPad or iPhone by swiping from the right and tapping the small plus at the bottom to add a "New Action".
-
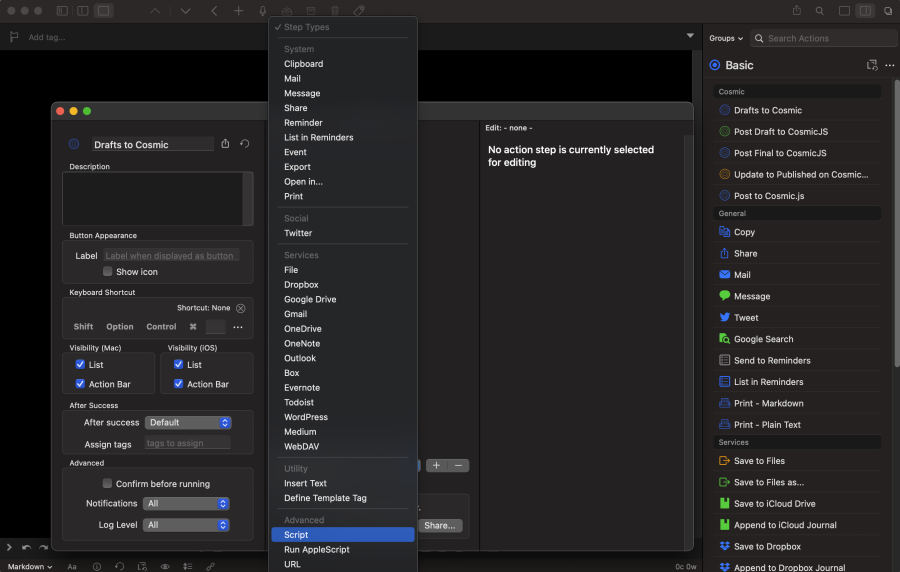
Tap the drop down and select the "Script" action type then tap the plus button to create a new one, click or tap on it. Once you have it, click or tap the "Edit" button in the top right to start adding some code.
-
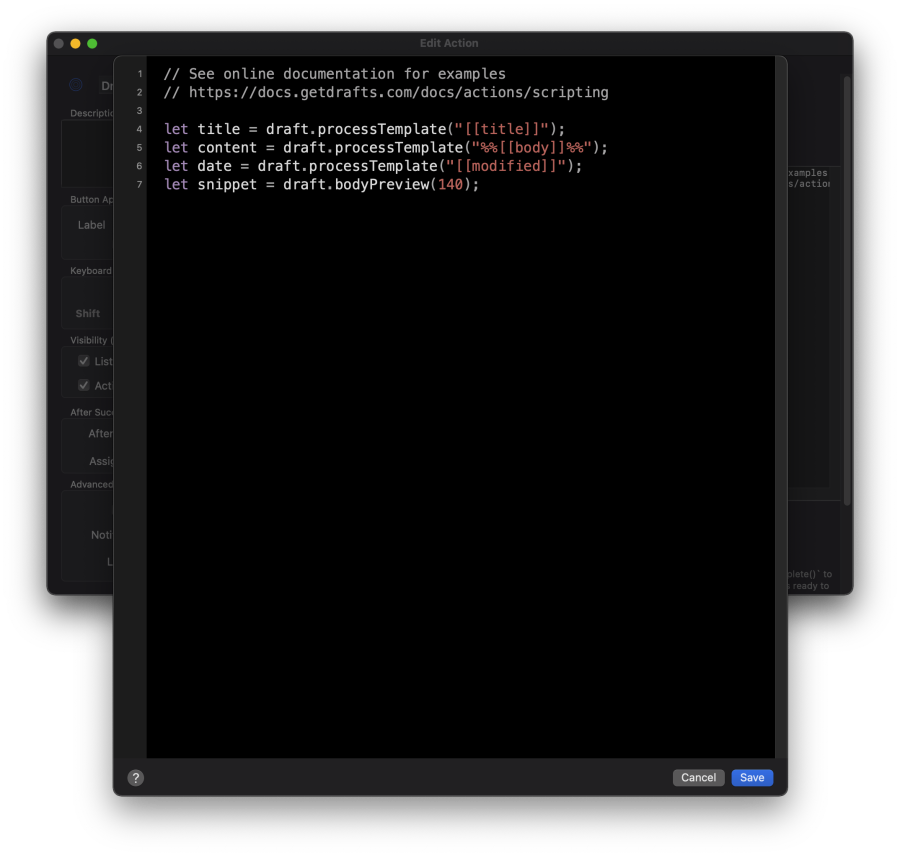
Define your Drafts variables (you can see all the available options from their extensive script reference library) but to follow along, use the below.
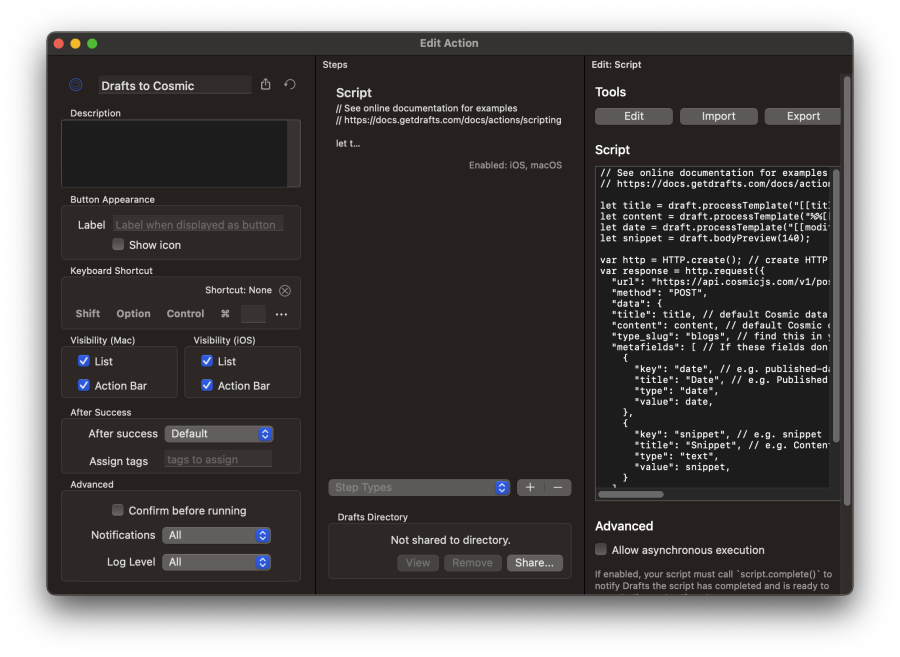
- Create your API POST request

- Then add your data—this should match your previously set variables and should align with what your Cosmic bucket is expecting for consistency. But! Cosmic is clever so if a metafield doesn't exist, Cosmic will create it for you for that object and fill out the value!
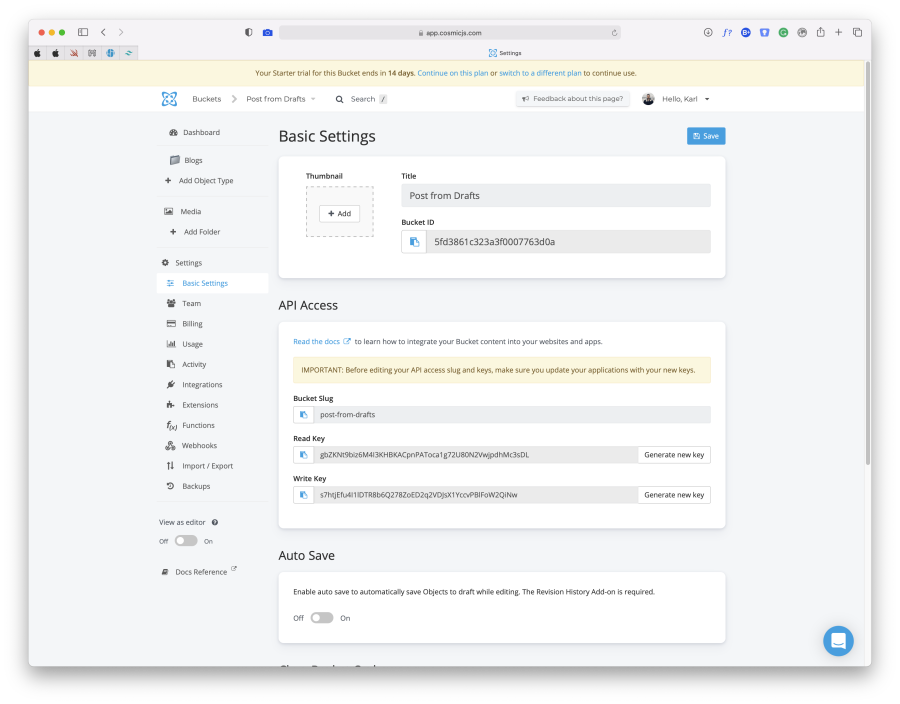
- Finally, set a status type, either draft or published. If you don't set anything here or delete this line then Cosmic will publish it by default. Then set your Cosmic write key to allow you to publish content from outside your Bucket. Get this from Bucket › Settings › Write Key

- Putting it all together
-
Once you hit save you'll see the following. Your Action Extension is now complete and ready to enjoy! Let's test it out.
-
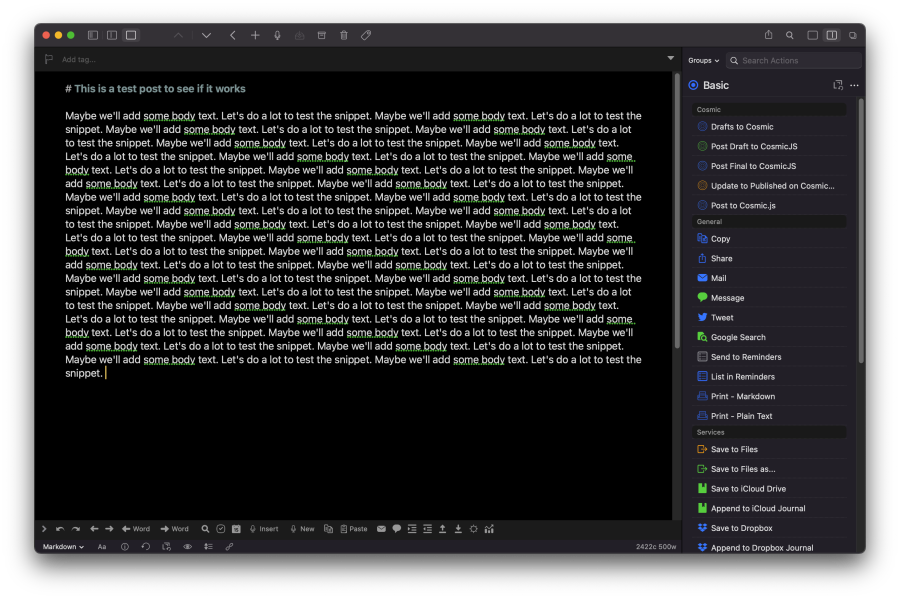
First create your Draft. You can use Markdown throughout in the body and Cosmic will accept that in as HTML to the Content block
-
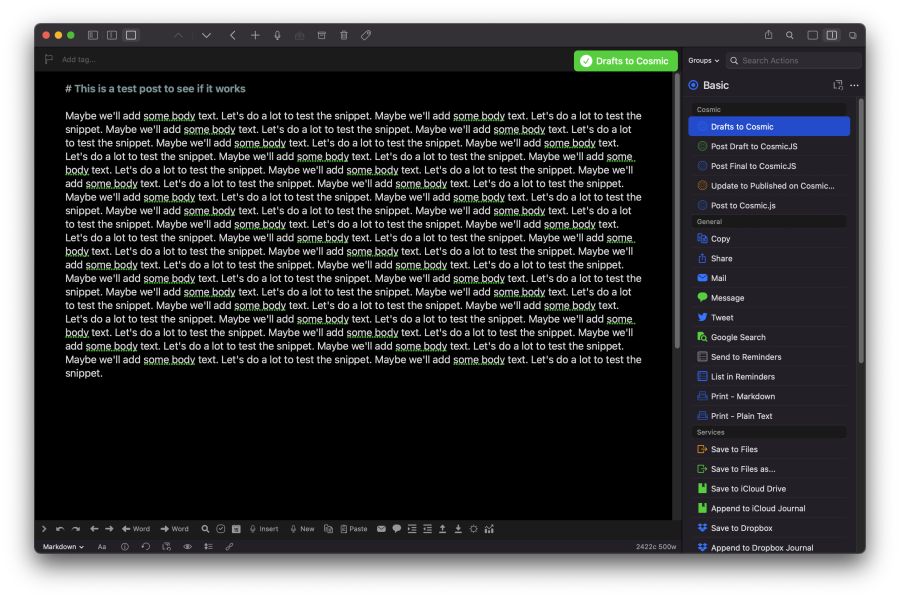
Double click the action extension (or simply tap on mobile) to run. If all the data are right, you'll get a little success badge
-
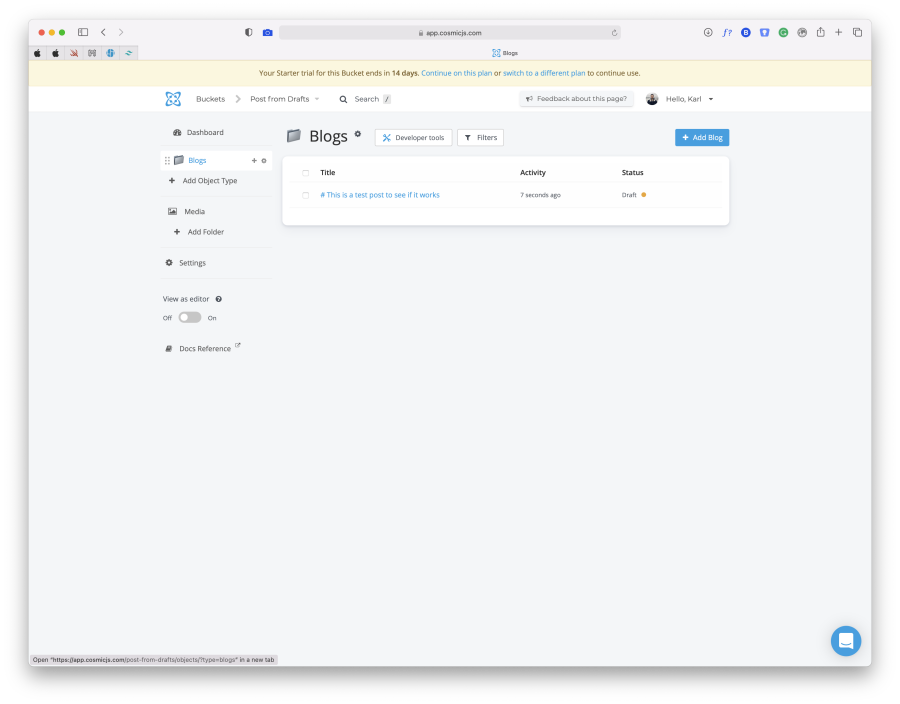
Check your Bucket, you'll now see a brand new post sitting there waiting. The Drafts variable passes in the Markdown of the header. It's a bit annoying, but you can either leave it off or let me know if there's a way to strip it out! [Edit: I’ve updated the script to include the new title variable which uses a draft function to strip the markdown! Sweet.]
-
If you go into the new post now, you'll see firstly that it was successfully saved as a draft for us and that all the relevant fields were passed to Cosmic. If you add any variables and data in your Action Extension that Cosmic doesn't already have then it super cleverly creates them for you. How awesome is that!
Conclusion
And that's it. It's as simple as that. Obviously you'll need to have set up a Blog to accept all this in, I'd recommend following some of the examples in the community posts if you're just getting started.
Continue Learning
Ready to get started?
Build your next project with Cosmic and start creating content faster.
No credit card required • Free forever