Follow the steps below to get started with Cosmic to power content for your RedwoodJS application.
Install RedwoodJS
yarn create redwood-app
Answer the prompts with the following answers:
- Where would you like to create your Redwood app? cosmic-redwood
- Select your preferred language. TypeScript
cd cosmic-redwood
yarn install
Start the app.
yarn rw dev
Create the Blog home page.
yarn redwood generate page home /
Go into the web/src folder.
cd web/src
Install the Cosmic JavaScript SDK
Install the Cosmic JavaScript SDK in the location of the codebase.
npm i @cosmicjs/sdk
Add an Object type in the Cosmic dashboard
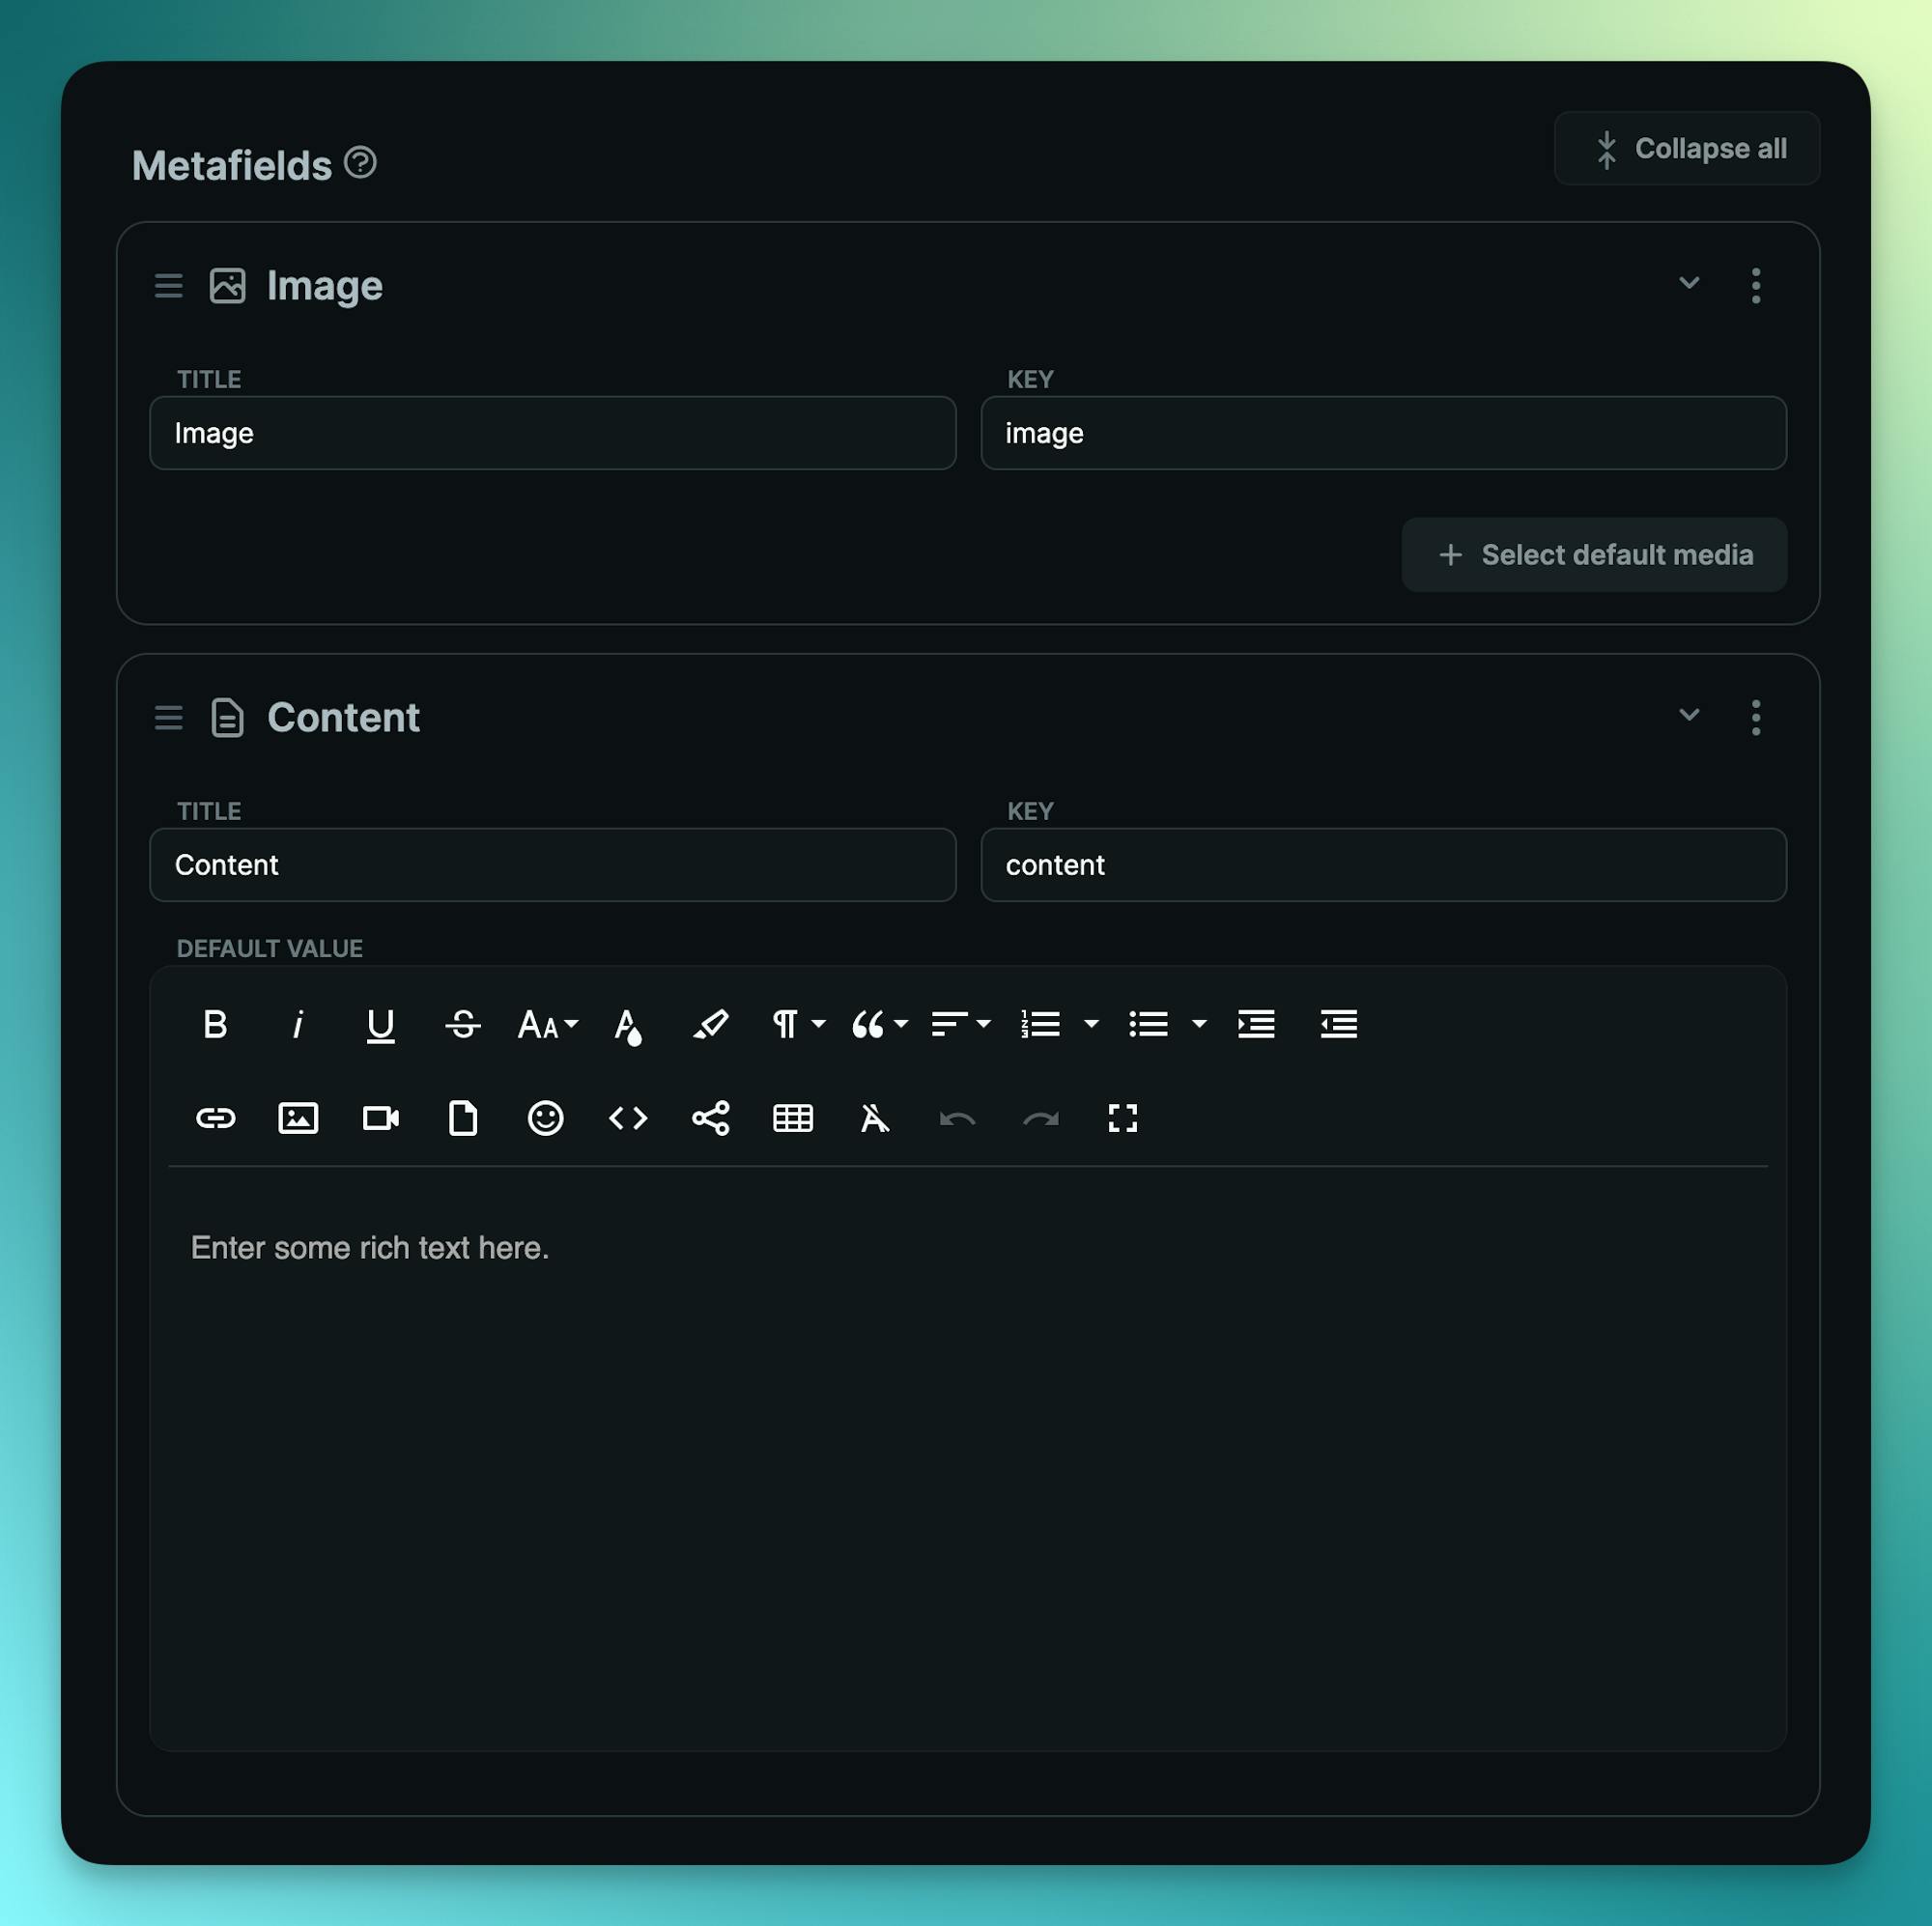
Log in to the Cosmic dashboard and create a new Blog Posts Object type in a new or existing Project with the following metafields:
- Image: Image type with key
image - Content: Rich text with key
content
Add content
Add a few blog posts to get some content ready to be delivered.
In the file web/src/pages/HomePage/HomePage.tsx add the following:
// web/src/pages/HomePage/HomePage.tsx
import { createBucketClient } from '@cosmicjs/sdk';

import { Metadata } from '@redwoodjs/web';

// app/page.tsx
const cosmic = createBucketClient({
  bucketSlug: process.env.REDWOOD_ENV_BUCKET_SLUG || '',
  readKey: process.env.REDWOOD_ENV_BUCKET_READ_KEY || '',
});

const { objects: posts } = await cosmic.objects
  .find({
    type: 'blog-posts',
  })
  .props('title,metadata.image,metadata.content');

const HomePage = () => {
  return (
    <>
      <Metadata title="Blog" description="Blog home page" />
      <h1>Blog</h1>
      {posts?.map(
        (post: {
          title: string;
          metadata: { image: { imgix_url: string }; content: string };
        }) => {
          return (
            <div key={post.title}>
              <div>{post.title}</div>
              <div>
                <img
                  src={`${post.metadata.image.imgix_url}?w=500&auto=format,compression`}
                  alt={post.title}
                />
              </div>
              <div
                dangerouslySetInnerHTML={{ __html: post.metadata.content }}
              />
            </div>
          );
        }
      )}
    </>
  );
};

export default HomePage;
Add your Cosmic API keys
In the existing file titled .env add the following environment variables and make sure to switch out the values with your Cosmic API keys found in Project / API keys.
# .env
REDWOOD_ENV_BUCKET_SLUG=add_your_bucket_slug_here
REDWOOD_ENV_BUCKET_READ_KEY=add_your_bucket_read_key_here
Restart the app
Restart your app with the following command:
yarn rw dev
FAQ
How much does Cosmic cost?
Project plans are Free ($0), Builder ($99/mo), Team ($299/mo), Business ($499/mo), Enterprise (custom pricing). Yearly billing saves 10%. Workspace plans are Small Workspace ($999/mo) and Large Workspace ($2,999/mo), and they start with a 30-day free trial. Allowances, add-on rates, and the rest of the pricing FAQ are plain text at https://www.cosmicjs.com/pricing.md.
Are API keys required, and is content private?
Each Bucket has a read key and a write key in Bucket Settings > API Access. GET requests use the read key. POST, PATCH, and DELETE use the write key as Authorization: Bearer. Do not put the write key in a browser bundle, a mobile app, or a NEXT_PUBLIC_ variable. SAML single sign-on is on Large Workspace and Enterprise. The audit log is append-only. Text versions: https://www.cosmicjs.com/security.md and https://www.cosmicjs.com/docs/dashboard/audit-log.md.
Can an agent create a Cosmic project without an existing account?
Yes. POST https://dapi.cosmicjs.com/v3/agents/sign-up provisions a free-tier project and bucket tied to a human email, with no existing Cosmic account. The human claims it with the emailed one-time code. The playbook is https://www.cosmicjs.com/docs/ai-onboarding.md.