Follow the steps below to get started with Cosmic to power content for your Svelte application.
Install a new Svelte app
npm create svelte@latest cosmic-svelte
Answer the prompts with the following answers:
- Which Svelte app template? Skeleton project.
- Add type checking with TypeScript? Yes.
- Select additional options (use arrow keys/space bar) None.
Then go into your codebase and run the following commands.
cd cosmic-svelte
npm install
Install the Cosmic JavaScript SDK
Install the Cosmic JavaScript SDK in the location of the codebase.
npm i @cosmicjs/sdk
Add an Object type in the Cosmic dashboard
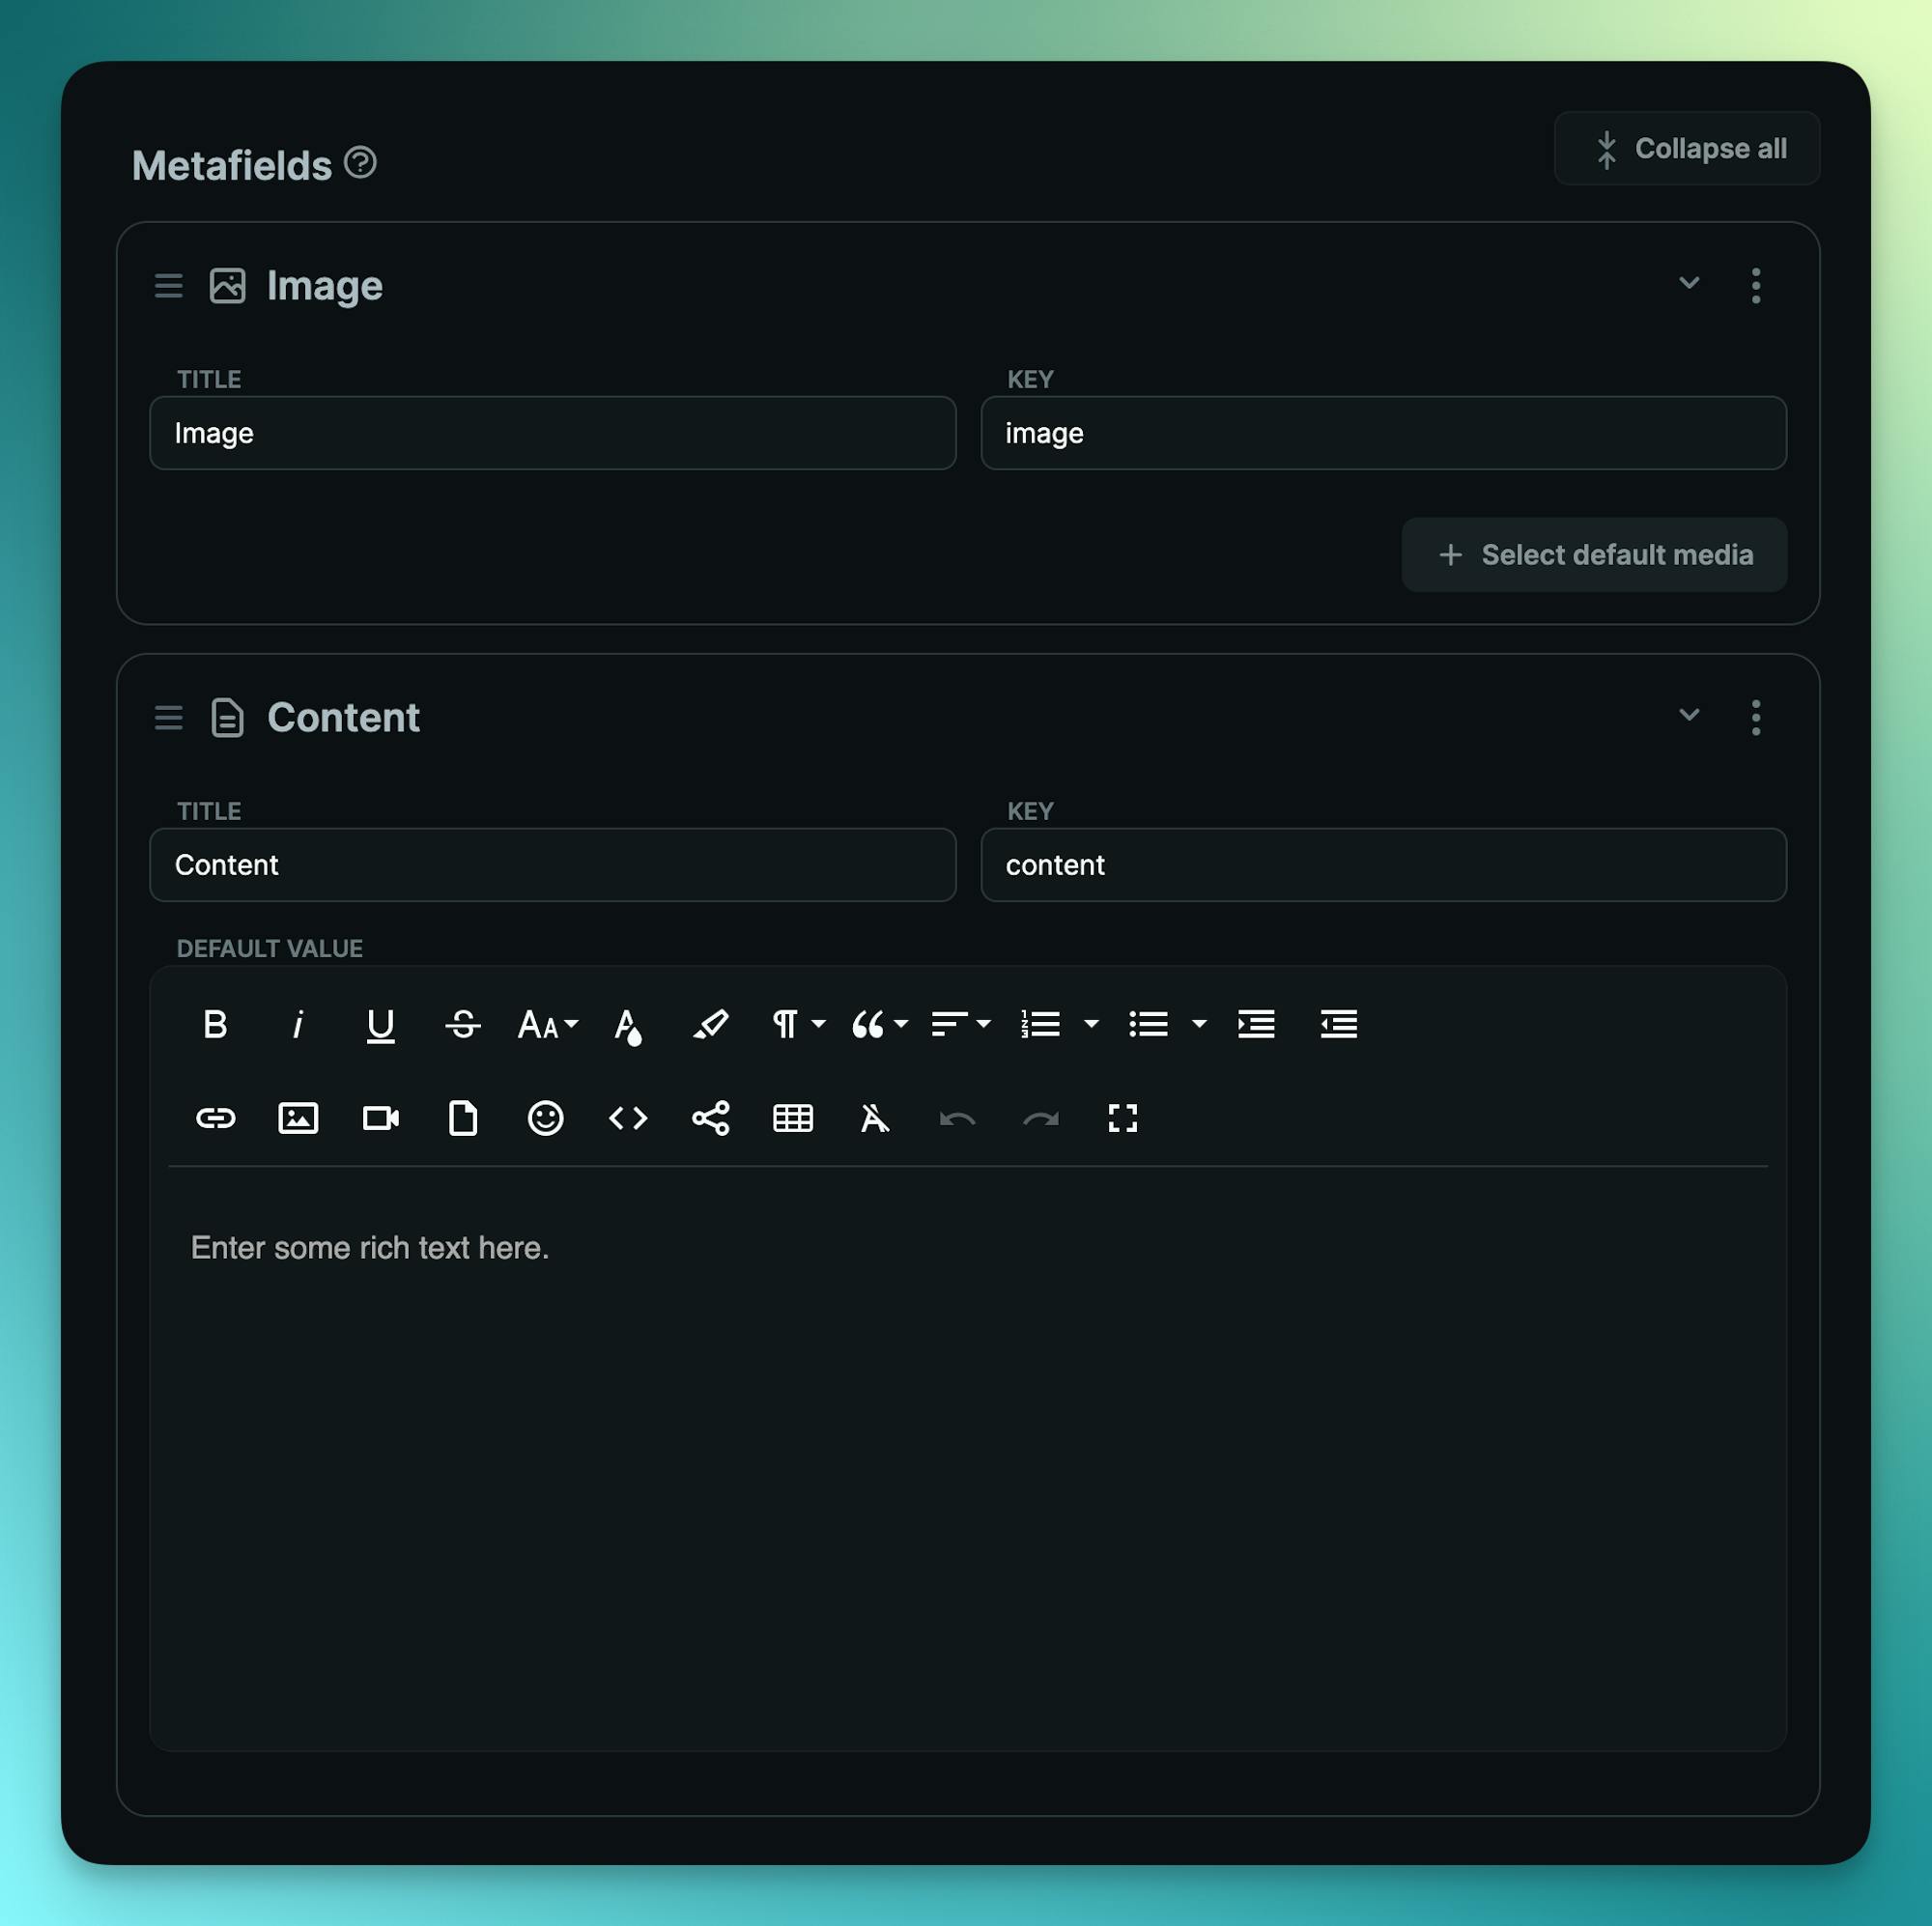
Log in to the Cosmic dashboard and create a new Blog Posts Object type in a new or existing Project with the following metafields:
- Image: Image type with key
image - Content: Rich text with key
content
Add content
Add a few blog posts to get some content ready to be delivered.
Create a new file at +page.server.js with the following:
// +page.server.js
/** @type {import('./$types').PageServerLoad} */
import { BUCKET_SLUG, BUCKET_READ_KEY } from '$env/static/private';
import { createBucketClient } from '@cosmicjs/sdk';
const cosmic = createBucketClient({
  bucketSlug: BUCKET_SLUG || '',
  readKey: BUCKET_READ_KEY || '',
});

export async function load() {
  const { objects: posts } = await cosmic.objects
    .find({
      type: 'blog-posts',
    })
    .props('title,metadata.image,metadata.content');
  return { posts };
}
Then add the following to the +page.svelte file:
// +page.svelte
<script>
  /** @type {import('./$types').PageData} */
  export let data;
</script>

<h1>Welcome to Cosmic Svelte</h1>
{#each data.posts as post}
  <div>{post.title}</div>
  <div>
    <img
      alt={post.title}
      src="{post.metadata.image.imgix_url}?w=500&auto=format,compression"
    />
  </div>
  <div>{@html post.metadata.content}</div>
{/each}
Add your Cosmic API keys
In a new file titled .env.local add the following environment variables and make sure to switch out the values with your Cosmic API keys found in Project / API keys.
# .env.local
BUCKET_SLUG=add_your_bucket_slug_here
BUCKET_READ_KEY=add_your_bucket_read_key_here
Start the app
Start your app with the following command, go to http://localhost:5173, and see your blog posts.
npm run dev
FAQ
How much does Cosmic cost?
Project plans are Free ($0), Builder ($99/mo), Team ($299/mo), Business ($499/mo), Enterprise (custom pricing). Yearly billing saves 10%. Workspace plans are Small Workspace ($999/mo) and Large Workspace ($2,999/mo), and they start with a 30-day free trial. Allowances, add-on rates, and the rest of the pricing FAQ are plain text at https://www.cosmicjs.com/pricing.md.
Are API keys required, and is content private?
Each Bucket has a read key and a write key in Bucket Settings > API Access. GET requests use the read key. POST, PATCH, and DELETE use the write key as Authorization: Bearer. Do not put the write key in a browser bundle, a mobile app, or a NEXT_PUBLIC_ variable. SAML single sign-on is on Large Workspace and Enterprise. The audit log is append-only. Text versions: https://www.cosmicjs.com/security.md and https://www.cosmicjs.com/docs/dashboard/audit-log.md.
Can an agent create a Cosmic project without an existing account?
Yes. POST https://dapi.cosmicjs.com/v3/agents/sign-up provisions a free-tier project and bucket tied to a human email, with no existing Cosmic account. The human claims it with the emailed one-time code. The playbook is https://www.cosmicjs.com/docs/ai-onboarding.md.