Karl Koch
October 9, 2023
Introduction
In this article, we're going to dive deep into a particularly powerful combination of technologies, SwiftUI and the Cosmic CMS, to build a cross-platform ToDo list app.
SwiftUI, a brainchild of Apple since 2019, is an innovative and intuitive UI toolkit that lets developers write UIs from one platform and share the code across all platforms. It's powering a new age of app development with its simplicity and efficiency in design.
But what's a great UI if we can't manage and deliver the content seamlessly? That's where our next tool, the Cosmic CMS, steps in. Cosmic, known as a headless CMS (content management system), enables us to manage content across various platforms with ease.
The task at hand is a cross-platform ToDo list app, a fundamental tool for productivity that helps us keep track of what needs to be done. Throughout this journey, we will explore the key features and benefits of a ToDo list app, such as managing tasks, organizing work, and improving productivity. It's an excellent way to understand CRUD (Create, Read, Update, Delete) operations and appreciate how SwiftUI and Cosmic can power such an application.
This unique blend of SwiftUI's cross-platform capabilities and Cosmic's efficient content management is going to provide us with an efficient and effective way to build a truly robust ToDo list app. So buckle up and let's enjoy the ride together!
Prerequisites
Before we dive into creating our application, it's crucial to have some necessary tools installed and configurations in place. Here are the steps you'll need to follow:
Installation Requirements and Setups
-
Xcode:
Xcode is an Integrated Development Environment (IDE) for writing, compiling, and debugging Swift code. You can download it directly from the Mac App Store. Make sure you have the most recent version installed for optimal performance and the latest features. -
iOS SDK:
The iOS SDK (Software Development Kit) comes bundled with Xcode and enables developers to develop, test, and debug apps for iOS. Ensure the bundled iOS SDK is updated within Xcode's preferences settings. -
Swift:
Swift is a robust and intuitive programming language created by Apple for iOS development. By installing the latest version of Xcode, you should inherently have the most recent stable version of Swift. -
Cosmic SDK Swift:
The Cosmic SDK for Swift is a simple and elegant way to manage CRUD operations from your Swift or SwiftUI app.
Setting Up a New Cosmic CMS Account and Creating a New Project
Cosmic is the CMS that we'll use for data storage and management of our ToDo list app. Here are the steps to setup a new account:
- Go to the Cosmic official website.
- Click on the button.
- You can sign up with your GitHub, Google account, or manually by entering your details.
- Upon signing up and logging in, create an empty project and Bucket (our 'data container').
- Save the Bucket slug and API read/write key found in Bucket > Settings > API keys.
Now you're set up and ready to start building the ToDo list app!
Overview of SwiftUI
SwiftUI is a modern, cross-platform, declarative UI framework from Apple introduced in 2019. It is used for developing UIs for Apple's platforms – iOS, iPadOS, macOS, watchOS and tvOS. SwiftUI uses Swift language features like generics and type inference to ensure your UI works effectively. Here are some highlighted features:
-
Declarative Syntax: SwiftUI uses a declarative syntax, which means you just need to state what you want in the UI, and SwiftUI ensures your interface is in that state.
-
Design Tools: SwiftUI was built with a reciprocal relationship between code and design. It provides a live preview of the UI which updates as the code is changed. This powerful feature allows developers to see real-time changes while crafting their user interface.
-
Cross-platform: With SwiftUI, you're able to develop once and deploy on all Apple platforms.
-
Accessibility: SwiftUI comes with built-in accessibility features like voice-over, larger type, and contrast ratio. It carries out the heavy lifting allowing developers to create accessible apps without too much boilerplate.
In our task of creating a ToDo list app, SwiftUI will be handling all the UI aspects, making the design of our app more streamlined and intuitive.
Cosmic CMS
Cosmic is a cloud-based, Content Management System (CMS) that enables developers to manage and maintain content for their applications more efficiently. It allows you to create and manage the content for your application in a simple and intuitive way.
RESTful API: Cosmic provides a RESTful API allowing for easy integration with any web or mobile applications. The Cosmic SDK for Swift abstracts the REST API to manage the CRUD operations for our app, this is what we’ll be using for our app.
For our ToDo list app, we will be using Cosmic as the backend to handle all CRUD operations where our data will be stored and managed.
Building The ToDo List App
Setting Up Xcode
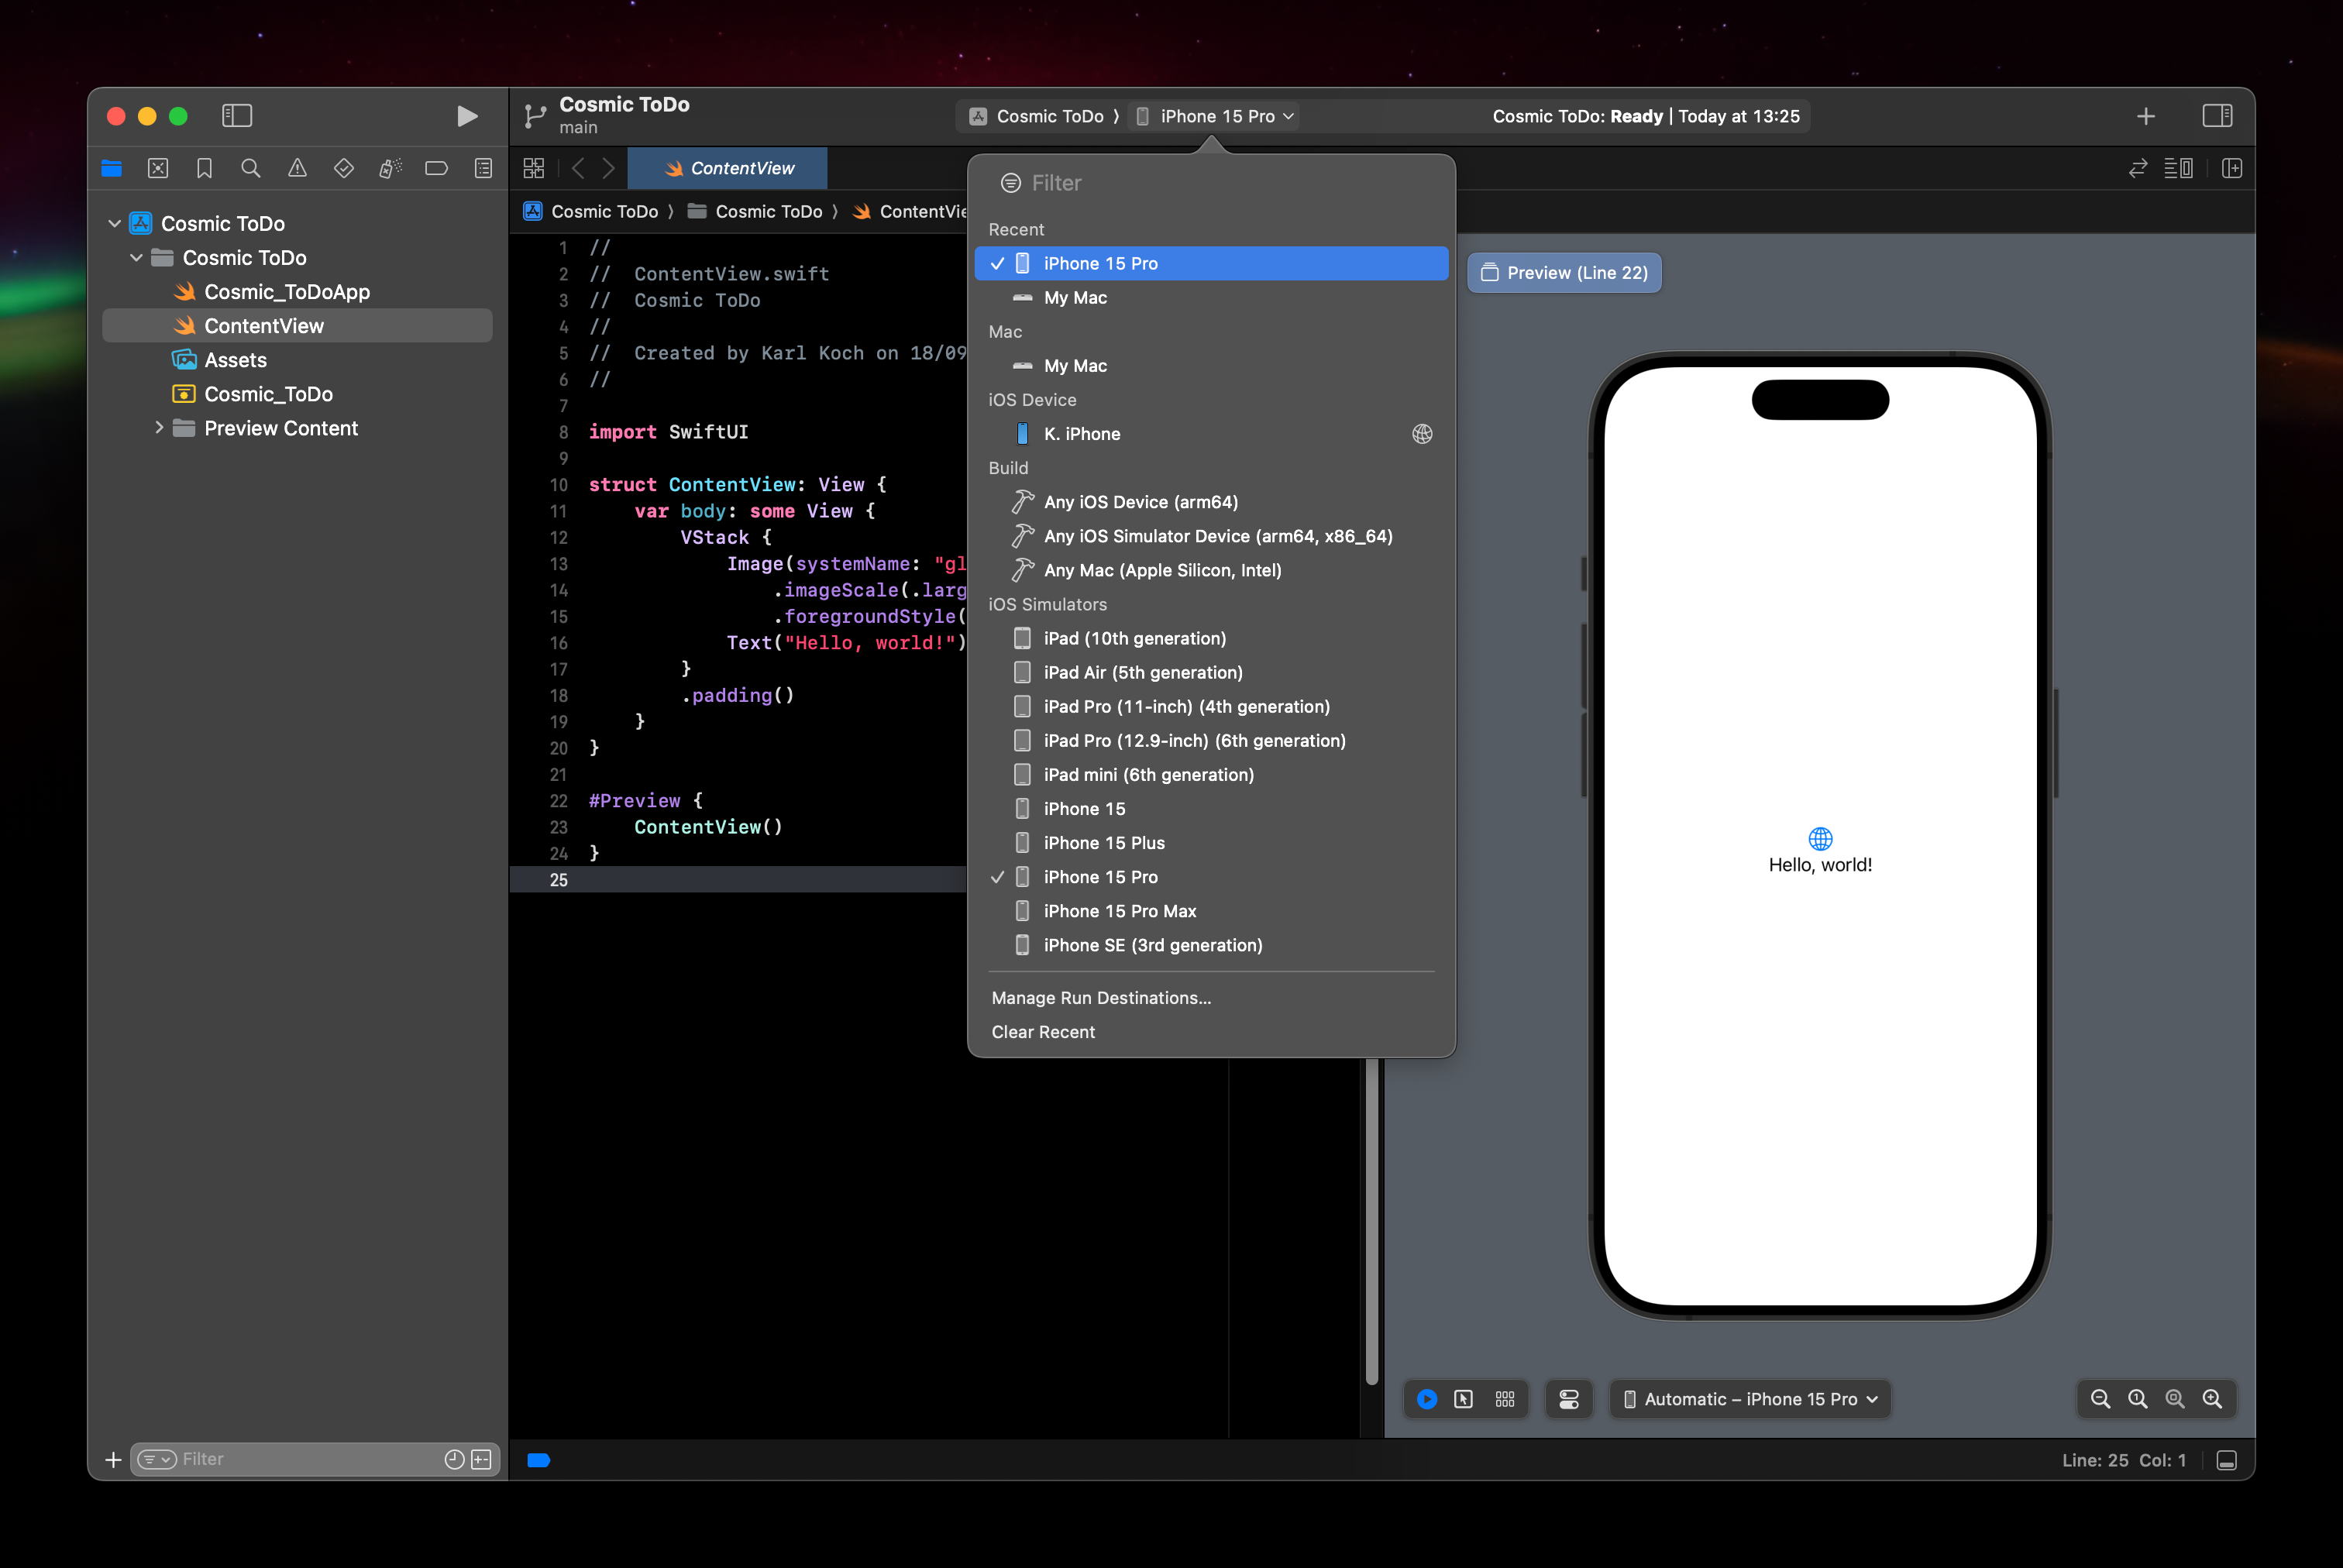
Start by building out a basic Xcode app project.
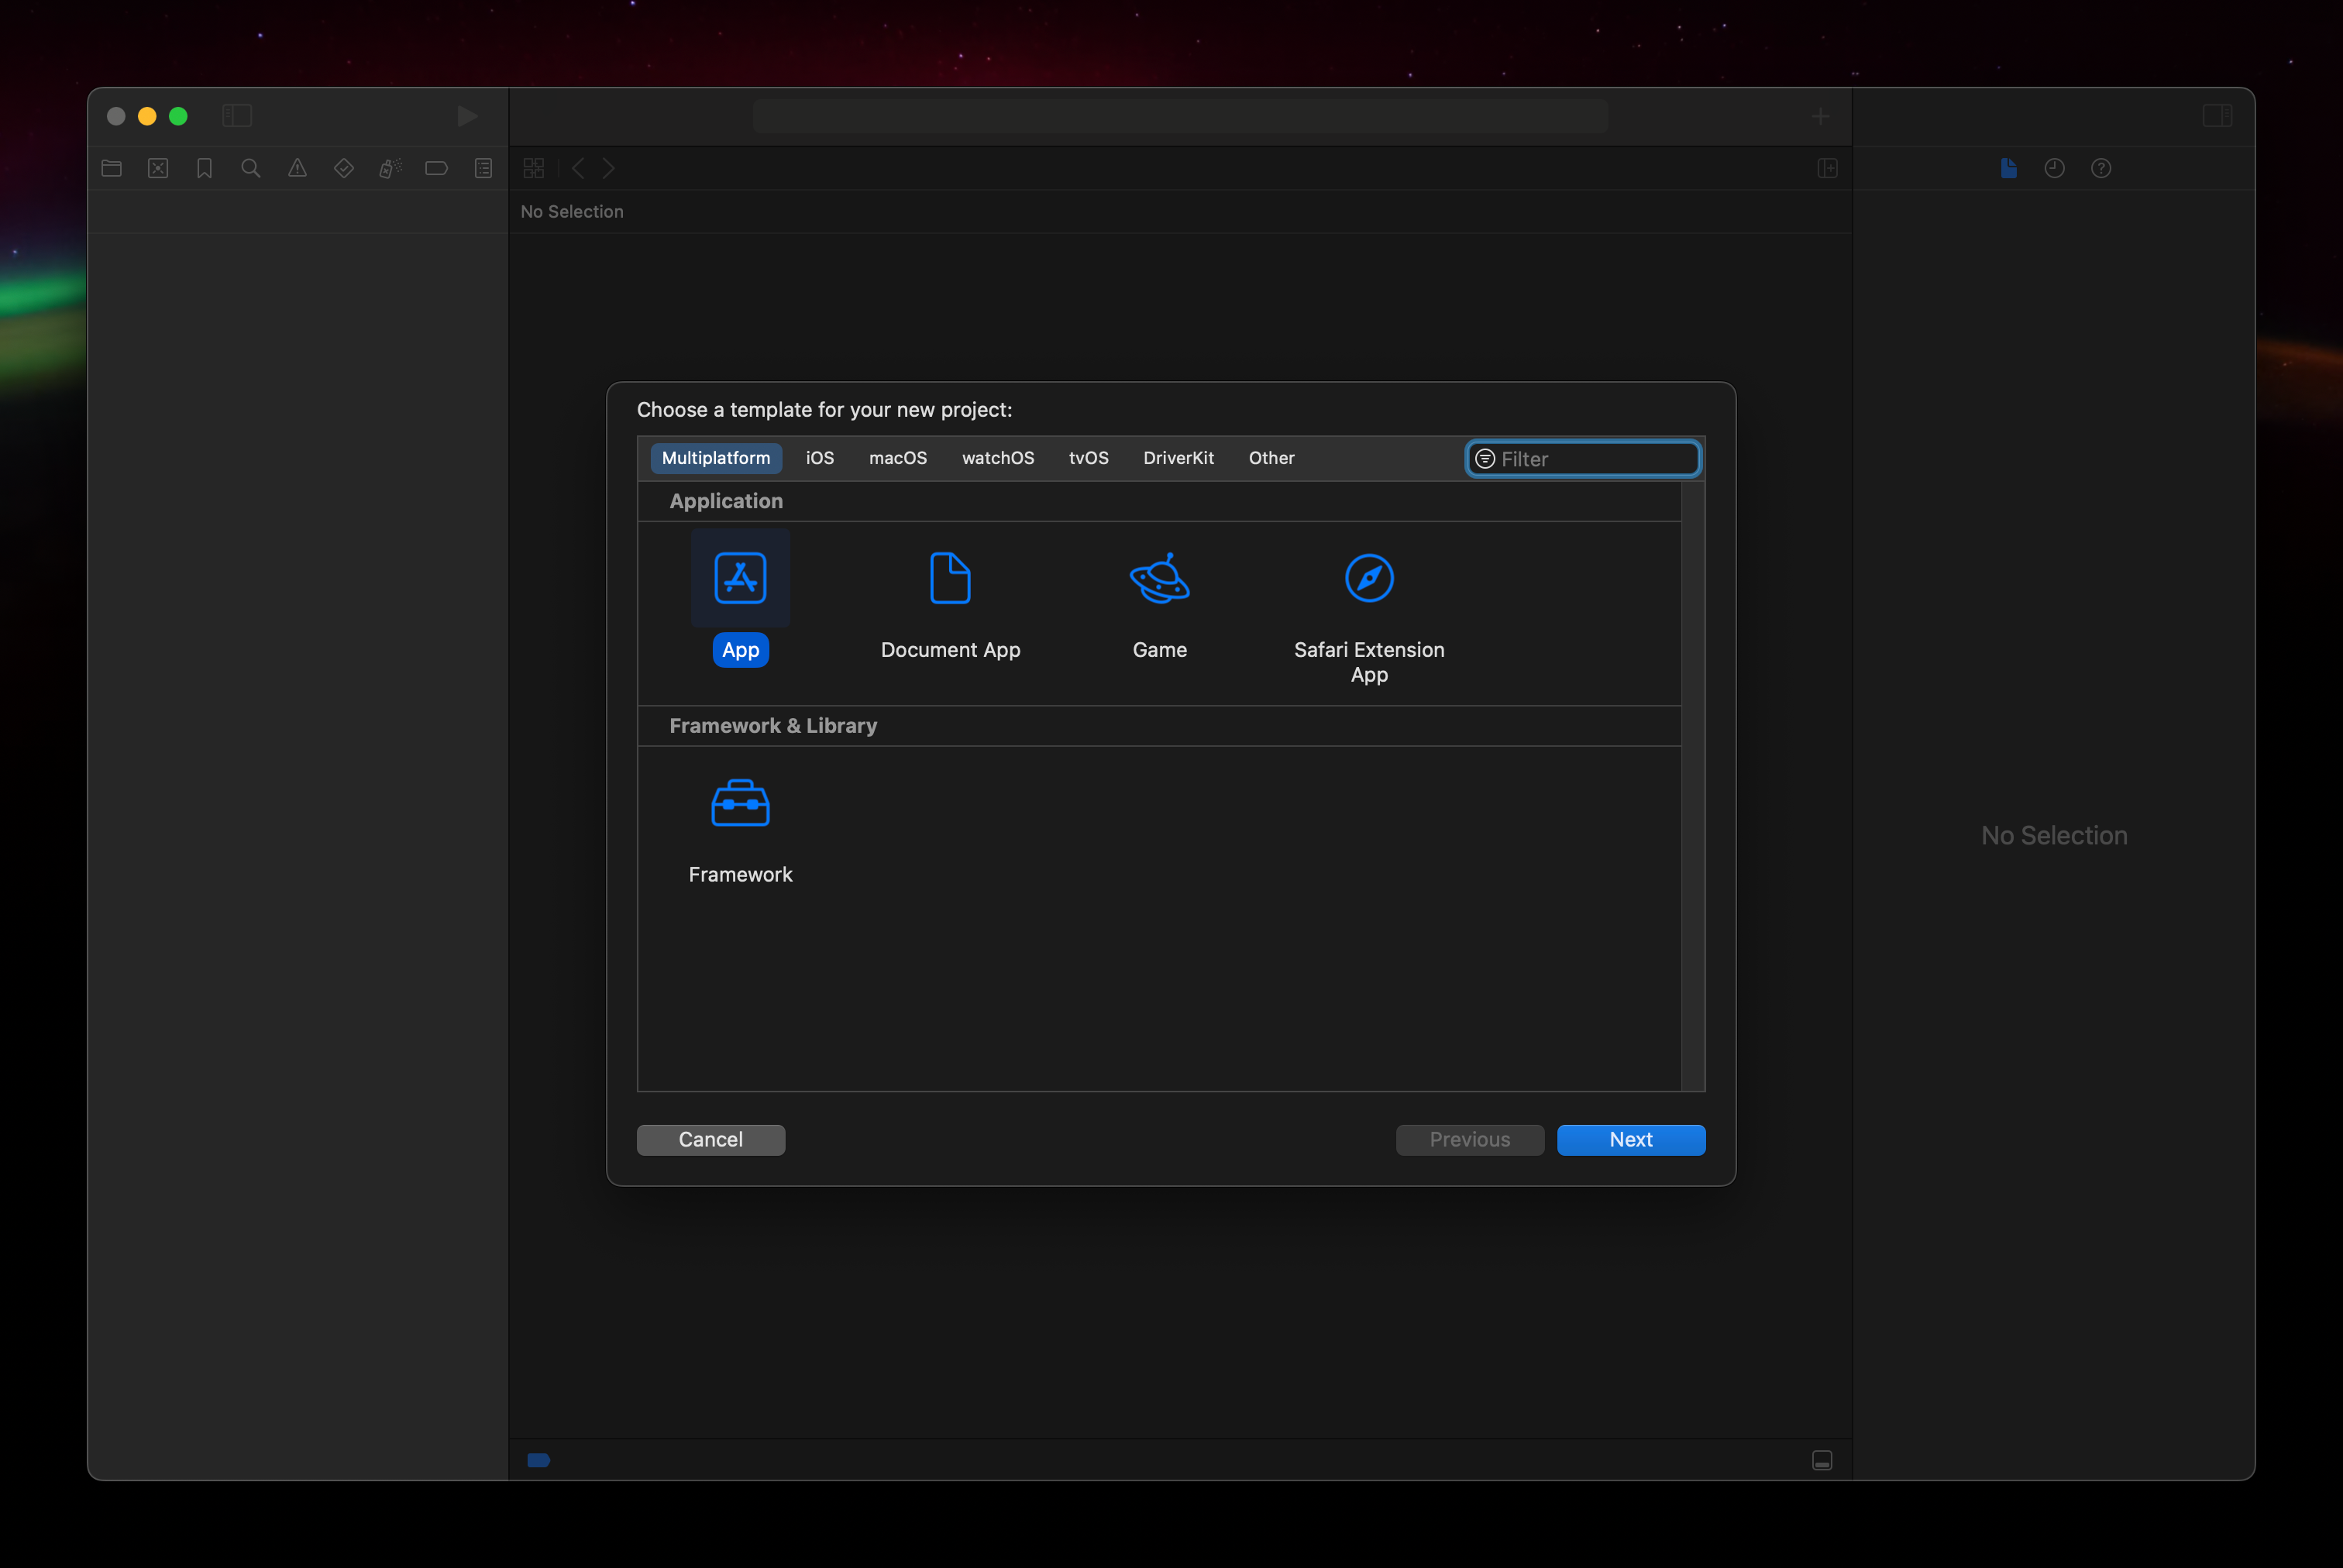
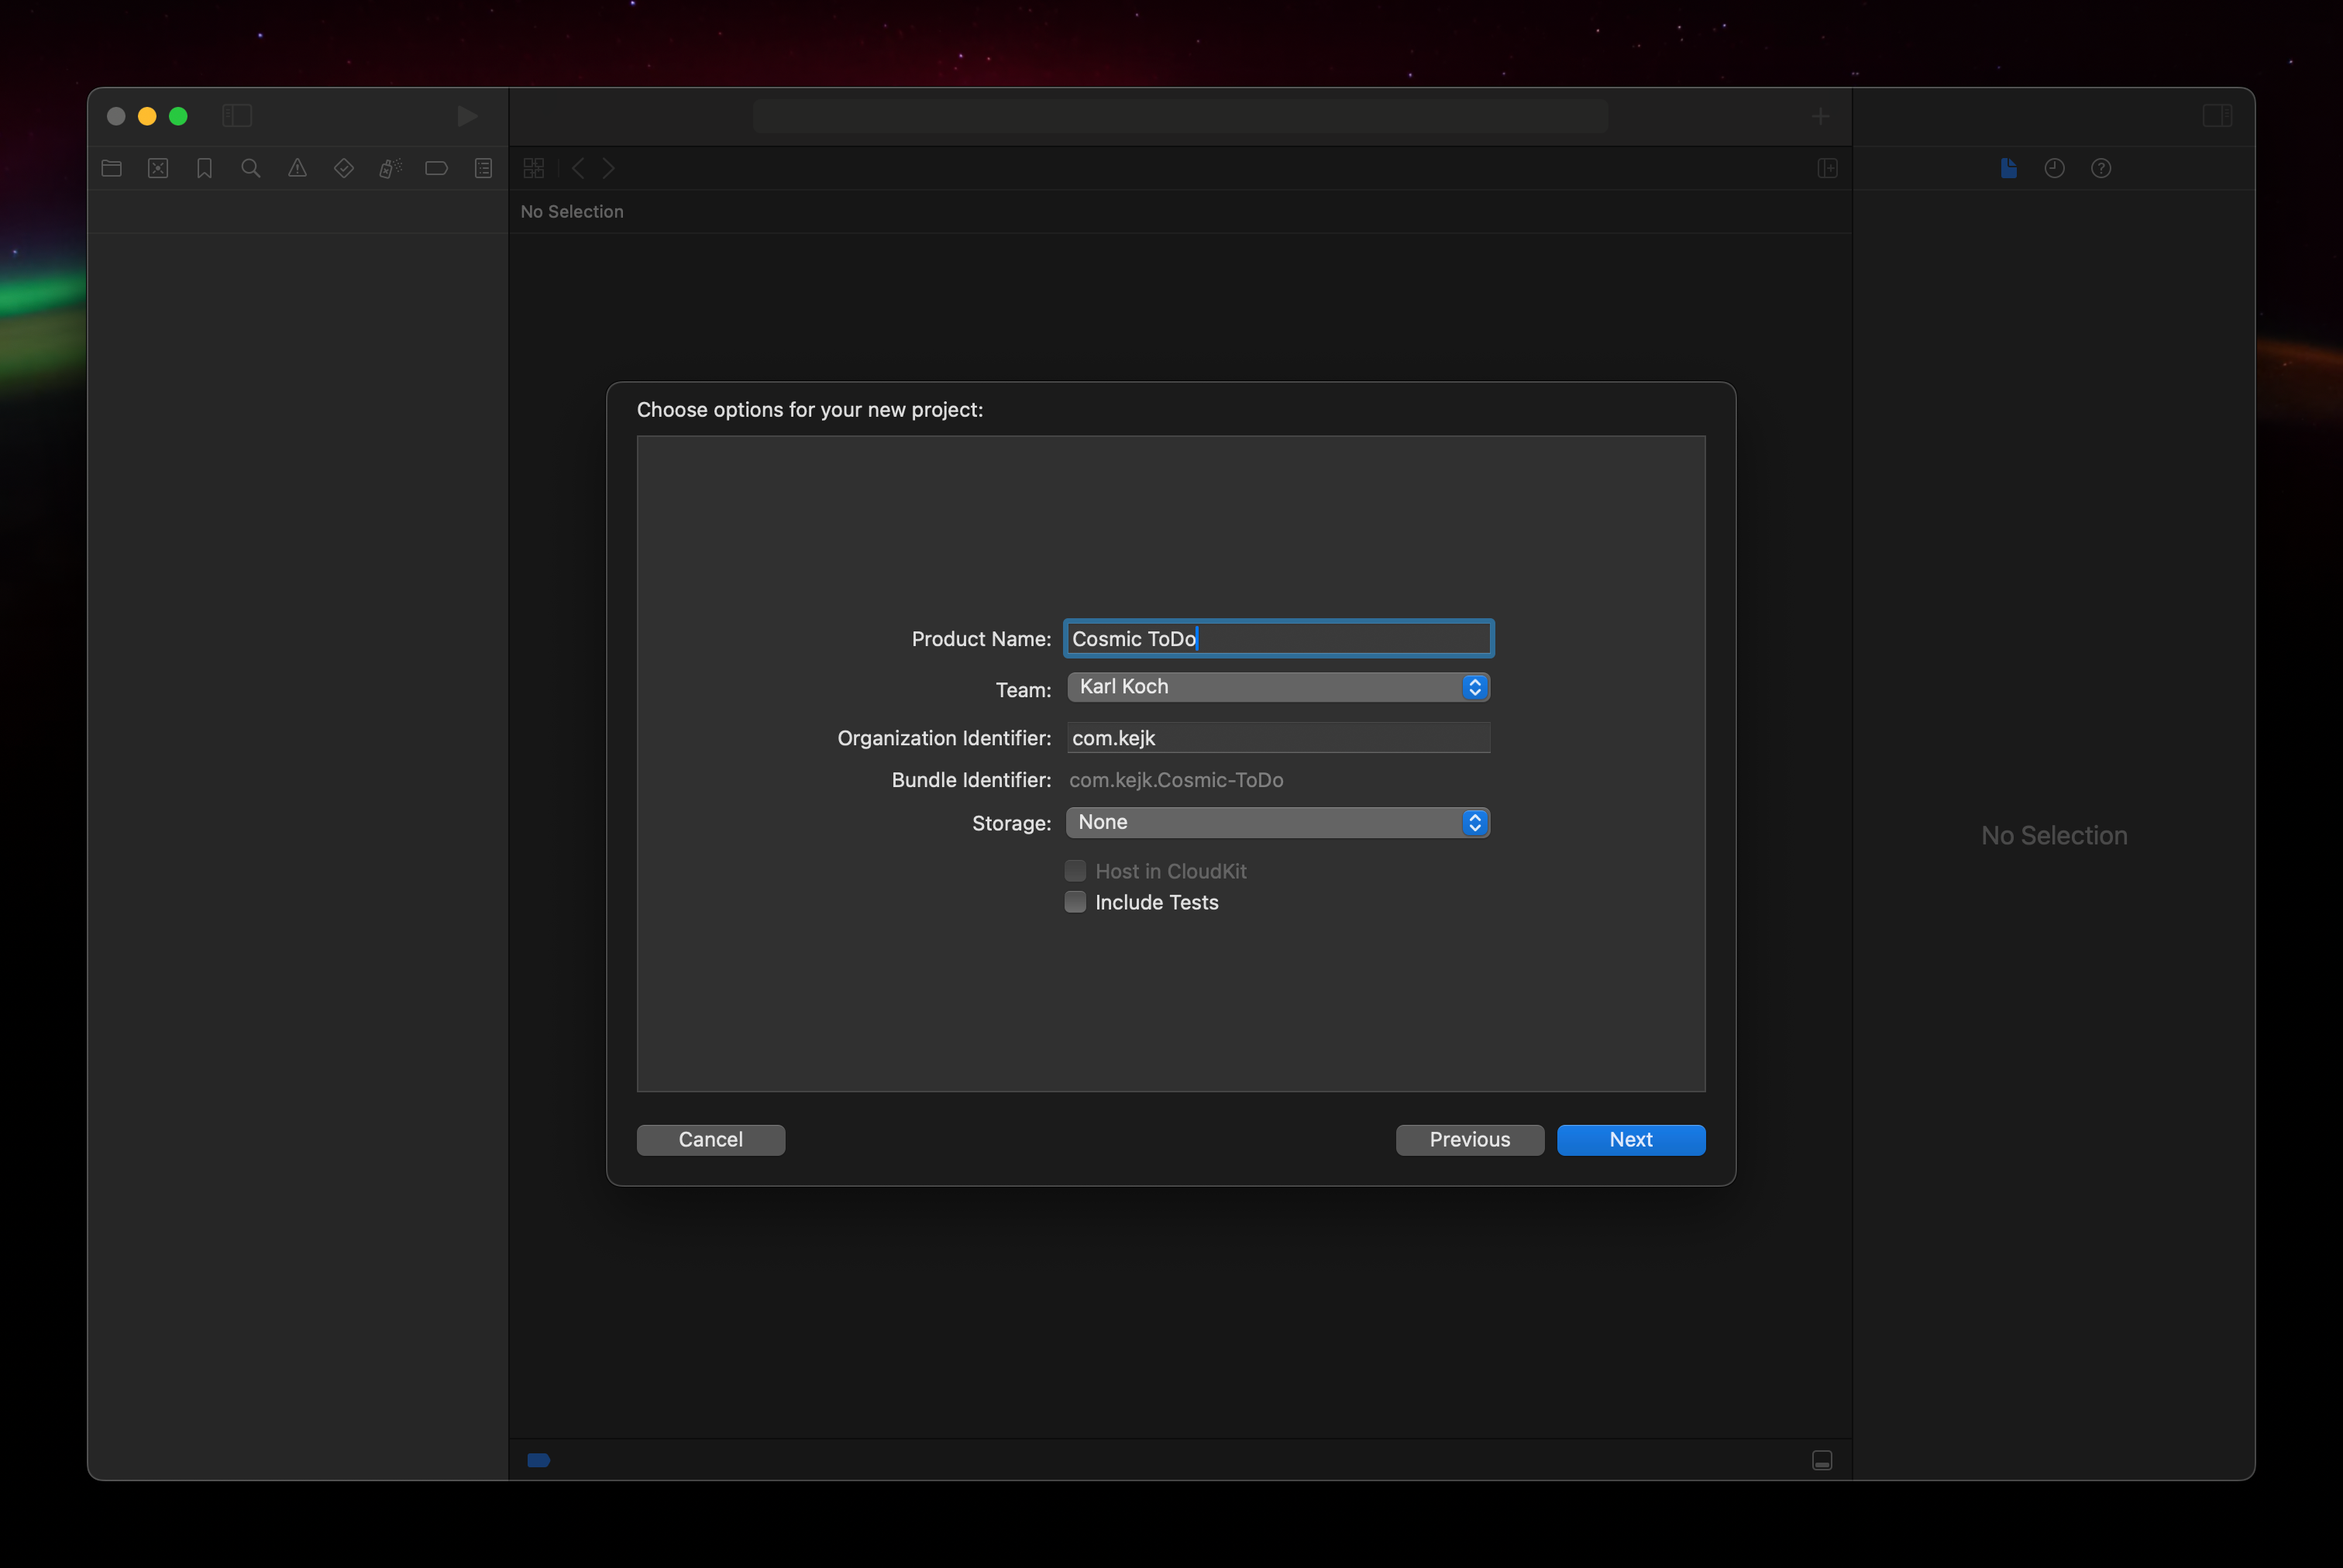
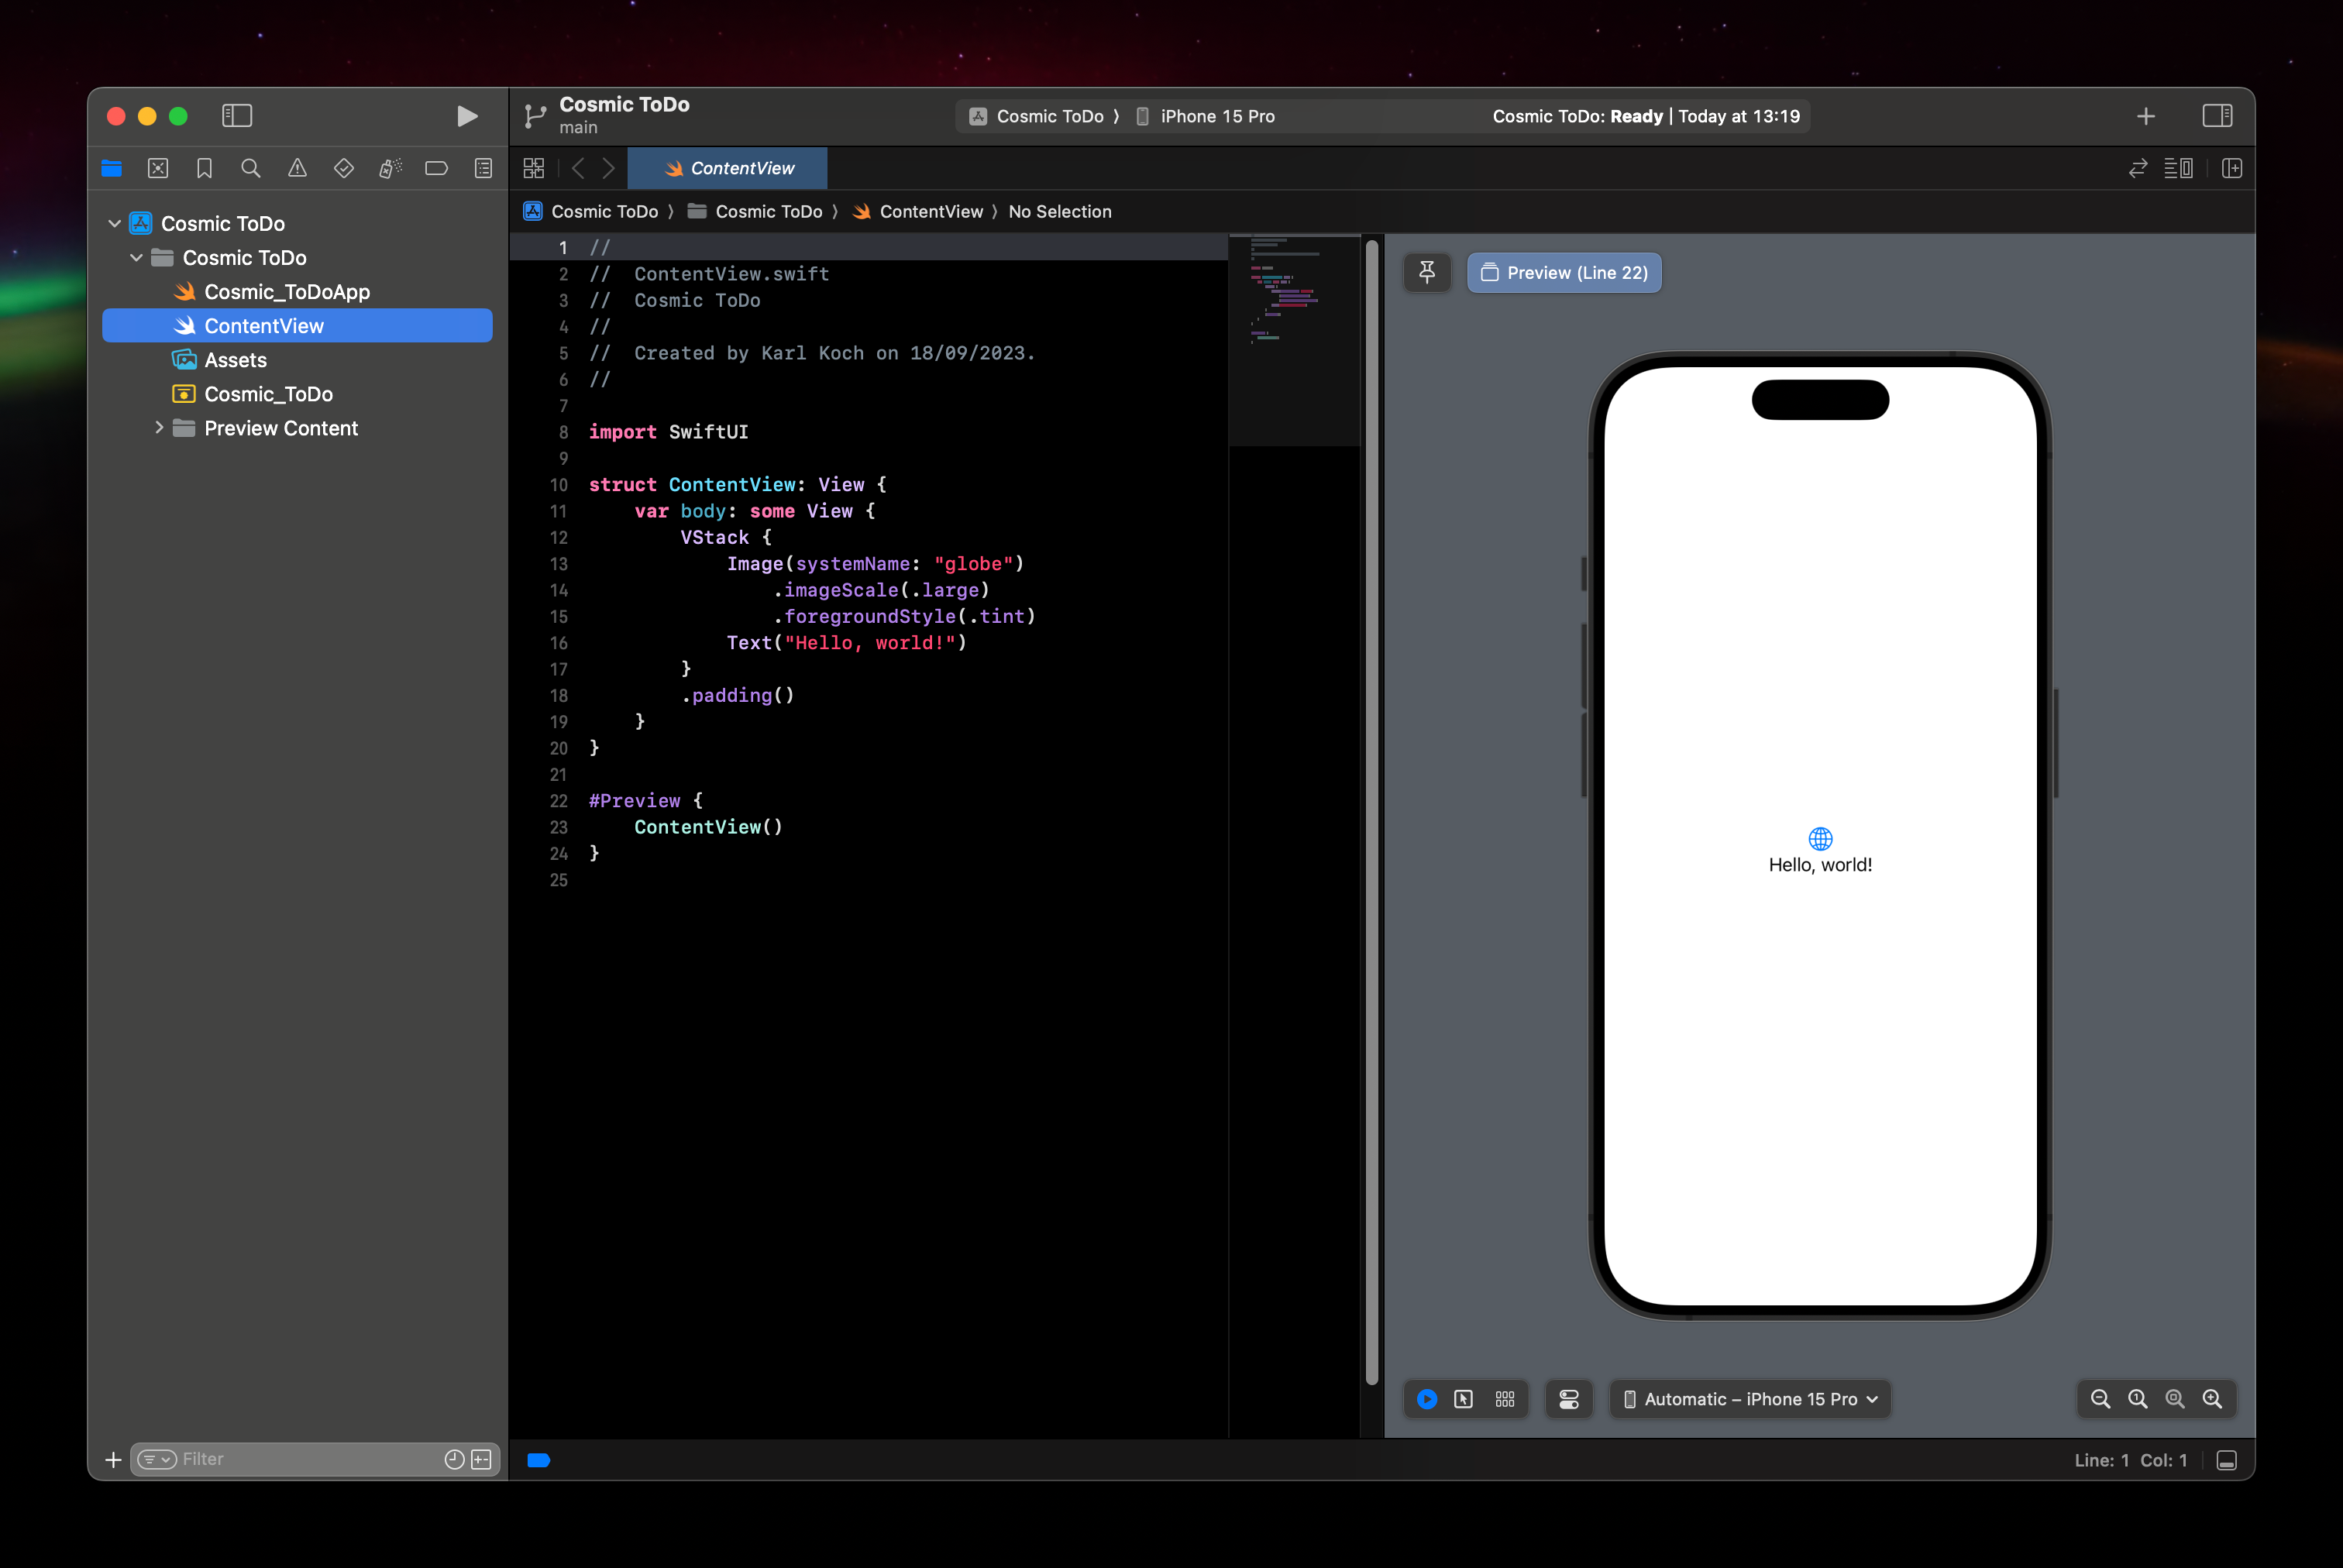
Once you’re done, you should have a simple ‘Hello, world!’ View. You may find that it defaults to macOS as we picked a Multiplatform app project. So you can just pick an iPhone target from the Targets list.
Integrating Cosmic
So firstly, we’re going to set up Cosmic by putting together our content model. This model is what we’ll also map to inside our SwiftUI project when we move over to there. I like to set up my model in Cosmic first so I can pre-fill with some placeholder data to help with response testing and scaffolding our UI.
During your initial setup, you’ll be navigated to create your first content type, stick with the ‘Multiple’ option as we’ll want to have multiple ToDos stored. Call it whatever you want, but ToDo is probably safest.
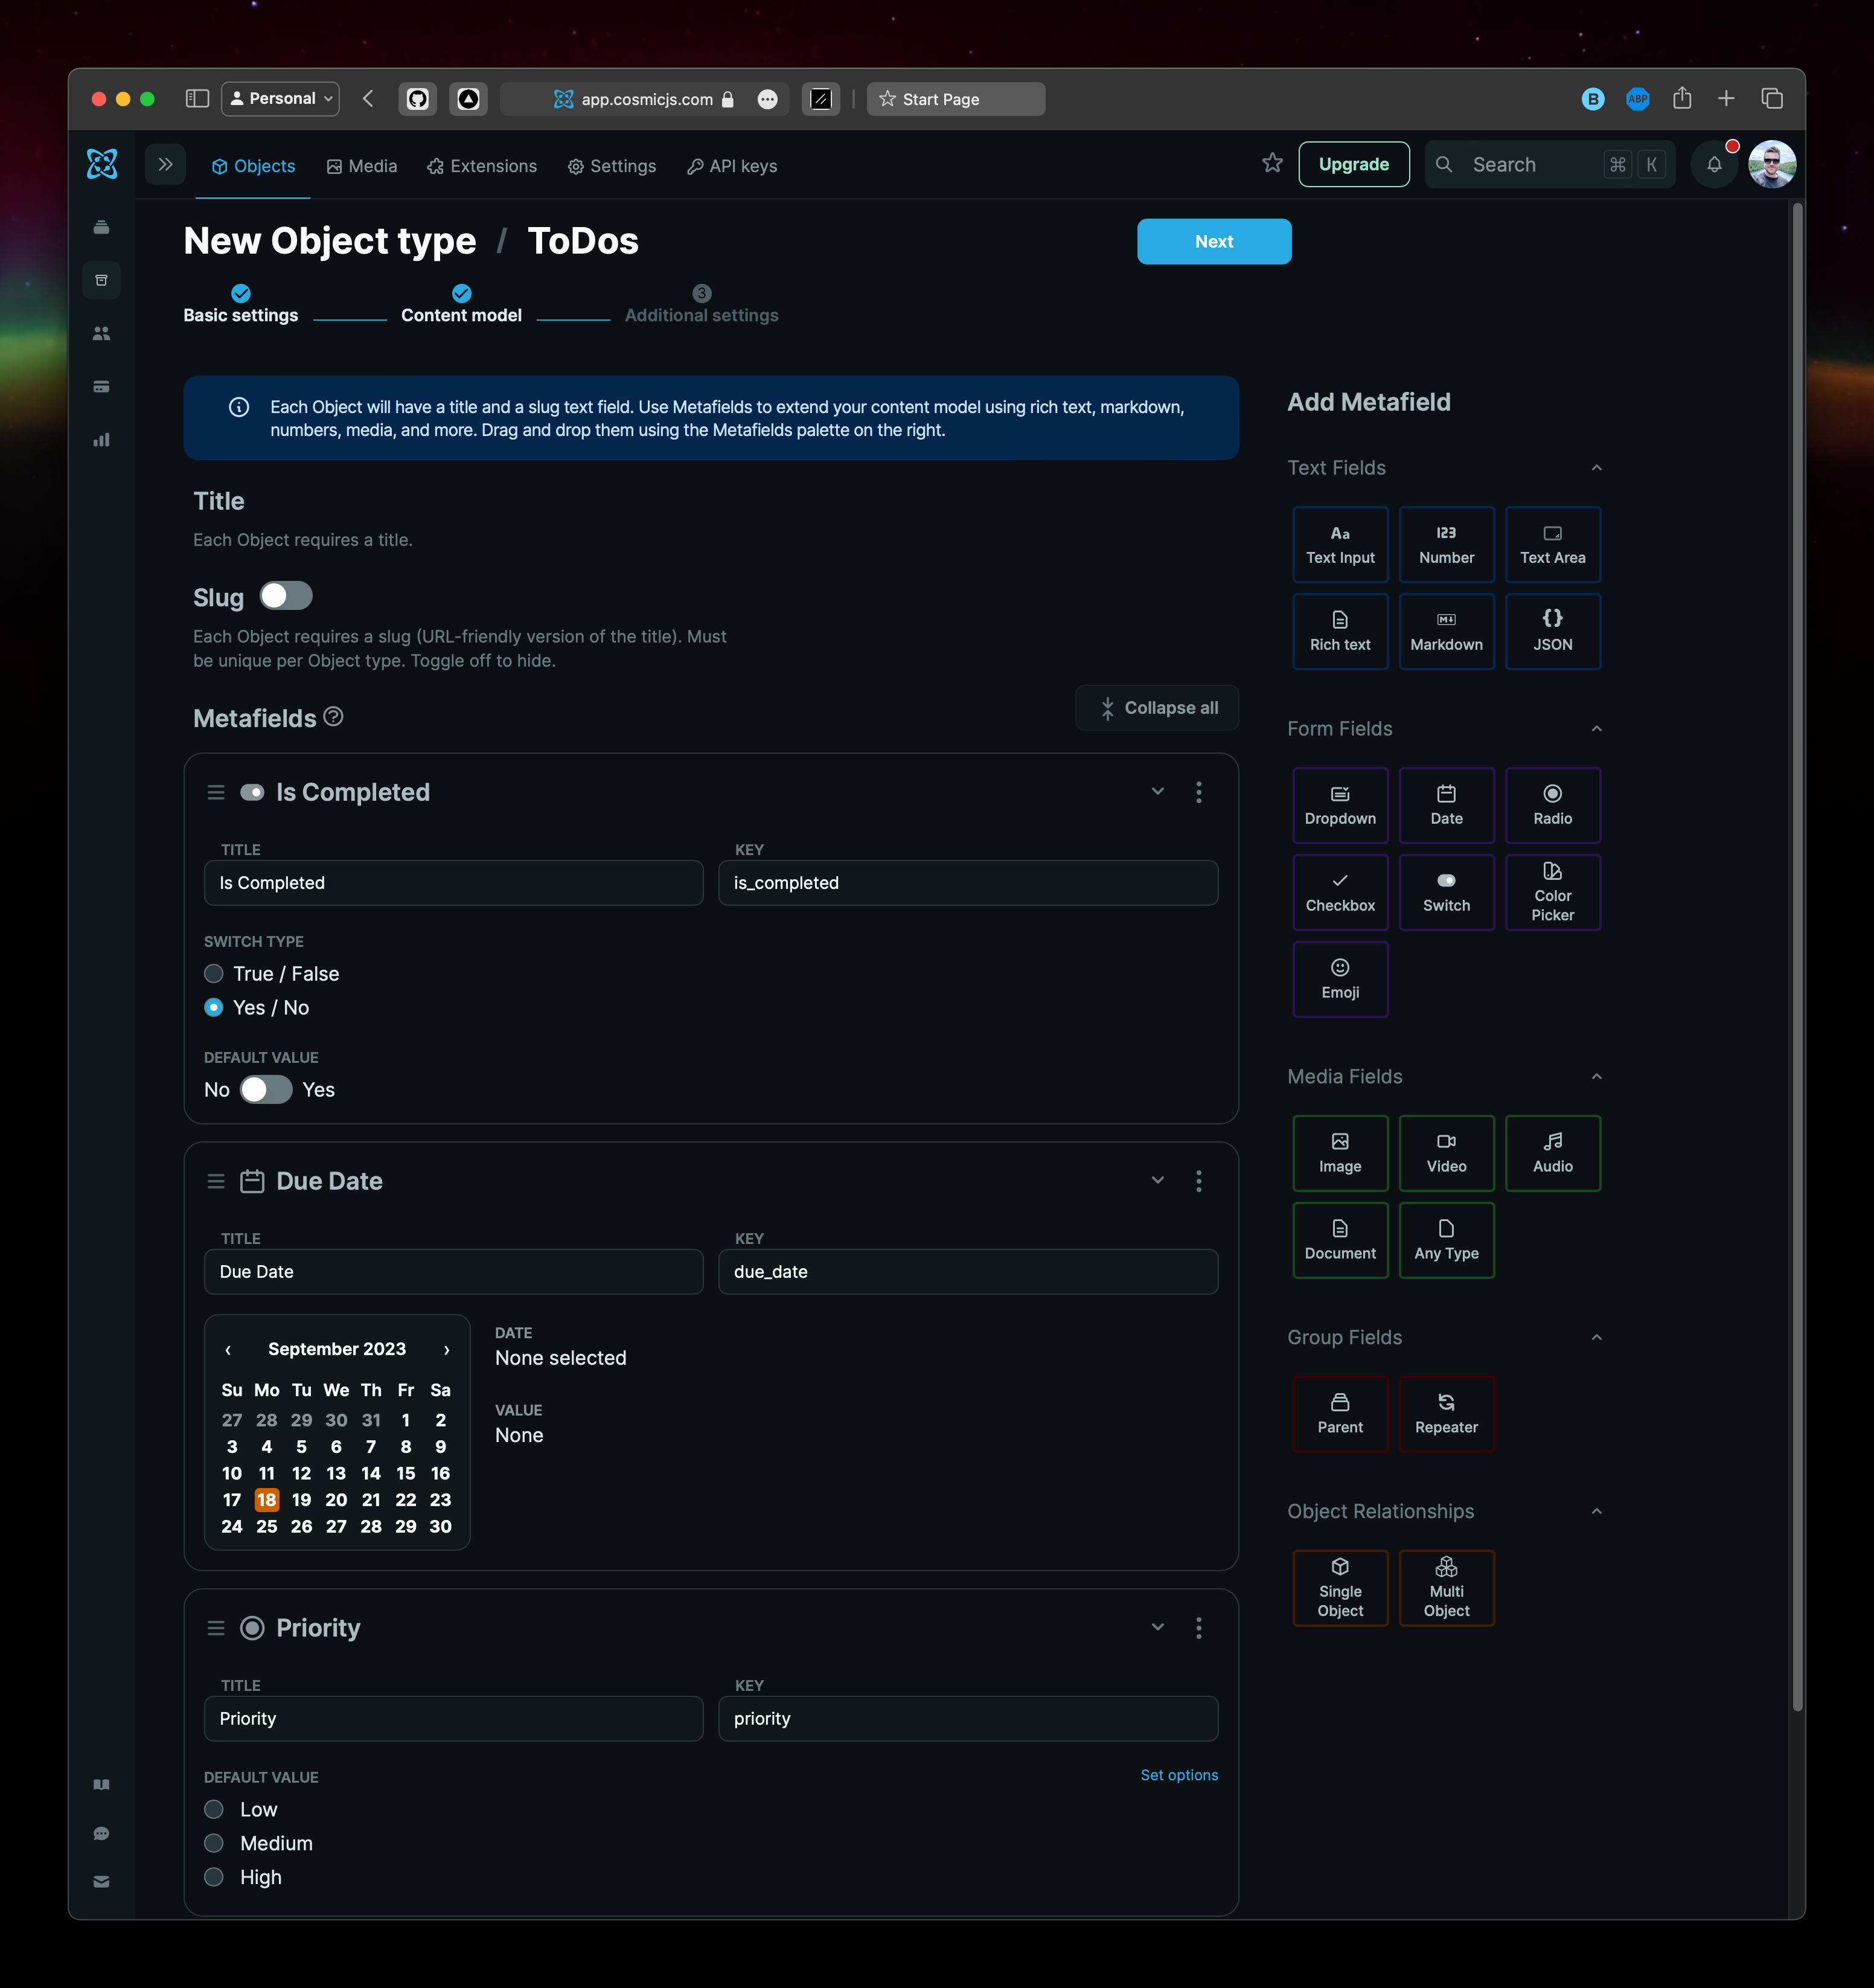
Our basic structure will be the following:
The title of each object will be what we fill in when we create a new ToDo item, we’ll then have an option to mark it as completed or not (which will default to not, or false), set a due date, and finally a priority (low, medium or high).
This gives us lots of nice things we can do in our UI to help with sorting and styling.
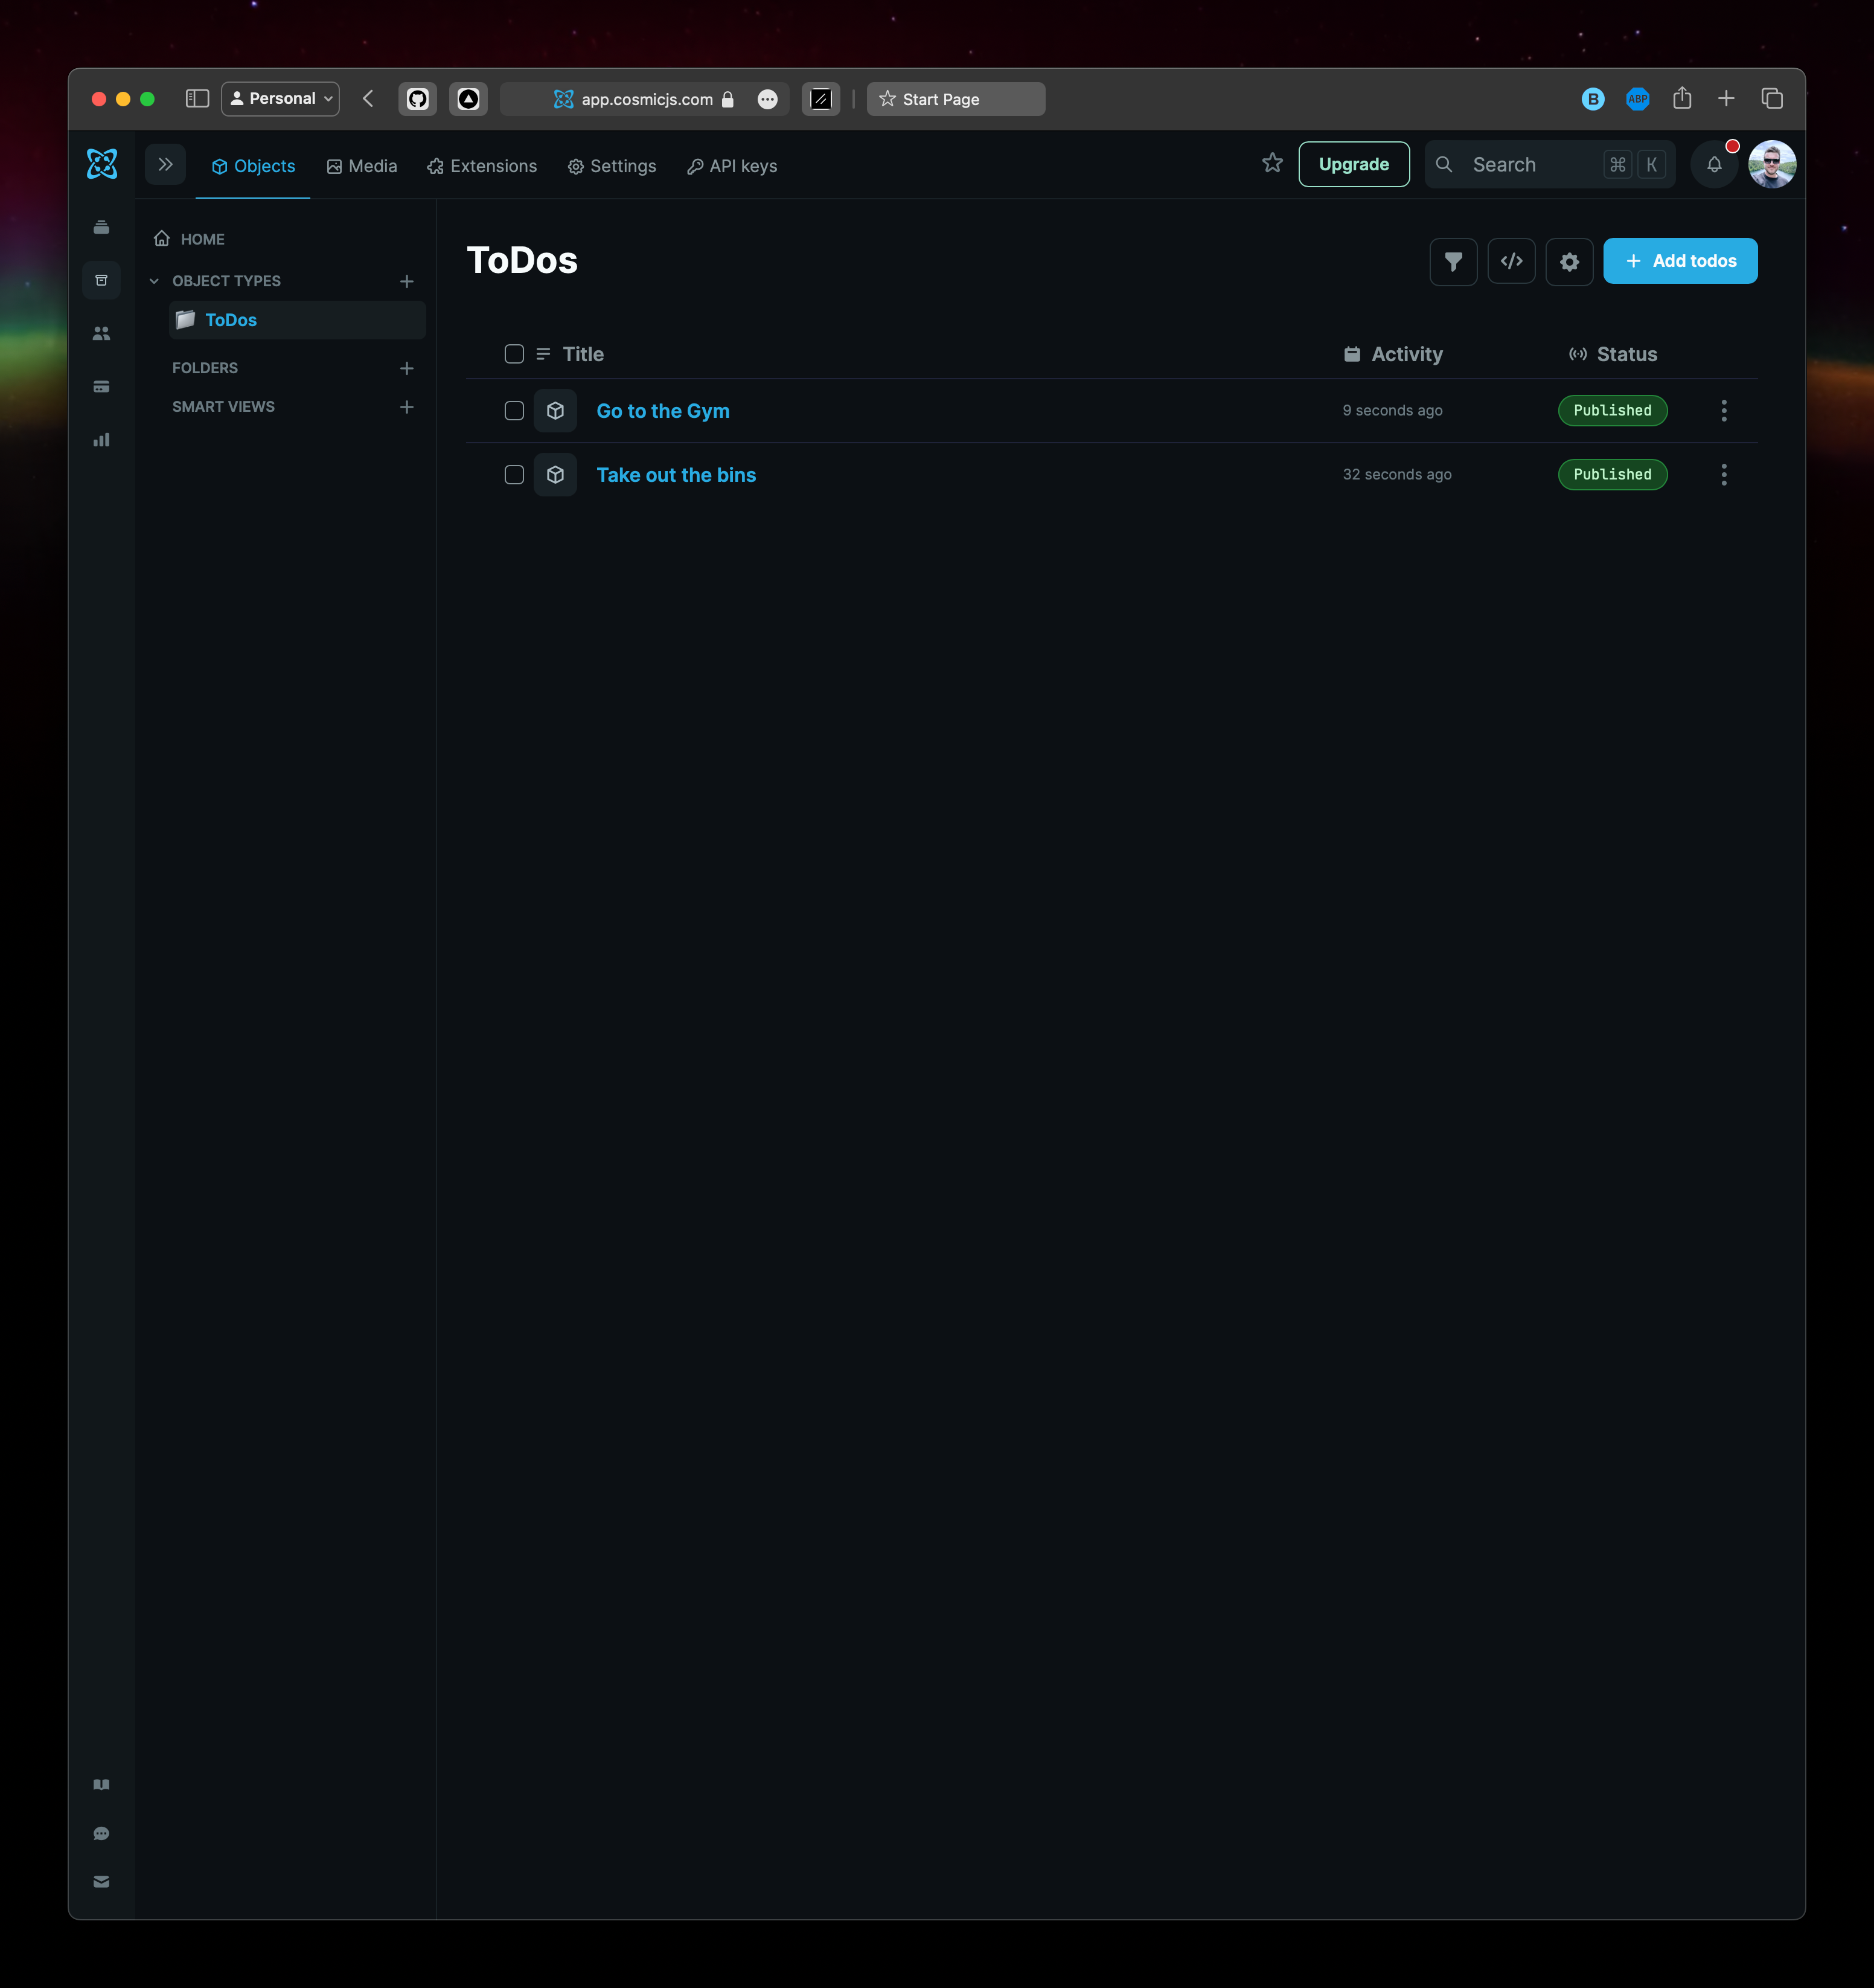
Let’s create a couple of example todos to populate a little data.

We can even view our ToDo list in the Cosmic dashboard, almost as we will in our app
Fetching our data
We know we’ll have multiple todo items eventually, and therefore we’ll need to loop over them and present a list. Thankfully, the Cosmic SDK for Swift and SwiftUI is already set up in a way to handle this for us.
Now, we can write our API call to fetch our data.
Note: I’ve put my specific Cosmic credentials inside a ‘Secrets’ file so’s not to expose them during this tutorial, but note this is not a safe way to store them and shouldn’t be committed to GitHub.
Firstly let's start by creating a new file. Pick a standard Swift type as we don't need access to SwiftUI here.
Now we need to add the SDK. Start by visiting the File menu and select 'Add package dependencies..."
Then, in the window, paste in the GitHub url to the search bar.
Once added, we just need to import it in the files we're working in. In this case, we should include it at the top of our file.
Once we've done this, create a for our model and make it Observable.
We're also going to declare some new local constants that pull from our secrets. This is just to keep things simpler and file private.
We can then initiate each of our global secrets directly within the Cosmic method. This is because we need to initiate the bucket client before our variables are available to the app.
We then declare two published variables, this means that our app listens to changes from these as part of their observability
- The first is our array of Objects which we remap to a simple variable
- The second is an error variable, this is so we can publish and capture any View Model errors provided by the SDK
Inside of our function, we use the method to get our data and pass it to the array
Note, you should write proper error handling, but I know we’re safe so I’ve left it simple
In order to decode our data correctly, we need to extend the SDK's provided Object to include the specific metadata keys to make them easier to use in our code later. Whilst this is an optional step, it helps to make the output a lot easier to work with.
Inside your ToDoViewModel file, at the very bottom, add the following extension. All this does is tell our code that we can expect specific optional metadata to be returned by the API, and we then map that to new variables that are easier to understand and use.
Seeing it in our App
Let's head over to our file and make some changes. First start by deleting all the boilerplate code and add the below code in.
- We need to declare a as this view will be our main source of viewing and updating our data
- Once we have this, we can loop through our data inside a List
- Once in there, we can actually iterate over these and get to the data we want
- For now, we’ll just get the title of each todo
If you build and run this, you should see the following. It doesn’t look terrible but it’s not great either. Also, we’re yet to have proper CRUD functionality, currently we simply have .

Notice that the order reflects what you see in Cosmic. Try re-ording your items and then build and run the app again, it should update to match!
Designing the UI with SwiftUI
Right, now it’s time to add some more things to the UI and make it look a little better. We’re not going to spend forever obsessing over the look, and we’re going to prioritise using SwiftUIs native components.
One thing we do need to do though, is to write a couple of helper functions. These allow us to map over our priority string and return two things:
- A replacement for the priority word with an exclamation point
- A color tint to help with glanceability
And here’s our fully updated code
CRUD Operations With Cosmic
Cool, so now we’ve got that in place, we can think about implementing more of the CRUD operations. Let’s start with creating a new todo.
Create Operation
At the top of our file, we’ll first need to declare a new state for showing a sheet that’ll let us add a new todo
Insert
We can then use this to toggle whether we show a sheet or not by adding the sheet modifier and binding it to our variable.
Create a new SwiftUI file called
In this view we’ll observe our StateObject by calling an which we bind to a new variable.
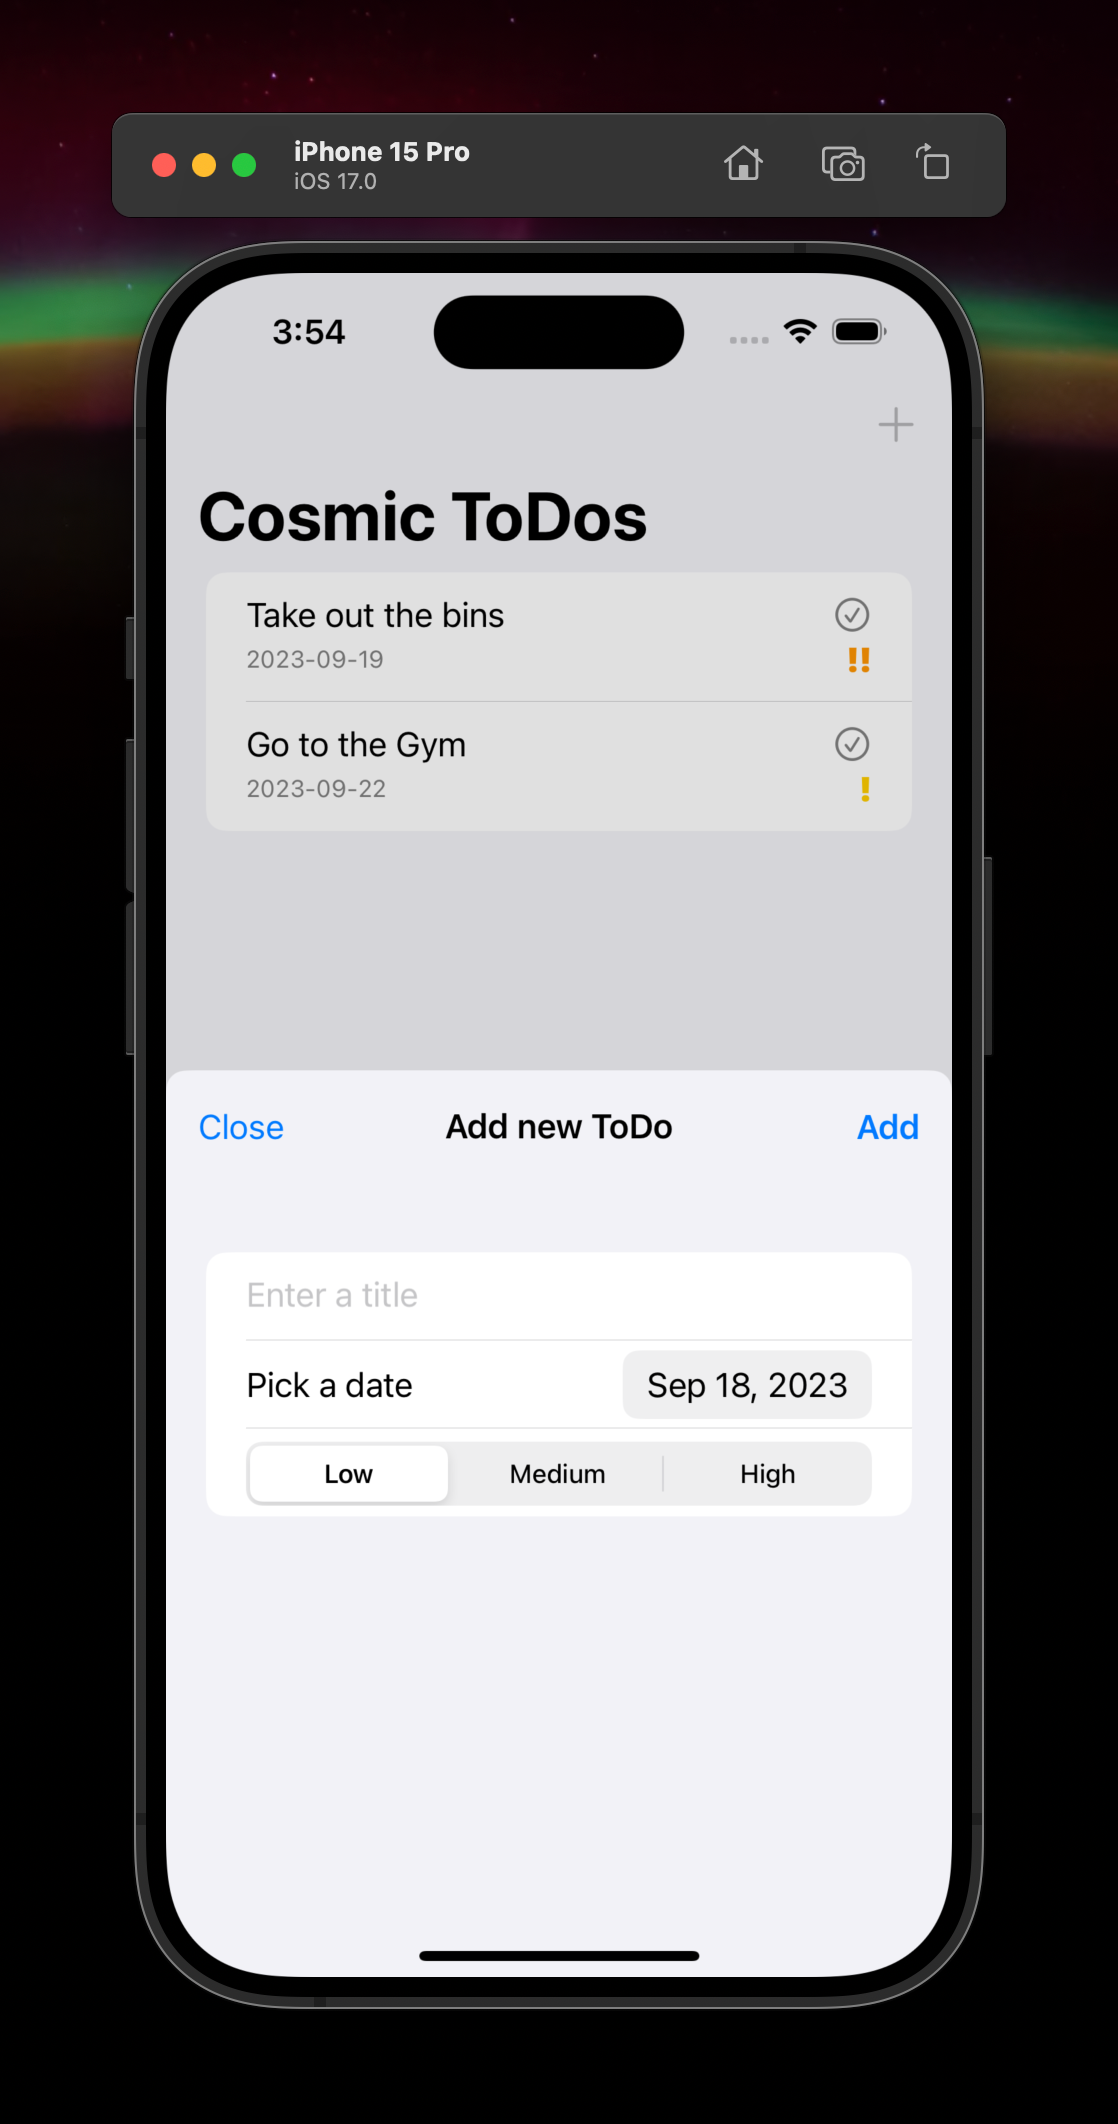
In this new file we’ll initialise three variables to hold the title, due date and priority for us. I won’t go into lots of detail on how this all works, but it’s a basic form that allows someone to add the relevant elements we need to make our Create submission work.
So now, when you press the plus button, you should see a nice little form.
Submitting our data
Now, in order to actually submit our data, we need to make another API call to Cosmic, but this time we’re inserting a new object.
We’ll start by creating a new function in our which expects to receive the title, due date and priority from the source where it’s called. We can now rely on another SDK method for which just requires the but can take optional parameters too. For our case, we'll rely on the optional .
The provided print statements are not required, but they just help to provide us with feedback whilst developing as we can review the console to see the creation worked.
Now in our we need to update the call to to include the parameters we defined.
Note that we have to do a little bit of clever stuff. Cosmic, expects the date to be a UTF8 formatted string, so we simply use a dateFormatter function to assign a String value from the Date value which gives us a string value back. For our Priority, we take the currently selected priority and access its raw value (which maps to what Cosmic is expecting) and capitalise it to ensure it matches our backend. If your key isn't capitalized, you can ignore this.
Now build and run your app again and things should work as expected and you should be able to add a new Todo! You’ll see it appear in Cosmic once you have, and see it in the UI too. This is because we re-fetch our data from the API on the main thread using a if the creation was successful.
UI Cleanup
Let’s improve our date formatting on our todos to be a little more readable. I’ve written a small helper function that does this for us. Create a new file called and add this in there.
One thing I love about SwiftUI is that you don’t have to import files, Xcode is smart enough to see you’ve used it, and so long as it exists somewhere in your project, it auto imports it. Neat!
To use this, we simply call it inside the element and access the description property.
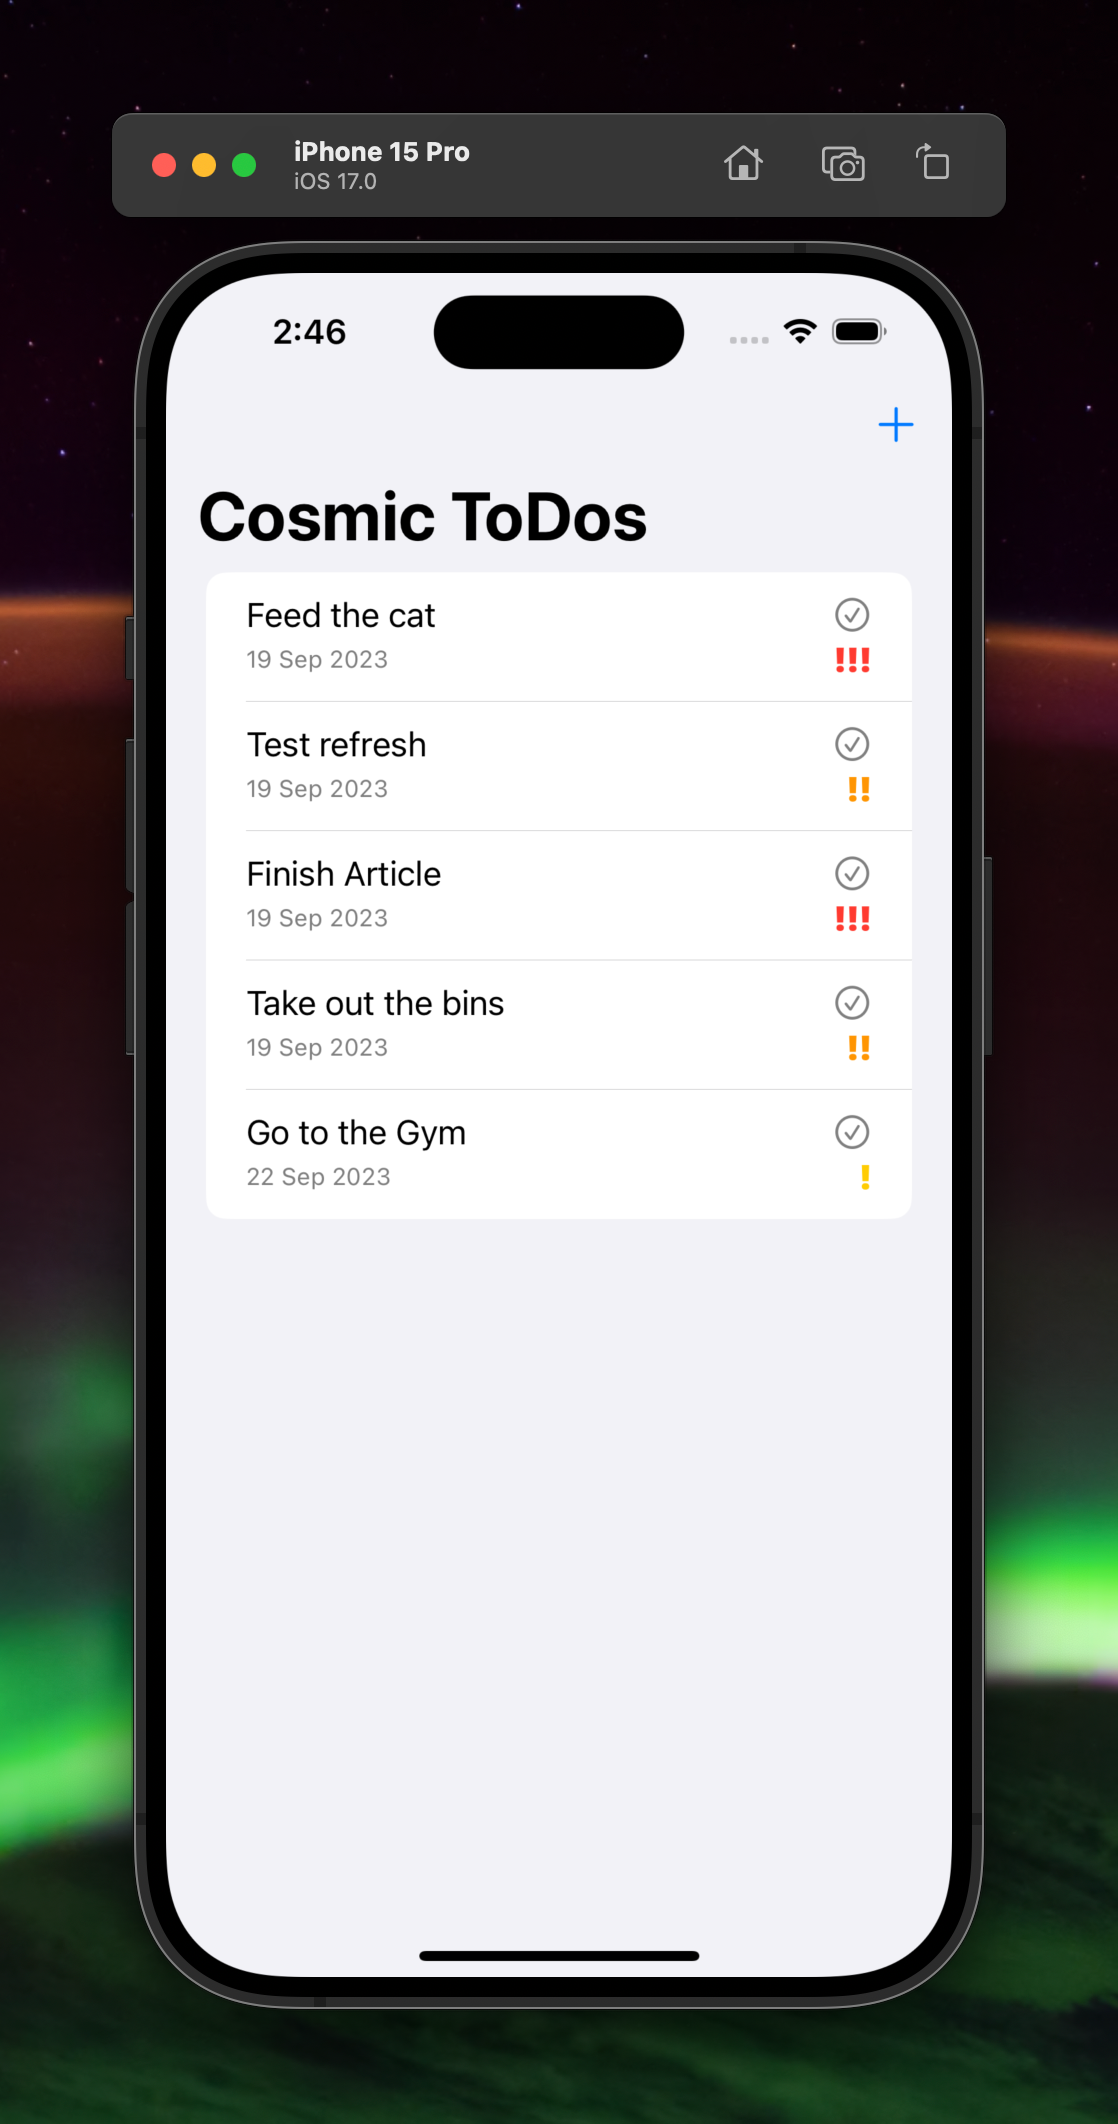
That looks better!
We’ll also extract our TodoCell into its own component to make things cleaner on our .
First, move the two functions in that help parse our Priority information into your file. Now they’re globally accessible.
Then, copy your individual todo code into a newly created SwiftUI View file.
Update Operation
Now it’s time to make updates. Technically you can update anything here, but we’ll focus on simply completing the task and updating the Cosmic object so that it’s synced between uses.
For now, we’ll make the entire cell a touch target for completion, but, you may want to change this in the future if you want other functionality.
- Add a new requirement to your to get the current of the item
- Wrap the entire cell in a Button where the UI is the Button’s property
- Add a new function we’ll create for updating our ToDo in the Button’s action
- Add a new variable for
Now update your to include this
In order to make this work, we’ll add another function to our file. This will allow us to update our switch to the new state. Now we'll be using the SDK's method.
Now we have this, we’ll update our UI to toggle the state properly so we update our UI and our Cosmic data and keep them in sync. Here we use ternary operators to change the UI appearance of the checkmark based on the completion state.
Delete Operation
Cool, so now we have Creation, Reading, and Updating working nicely. The final thing is to ensure we can delete any todo as well. Thankfully, because we used SwiftUI’s API, we can easily utilise the inbuilt Delete method to remove an entry from the list and send that request to Cosmic.
Let’s create one last function in our file. This time, it’ll be a method.
You’ll see that our entire function is very similar to our update, we pass an id to the method and just tell it that we want to delete that id. In this case, we don’t need to send anything else along with it.
Now we’ll add a to our cell to enable deletion.
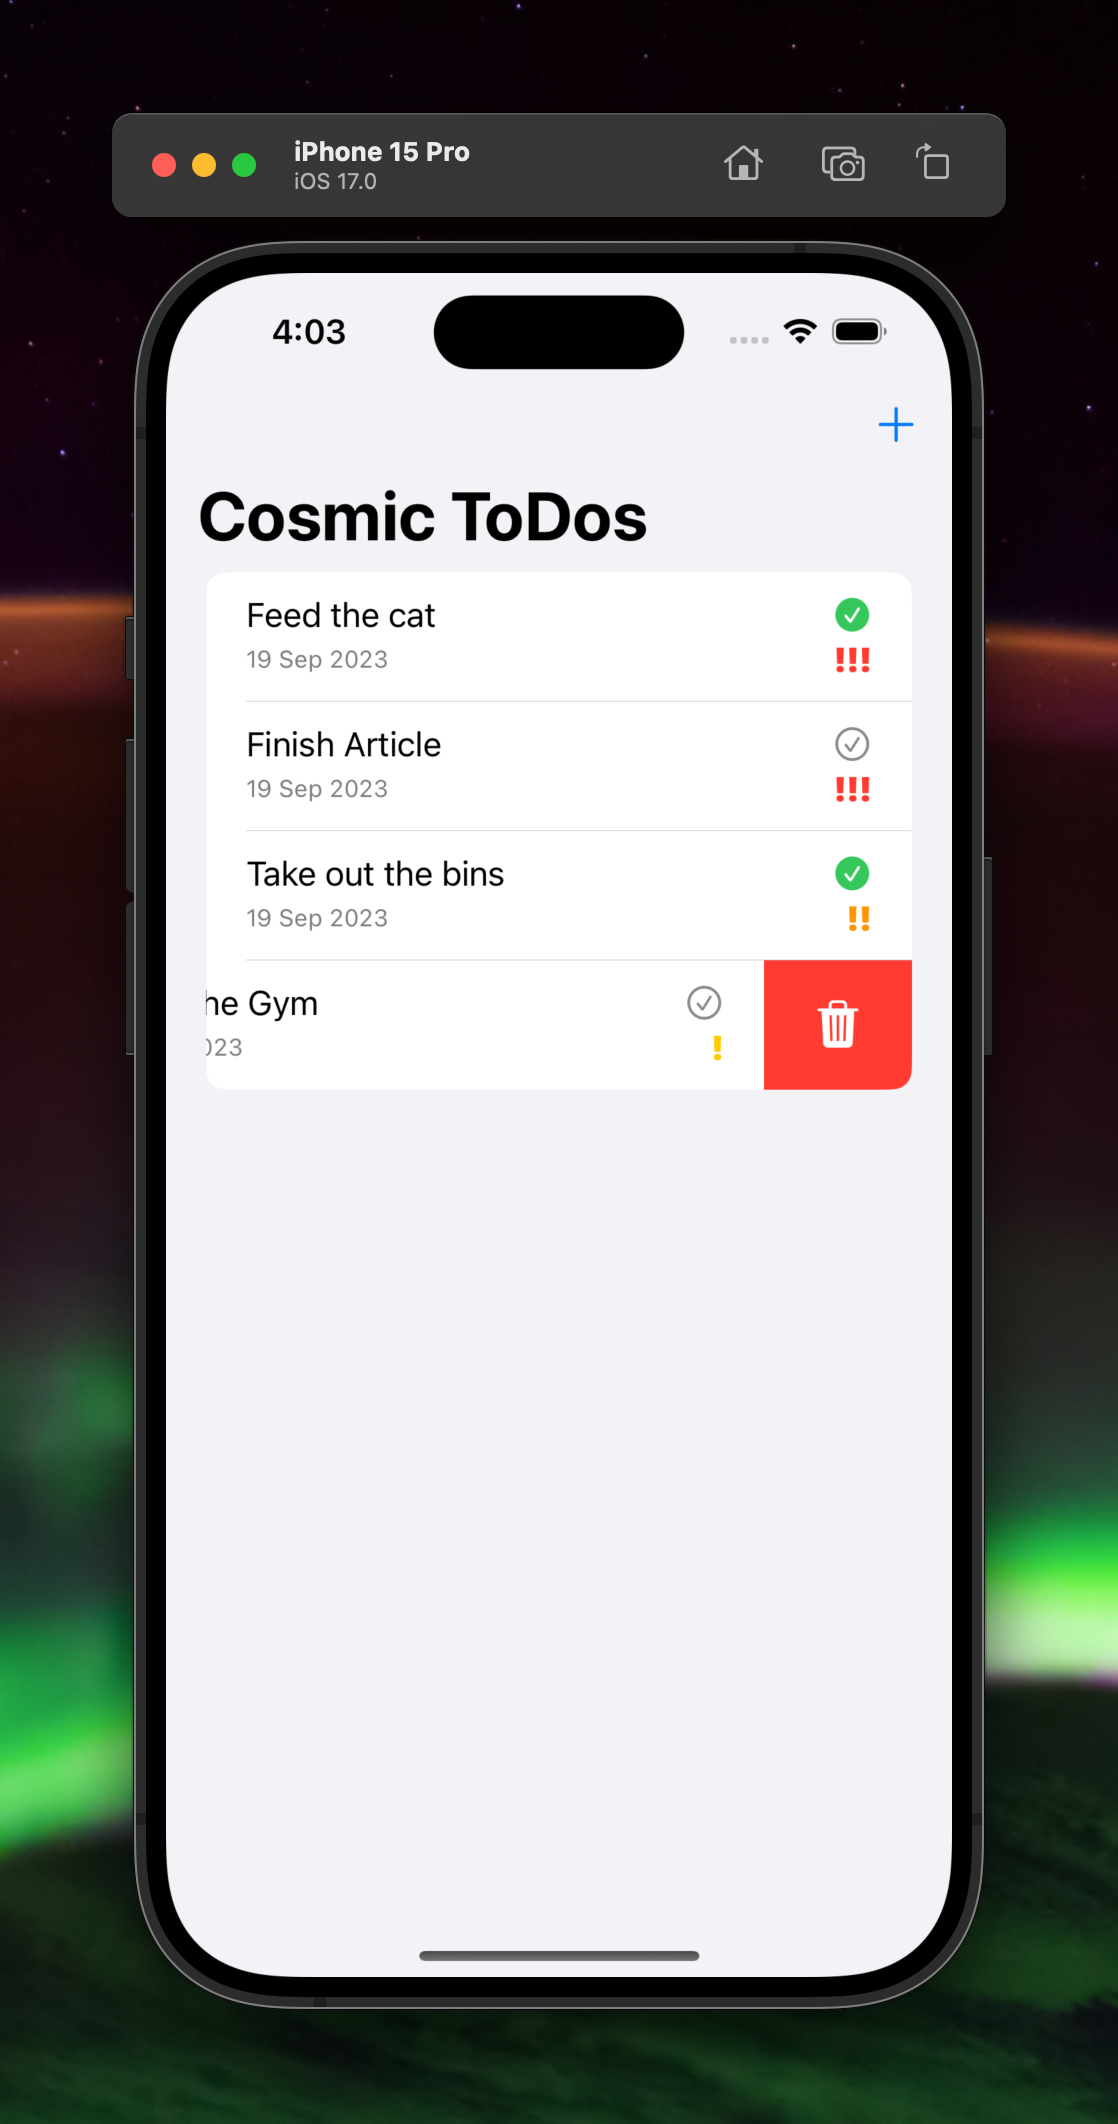
Underneath our button style on the , add a swipe action to include the delete functionality. Because we’re not dealing with Core Data or any other internal library, we can just use a simple button with a call to our delete method inside the action.
Now when you swipe from right to left (or left to right, depending on your country), you’ll get the typical swipe to delete functionality and this will persist again across restarts as our data is always coming from Cosmic.
Building a Cross-Platform App
This won’t be perfect currently, and macOS will likely encounter errors as we have some specific functionality in there for iOS. But, you can build and run this on iPad without issue. It’s not fully optimised, and it’s not the ideal UI for the larger screen, but, it’s still usable. You can work to improve the iPad UI now that all the functionality is in here.
Conclusion
In this comprehensive guide, we've journeyed together through the process of creating a cross-platform ToDo list app using SwiftUI and Cosmic CMS.
We began with an overview of SwiftUI and Cosmic CMS, familiarizing ourselves with the main features and advantages of these modern technologies. We then proceeded into the nitty-gritty of app development, starting from installing and setting up prerequisites to designing the app UI and integrating Cosmic for seamless data management.
The core section of our journey revolved around executing CRUD operations with Cosmic, where we detailed creating, reading, updating, and deleting tasks. This practical experience showcased the versatility and usefulness of both SwiftUI and Cosmic.
The beauty and efficiency of utilizing SwiftUI and Cosmic have hopefully been thoroughly demonstrated throughout this development process. The ease with which we can create a visually appealing interface with SwiftUI and manage our content effectively with Cosmic makes this combination a highly recommended approach for any aspiring or experienced app developer.
Thanks to the fact we used Cosmic, you could even take this project further and develop a web interface using Next.js, for example, where changes would be reflected across your app too!
Next steps
I hope you found this guide instructive. Sign up to get started using Cosmic to power content for your websites and apps. Build your own mobile apps using the Cosmic Swift SDK.
Continue Learning
Ready to get started?
Build your next project with Cosmic and start creating content faster.
No credit card required • Free forever