
Karl Koch
September 1, 2023

Introduction
Blogging is more than a hobby; for many, it's a profession or a way to establish thought leadership in a specific industry. Having a performant and SEO-friendly platform is essential. In this guide, we'll delve into building a blog template with the new features in Next.js 13 App Router.
Creating a Blog Template:
Explore the steps to design a responsive, efficient, and dynamic blog template. This tutorial emphasizes the advantages of leveraging Next.js 13, Cosmic, and a responsive design toolkit for a top-notch user and developer experience.
Key Tools Used:
- Next.js 13: The first iteration of the renowned React framework to introduce the App Router, packed with enhanced features for full-stack development.
- Cosmic: A headless CMS enables the independence of the data (content) layer and gives us the ability to quickly manage template content. In this case, our blog posts, authors and tags.
- Tailwind CSS: A performant utility-first CSS framework that can be composed directly in your markup.
- TypeScript: To ensure type safety across our project, if you prefer JavaScript you can rename all your files as (and to ) and resolve the errors.
TL;DR
Setting Up Next.js 13 App Directory
- Initialize a new application with the latest Next.js features.
- Install the necessary dependencies for the project.
Then install the dependencies.
Let’s fire up our application! After running the command below, you can open up http://localhost:3000 in your browser.
OR
Clone the template from GitHub (recommended)
We have a very simple project setup, which maps closely to our content model (more on this later).
Configuring Cosmic
To get started with integrating headless content, sign up for Cosmic with a free account and install the demo bucket for Simple Next.js Blog. After creating your account, create a new project. You will be prompted to start with either an empty project or a template. Select “Template”, then select the “Simple Next.js Blog” template that we are using in this tutorial to follow along with demo content.
Building the Content Model
As mentioned earlier, our content model maps very closely to our app structure. We have Object types for Author and Posts, and we have Object types for our Categories which are used by our PostCard component to render the badges in the UI.
If you haven’t installed the template, you’ll need to build a custom content model. To understand what data you’ll need for this, you’ll want to refer to the file which will show you the model structure as TypeScript types.
Note that in this case, , and are the default properties given to us when we make a new Object Type, and everything inside the object is based on the specific model metafields we want to integrate.
The Content modeller allows you to drag and drop your metafields to build up your model or modify the existing model too.
Integrating the Cosmic SDK
To start working with Cosmic data, you’ll need to install the Cosmic SDK and initialize the Bucket client.
Then, if you haven’t used our provided project code, create a file called in a folder and make a call to create the bucket client like so.
You can now import this wherever you need to fetch Cosmic data from your bucket. You can replace the environment variables with hard coded keys whilst you develop if you wish. Get your keys from Your Project > Bucket > API Access.
Setting Environment Variables
- Alternatively, if you’re using Vercel (recommended) to host your project, you can add your and to your project and link it to Vercel using the Vercel CLI.
Fetching Blog Posts
To fetch blog posts, we can use a simple call to the Cosmic SDK and just get back exactly what we need.
Here we use a Promise to declare an array of our type from the file and use the special method to get the contents that matches our type of Posts. We then ask for specific props that we’ll need later when we render the UI. We have a reference to , this is because we only need a single layer of metadata. If we had nested object relationship, we’d need to declare a deeper depth.
Before the return statement, try adding to make sure you’re getting a response back from Cosmic. That way you can be sure your environment variables are working correctly and you’ll see the data structure. You can check the Developer Tools drawer and the tab to see if it matches what you’ve got in there too.
Pro tip: This is a handy place to get a basic API request from too. Note we’ve added type safety in our implementation.
Markdown or Content Formatting
In this project, we’re using Rich Text to display our post contents, so we use Cosmic’s Rich Text Editor metafield. This means we do dangerously set our HTML in the UI. The Cosmic Rich Text editor offers handy shortcuts to make content creation a breeze.
It is highly recommended to use an XSS Sanitizer like DOMPurify to sanitize HTML and prevent XSS attacks. For Next.js projects, which prominently feature server-side rendering, Isomorphic DOMPurify is especially valuable. It offers a seamless sanitization process across both server and client, ensuring consistent HTML sanitization in environments like Next.js where a native server-side DOM isn't present.
If you’d rather not dangerously set your HTML, there are packages out there that wrap this functionality to provide other ways to present Rich Text.
You can also choose to convert this to Markdown and use our Markdown metafield instead if you prefer, just note you’ll need to install a markdown package to do so. The article Building React Components from headless CMS markdown is a great read about how a package like React Markdown parses markdown from a headless CMS, and explains how to render markdown in a Next.js application.
Designing the Blog Post Overview
So now we’re getting our data back, we need to display it on the page. Let’s do this in our main file as that’s where we want our list of Posts to be shown by default. This is a blog after all.
First we’ll need a card to display our Posts. This relies on some sub components too, but let’s scaffold the main UI first.
Create a new file and start by exporting a PostCard component that expects to receive a of type coming in.
We know our code expects to get the following key parts: an image, a slug and a title. So let’s put these in.
Here, we’re guarding against not having an image url. Although adding a hero is not optional in our metafields, it is possible that one won’t get return if the network is too slow or the server isn’t responding. This protects against this.
You’ll likely notice this line too:
This uses imgix optimised URL parameters to provide us back with an image at the right size and format for our needs.
Now let’s add the title.
Great, next we want to include the Author’s avatar and an attribution for them. We’ll need to get these data based on the specific we’re rendering. So let’s create components that we can pass our into to get the right results.
Our Author avatar is nice and simple...
And so is our attribution...
So now in our component, we can import these and pass in the along with the rest of the code required to make the card render our data.
Displaying the Blog Overview
Now we’ve got our card and we’ve got it rendering our data, we need to put this into our main . Thanks to the new App Router structure with React Server Components, we don’t need to utilise special functions like to fetch our data. Instead, we can simply await our function and return the data to the view.
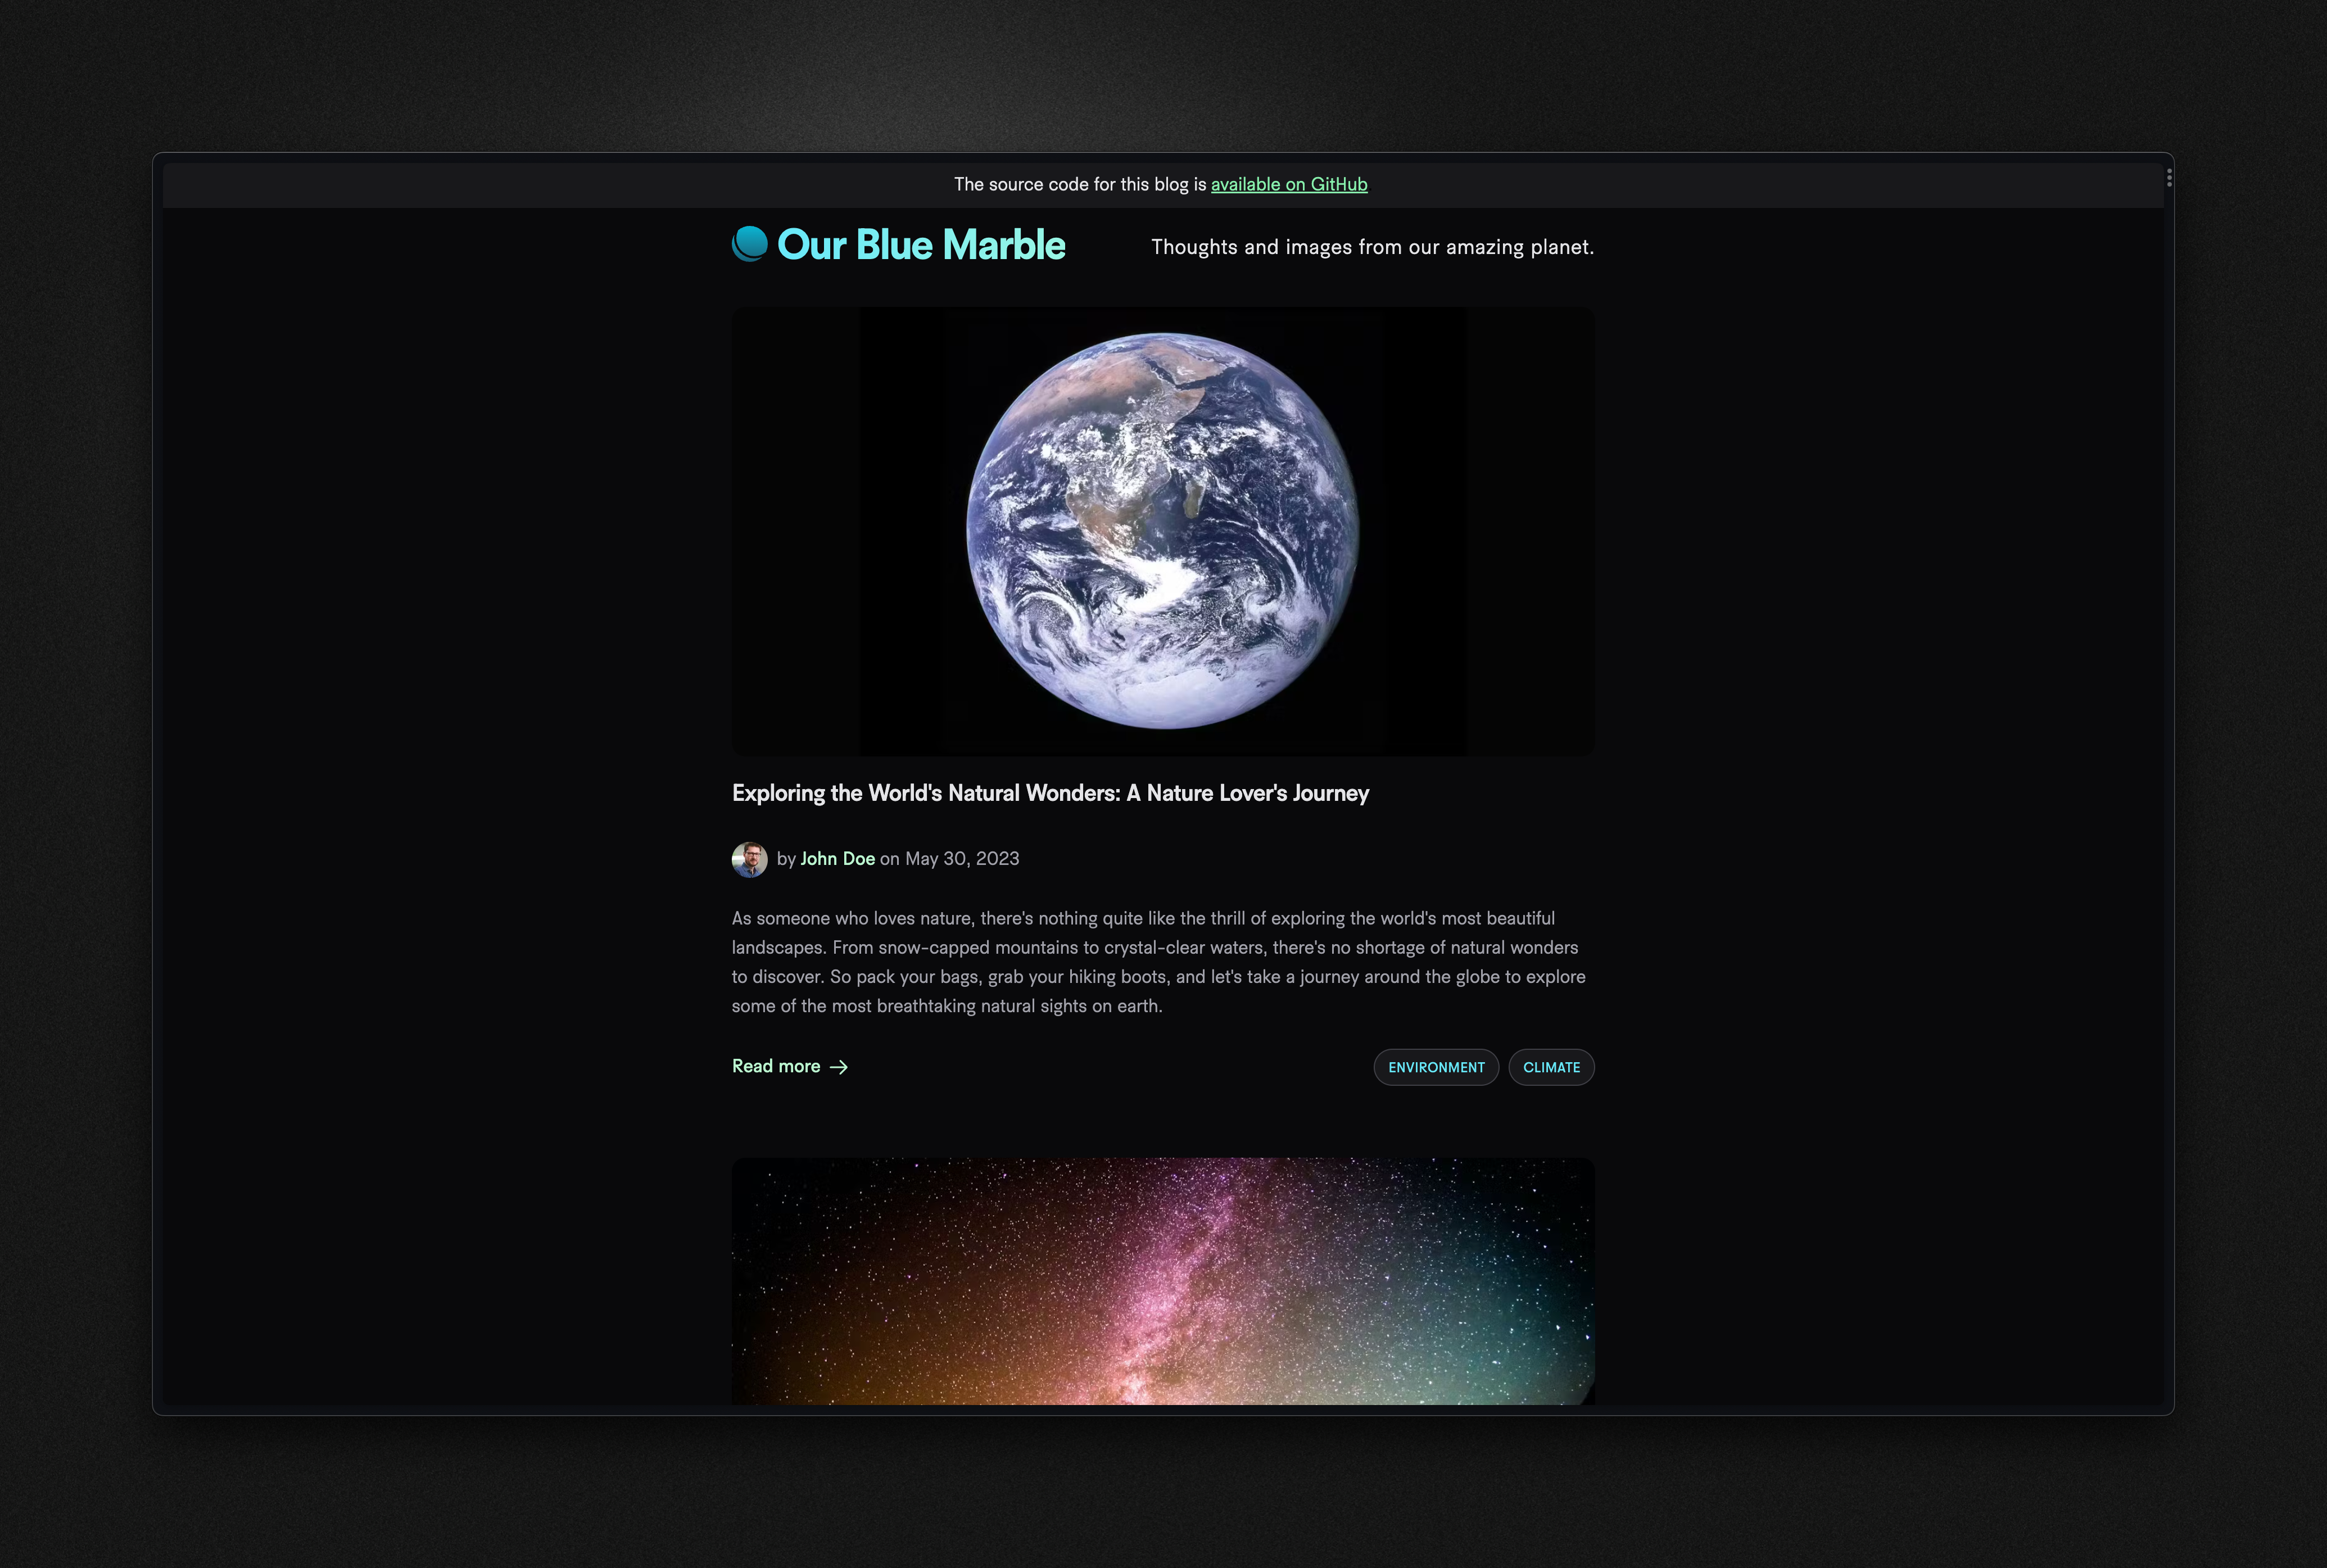
So, to return our list of posts (if you’ve used the template, you already have 5 example posts, otherwise you’ll need to add some) we simply need to map over our returned array of data and pass it to our component to render.
Generating Individual Blog Post Pages
So great, we’ve got a nice list of blog posts now… but we can’t see any of them when we click anything.
I won’t cover the entire code necessary to render the individual blog post (you can find that in the sample code, but I’ll cover a few important App Router elements we’ll need to consider.
First is the function. This allows us to create dynamic metadata based on the given blog post that’s being viewed. This is important for good SEO and also when sharing via social platforms. You can go wild with this, generating dynamic OG images with custom titles and other data if you want.
In our case, we’re keeping it simple.
Here we simply return the current blog post’s title to the title property in our metadata object. This means the title in the browser tab/window, as well as when shared on social media, will match our current blog post.
One other useful element we have, which leverages the power of the Cosmic SDK, is the ability to show suggested posts that aren’t the current post you’re viewing.
In the UI, this looks like this (where SuggestedPostCard is very similar in structure to the typical PostCard, just with a simplified UI).
The way we prevent getting the post we’re currently on, is by passing an extra property to our method. Here’s just the relevant fetch part of the code.
Notice that we say we want any where the is not equal to the . To do this, we passed in the params to the function like so . This means that when we reference it in our page and pass the page , the function knows to avoid that current slug.
The fetch that does this, looks like so:
Deployment
Now, if you’ve chosen to follow along exactly, there’ll be some missing pieces before you can actually deploy this project. Take a look at the sample code to see what you might need and make adjustments accordingly to get it up and running.
We host our example on Vercel, so as noted earlier, it’ll be easy to get set up if you’re using it. Otherwise, you can push this up to any other platform of choice such as Netlify.
Conclusion
By following this tutorial, you'll have a modern, dynamic, and efficient blog template powered by Next.js 13 App directory. Engage with the developer community, share your experiences, and always look for ways to improve and innovate. Your blog is not just a platform; it's an evolving entity that reflects your voice and expertise.
Continue Learning
Ready to get started?
Build your next project with Cosmic and start creating content faster.
No credit card required • Free forever