
Tony Spiro
October 31, 2026
Content request forms come up in almost every app. Someone asks for a case study, a guest post, a product page update or a press kit. Your team needs to see the request, track it and reply quickly.
This guide shows how to combine two tools to handle it:
- Cosmic stores each request as structured content your team can review, edit and track in the dashboard.
- Resend sends an instant notification to your team and a confirmation email to the person who submitted it.
We'll use a Next.js App Router project, but the same pattern works in any framework that can run server-side code.
How it works
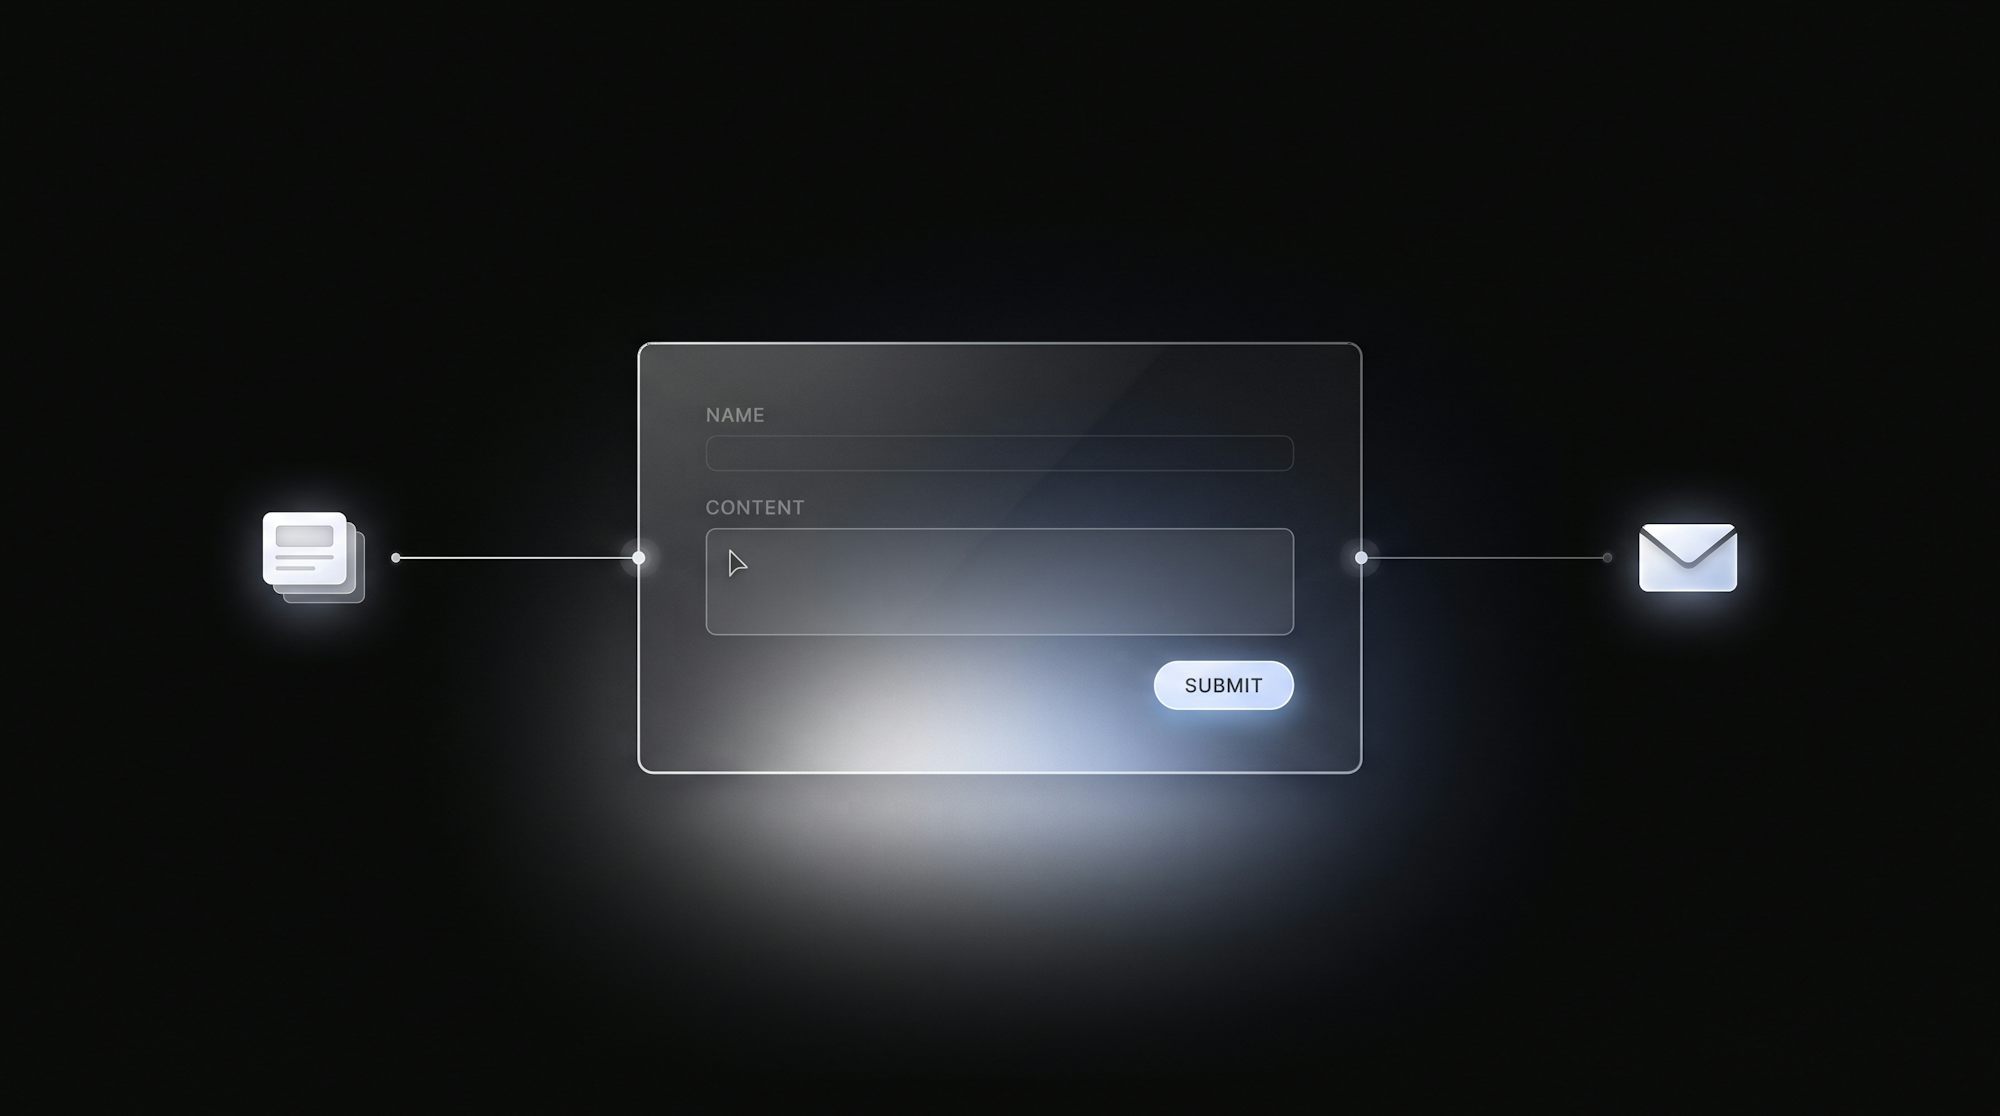
- A visitor fills out a content request form.
- The form posts to a server route in your app.
- The route saves the request as a new object in Cosmic.
- The route uses Resend to email your team and confirm receipt to the requester.
Your API keys stay on the server, and every request gets a durable record in your CMS, even if an email fails.
1. Set up your content model in Cosmic
In your Cosmic bucket, create an object type called Content Requests (slug content-requests) with these metafields:
| Key | Type |
|---|---|
requester_name | Text |
requester_email | Text |
request_type | Select (Blog post, Case study, Page update, Other) |
details | Textarea |
status | Select (New, In progress, Done) |
The status field lets your editors move requests through a simple workflow right in the dashboard.
2. Install the SDKs
npm install @cosmicjs/sdk resend
Add your keys to .env.local:
COSMIC_BUCKET_SLUG=your-bucket-slug
COSMIC_READ_KEY=your-read-key
COSMIC_WRITE_KEY=your-write-key
RESEND_API_KEY=re_xxxxxxxxx
NOTIFY_EMAIL=content-team@yourdomain.com
You can find your Cosmic keys under your bucket's API access settings, and your Resend key in the Resend dashboard. Make sure the domain you send from is verified in Resend.
3. Create the API route
Create app/api/content-request/route.ts:
import { NextResponse } from 'next/server'
import { createBucketClient } from '@cosmicjs/sdk'
import { Resend } from 'resend'

const cosmic = createBucketClient({
  bucketSlug: process.env.COSMIC_BUCKET_SLUG!,
  readKey: process.env.COSMIC_READ_KEY!,
  writeKey: process.env.COSMIC_WRITE_KEY!,
})

const resend = new Resend(process.env.RESEND_API_KEY)

export async function POST(request: Request) {
  const { name, email, requestType, details } = await request.json()

  if (!name || !email || !details) {
    return NextResponse.json({ error: 'Missing required fields' }, { status: 400 })
  }

  // 1. Save the request in Cosmic
  const { object } = await cosmic.objects.insertOne({
    type: 'content-requests',
    title: `${requestType}: ${name}`,
    status: 'draft',
    metadata: {
      requester_name: name,
      requester_email: email,
      request_type: requestType,
      details,
      status: 'New',
    },
  })

  // 2. Notify your team and confirm with the requester
  await Promise.all([
    resend.emails.send({
      from: 'Content Requests <requests@yourdomain.com>',
      to: process.env.NOTIFY_EMAIL!,
      replyTo: email,
      subject: `New content request: ${requestType}`,
      html: `<p><strong>${name}</strong> (${email}) requested a <strong>${requestType}</strong>.</p><p>${details}</p><p>Cosmic object ID: ${object.id}</p>`,
    }),
    resend.emails.send({
      from: 'Content Team <requests@yourdomain.com>',
      to: email,
      subject: 'We received your content request',
      html: `<p>Hi ${name},</p><p>Thanks for your request. Our team will review it and get back to you soon.</p>`,
    }),
  ])

  return NextResponse.json({ success: true })
}
A few notes:
- Saving to Cosmic first means you never lose a request, even if an email fails to send.
- Setting
replyToto the requester's email lets your team reply straight from their inbox. - In production, escape user input before putting it in HTML, or use React Email templates with Resend.
4. Build the form
'use client'

import { useState } from 'react'

export default function ContentRequestForm() {
  const [status, setStatus] = useState<'idle' | 'sending' | 'sent' | 'error'>('idle')

  async function handleSubmit(e: React.FormEvent<HTMLFormElement>) {
    e.preventDefault()
    setStatus('sending')

    const form = new FormData(e.currentTarget)
    const res = await fetch('/api/content-request', {
      method: 'POST',
      headers: { 'Content-Type': 'application/json' },
      body: JSON.stringify(Object.fromEntries(form)),
    })

    setStatus(res.ok ? 'sent' : 'error')
  }

  if (status === 'sent') return <p>Thanks! Check your inbox for a confirmation.</p>

  return (
    <form onSubmit={handleSubmit}>
      <input name="name" placeholder="Your name" required />
      <input name="email" type="email" placeholder="you@company.com" required />
      <select name="requestType">
        <option>Blog post</option>
        <option>Case study</option>
        <option>Page update</option>
        <option>Other</option>
      </select>
      <textarea name="details" placeholder="Tell us what you need" required />
      <button disabled={status === 'sending'}>
        {status === 'sending' ? 'Sending…' : 'Submit request'}
      </button>
      {status === 'error' && <p>Something went wrong. Please try again.</p>}
    </form>
  )
}
5. Go further with status updates
Once requests are in Cosmic, you can close the loop automatically. Set up a Cosmic webhook that fires when a content request is edited, and point it at another route in your app. When an editor changes status to Done, that route can use Resend to tell the requester their content is live.
Now your editors work in the CMS, and your requesters stay informed without anyone writing a manual email.
Wrapping up
With a single API route, you get:
- A structured, searchable record of every content request in Cosmic
- Instant team notifications and requester confirmations from Resend
- A base for automated status updates
Start by verifying a sending domain in Resend and creating your Content Requests type in Cosmic. You can ship this in an afternoon.
Continue Learning
Connect a Cosmic Agent to Google Sheets


Tony Spiro and Mia
September 25, 2026