
Muhammad Musa
January 15, 2018
TL;DR
Download the GitHub repo.
Check out the demo.
Prerequisites
Environment:
You will be required to install node.js and npm before starting. Make sure you already have them installed on your machine.
Technology Stack
- Cosmic: Cosmic is used for API management.
- ReactJS: ReactJS is used to connect frontend app with Cosmic. React v16 is used which is based on React Fiber and it makes the app faster and lighter than React v15.
- NodeJS: NodeJS is used handle endpoints such as communicating with Cosmic using private settings & sending emails using gmail SMTP client service.
- NextJS: NextJS v4 is used to make the app server-side rendered.
Getting Started
In this repository, we are going to build an app that would demonstrate everything that is included in basic authentication app.
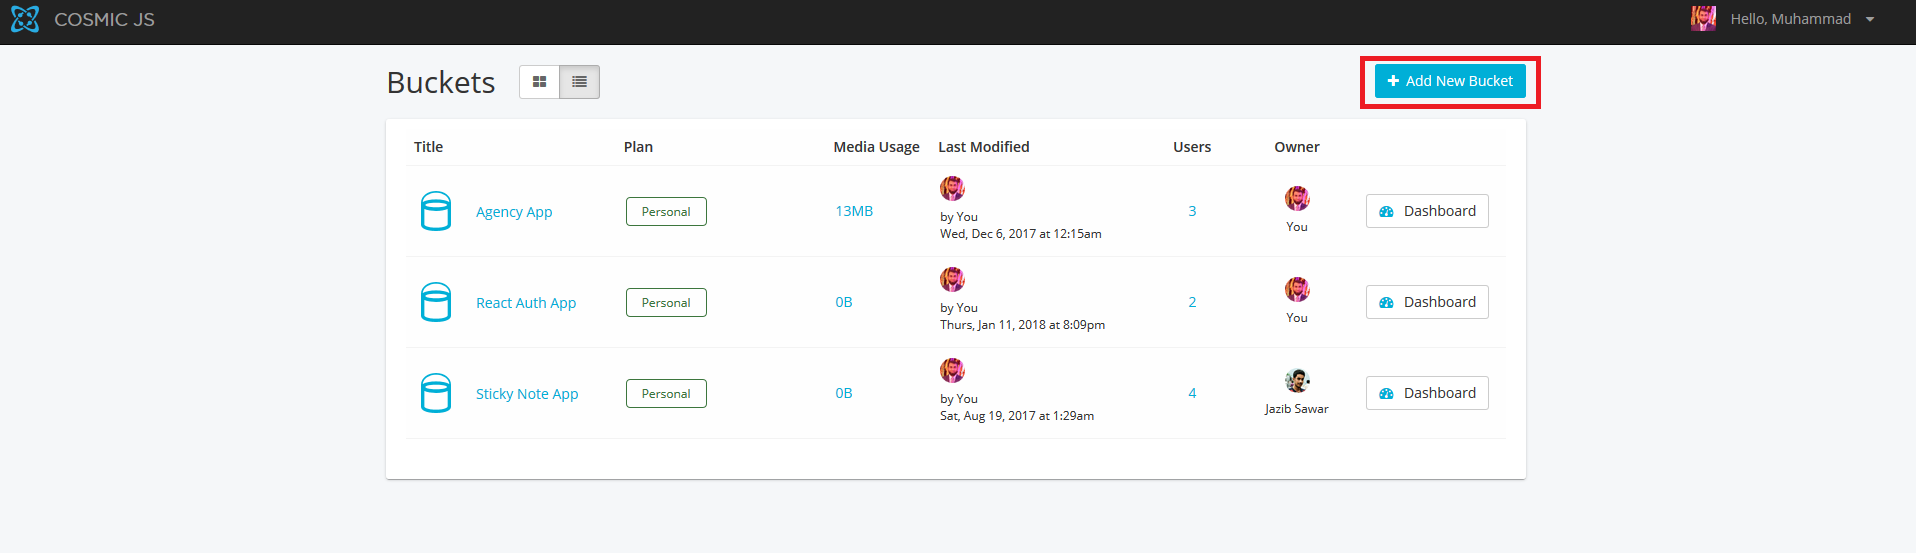
Setup Bucket:
To create the bucket, login to Cosmic and click on 'Add New Bucket' .
Select 'Start from scratch'

Import Bucket Data:
Download this React Auth App Bucket JSON file and go to your Cosmic Dashboard. Now on the sidebar, go to Settings -> Import / Export Data and click on 'Add Import File' and choose the downloaded file. It will import all the Object Types and required data.

Now let's get started with the actual application.
Cosmic Configuration
After downloading the react-auth-app repository, do npm install in the terminal. After installing all the dependencies, we need to setup the cofiguration for Cosmic. For that, we will clone .env.example and rename it as .env and setup all the variables in it with our bucket configuration.
.env would look like the file listed below
Private Settings
You need to add a single entry for private-settings which would include the following:
Title: some dummy test
Email Username: your gmail account email.
Email Password: your gmail account password.
FROM EMAIL: your email from which the notification emails would be sent.
Note: We are using SMTP gmail client to send emails.

Now you are all setup to run the app.
Workflow
Pages:
- Login - This page is used to login the user
- Route: /
- Failures
- This would fail if either email or password is incorrect.
- This would fail if the account is not verified.
- Success
- This would succeed only if the credentials are correct and the account is activated.
- Route: /
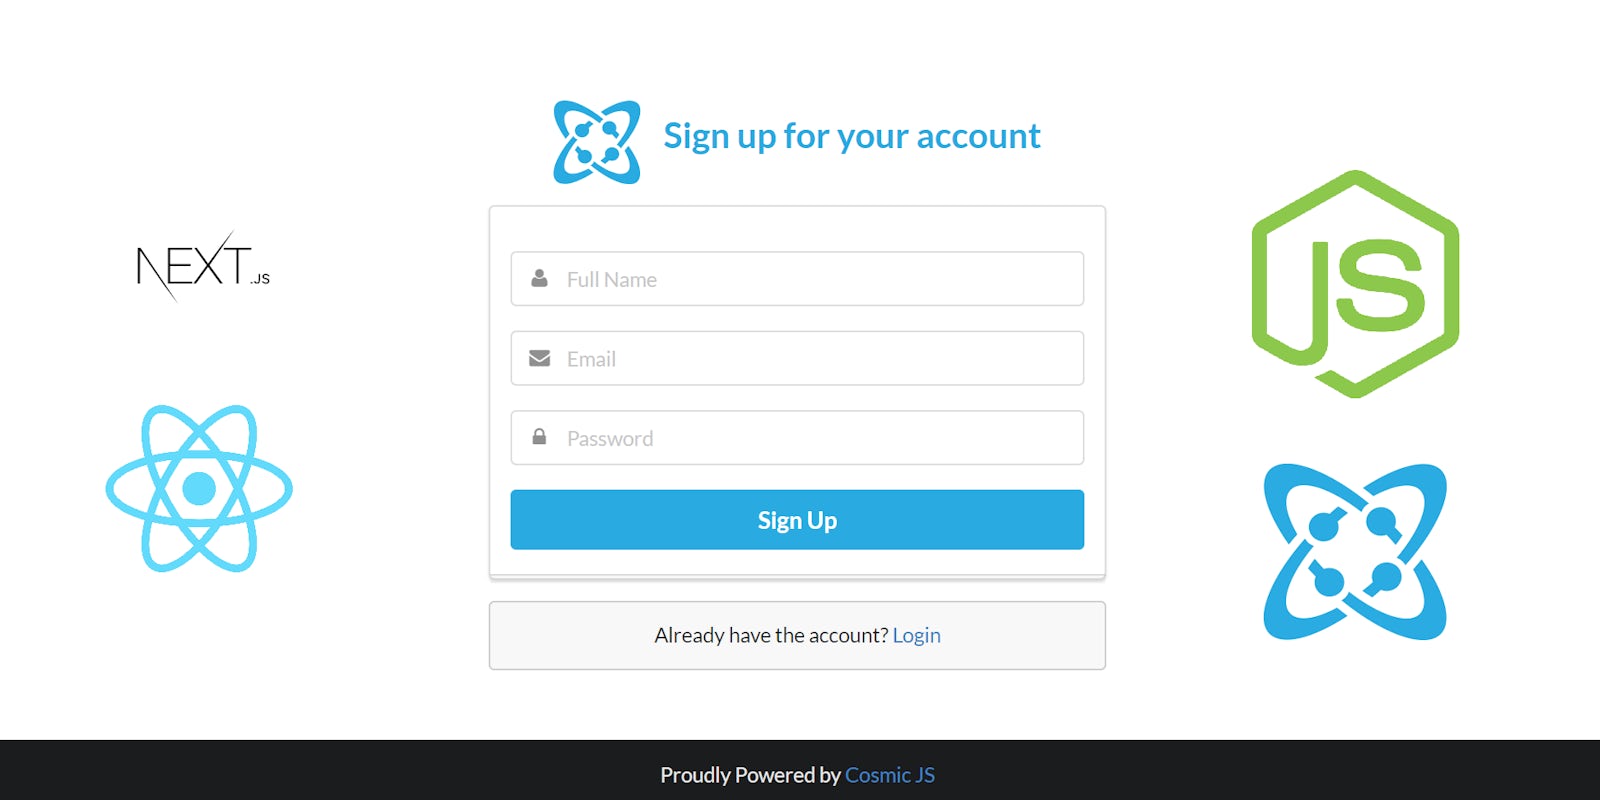
- Signup - This page is used to register the user and the verification email is sent to respective email
- Route: /signup
- Profile - This page is used to list profile information
- Route: /profile
- Edit Profile - This page is used to edit profile information
- Route: /profile/edit
- Edit Password - This page is used to edit account password
- Route: /profile/edit/password
- Forgot Password - This page is used to send an OTP for resetting password to an email
- Route: /forgotPassword
- Reset Password - This page is used to reset password with an OTP sent to a respective email
- Route: /resetPassword
- Activate Account: This page is used to activate account
- Route: /activateAccount
Details:
Login:

Signup:

Profile:

Edit Profile:

Edit Password:

Forgot Password:

Reset Password:

Activate Account:
Security
This app used MD5 encryption to encrypt the password and match the encrypted password while logging in. To maintain authenticated scenarios, we used JWT tokenization to tokenize the information and store them into cookies.
Conclusion
This is a basic app covering all basic features of authentication that were listed above too. We also followed security measures like encryption of information and passwords. I hope you like the tutorial to get started with this app and find it useful. Cheers. Happy Coding.
Continue Learning
Ready to get started?
Build your next project with Cosmic and start creating content faster.
No credit card required • Free forever